
James' Grumman F6F-5 Hellcat 1/48 - Stressed Skin Experiment Build Thread
Post 1
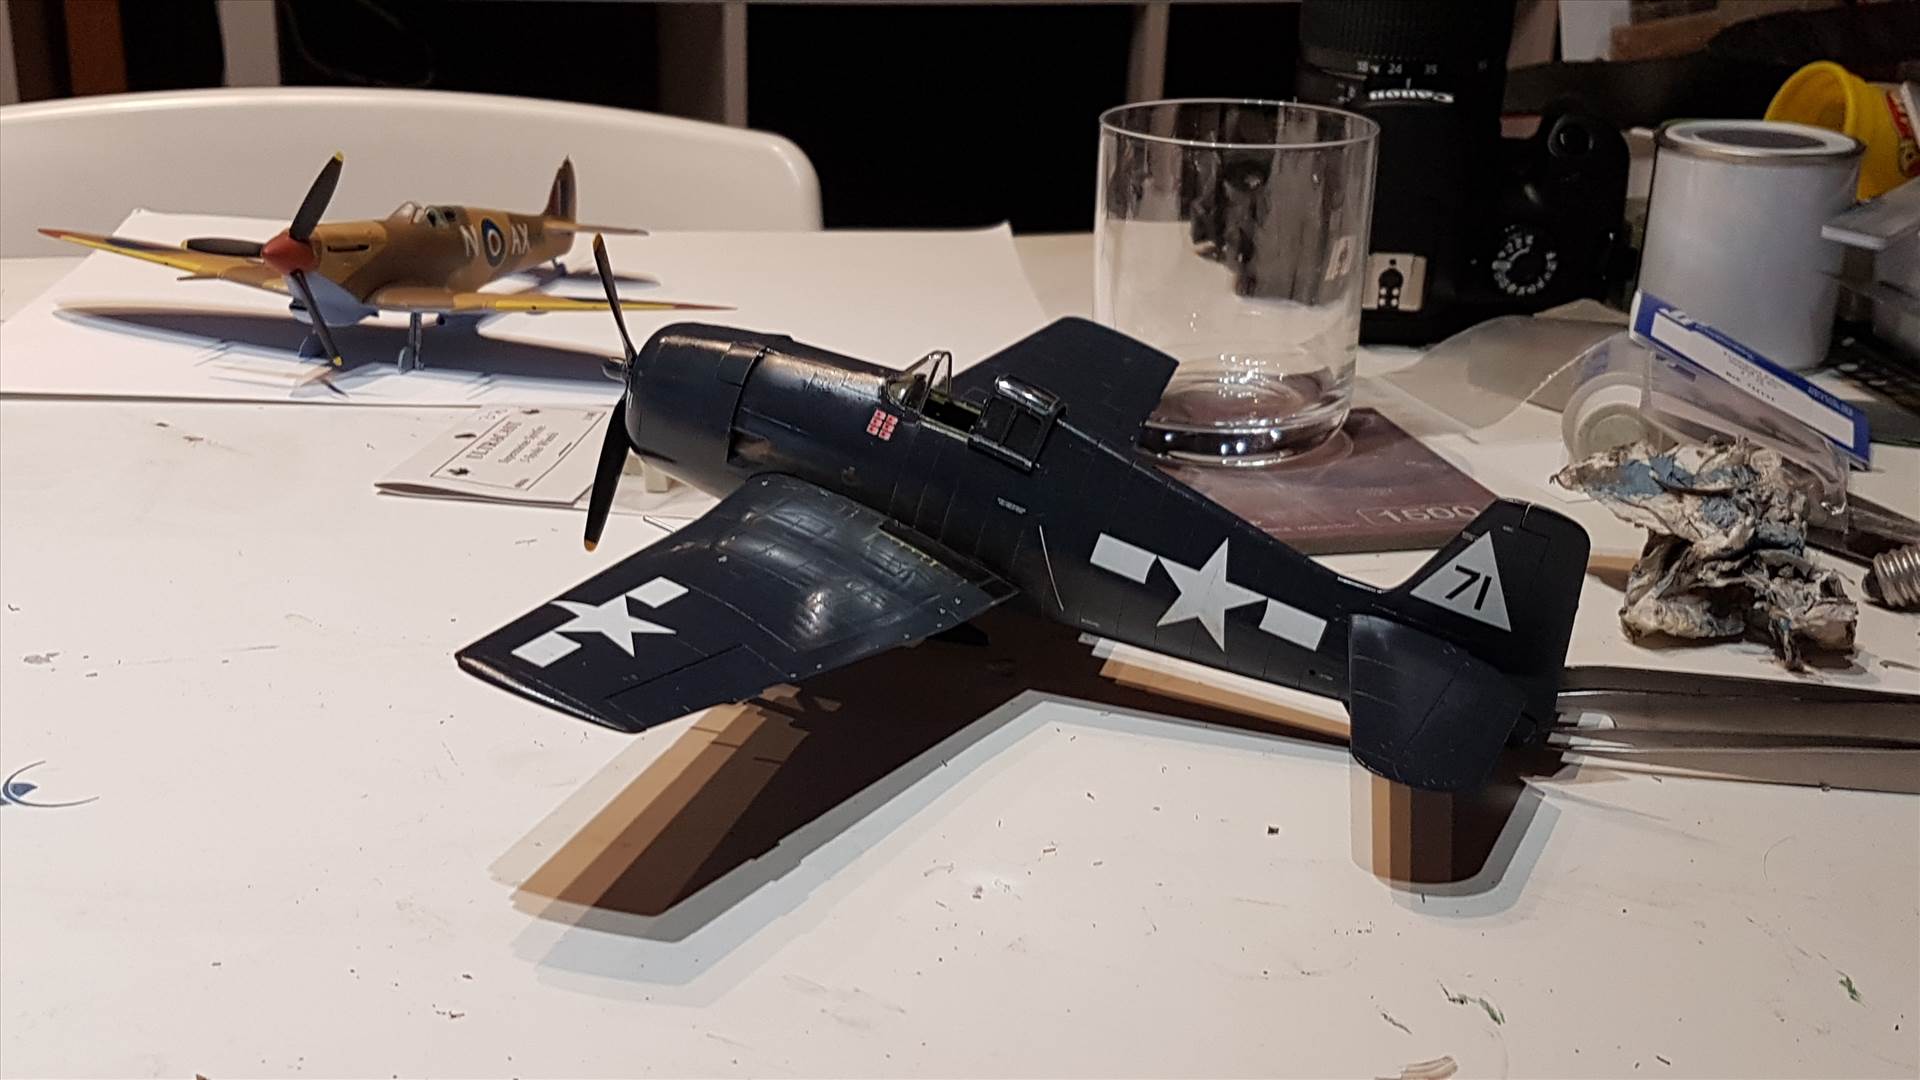
I bought another Eduard F6F-5 from BlackMike Models a while ago.
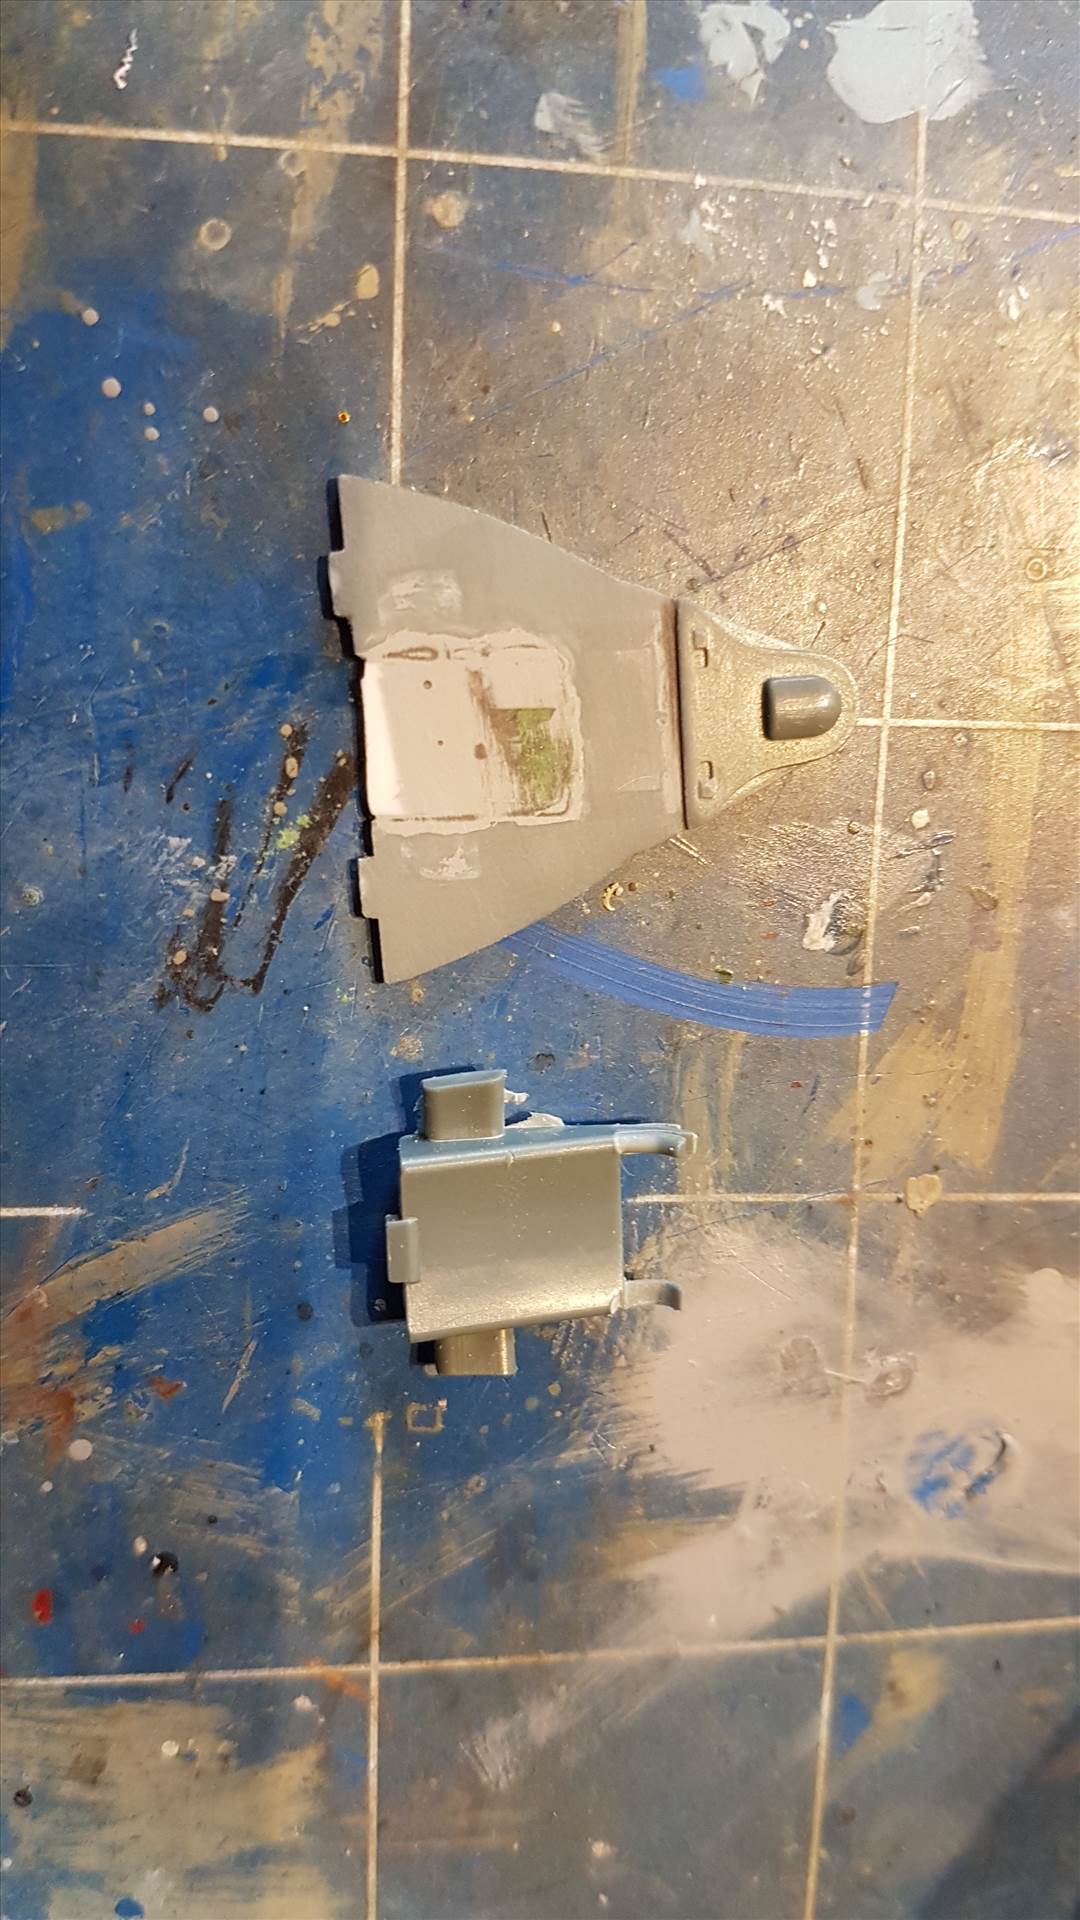
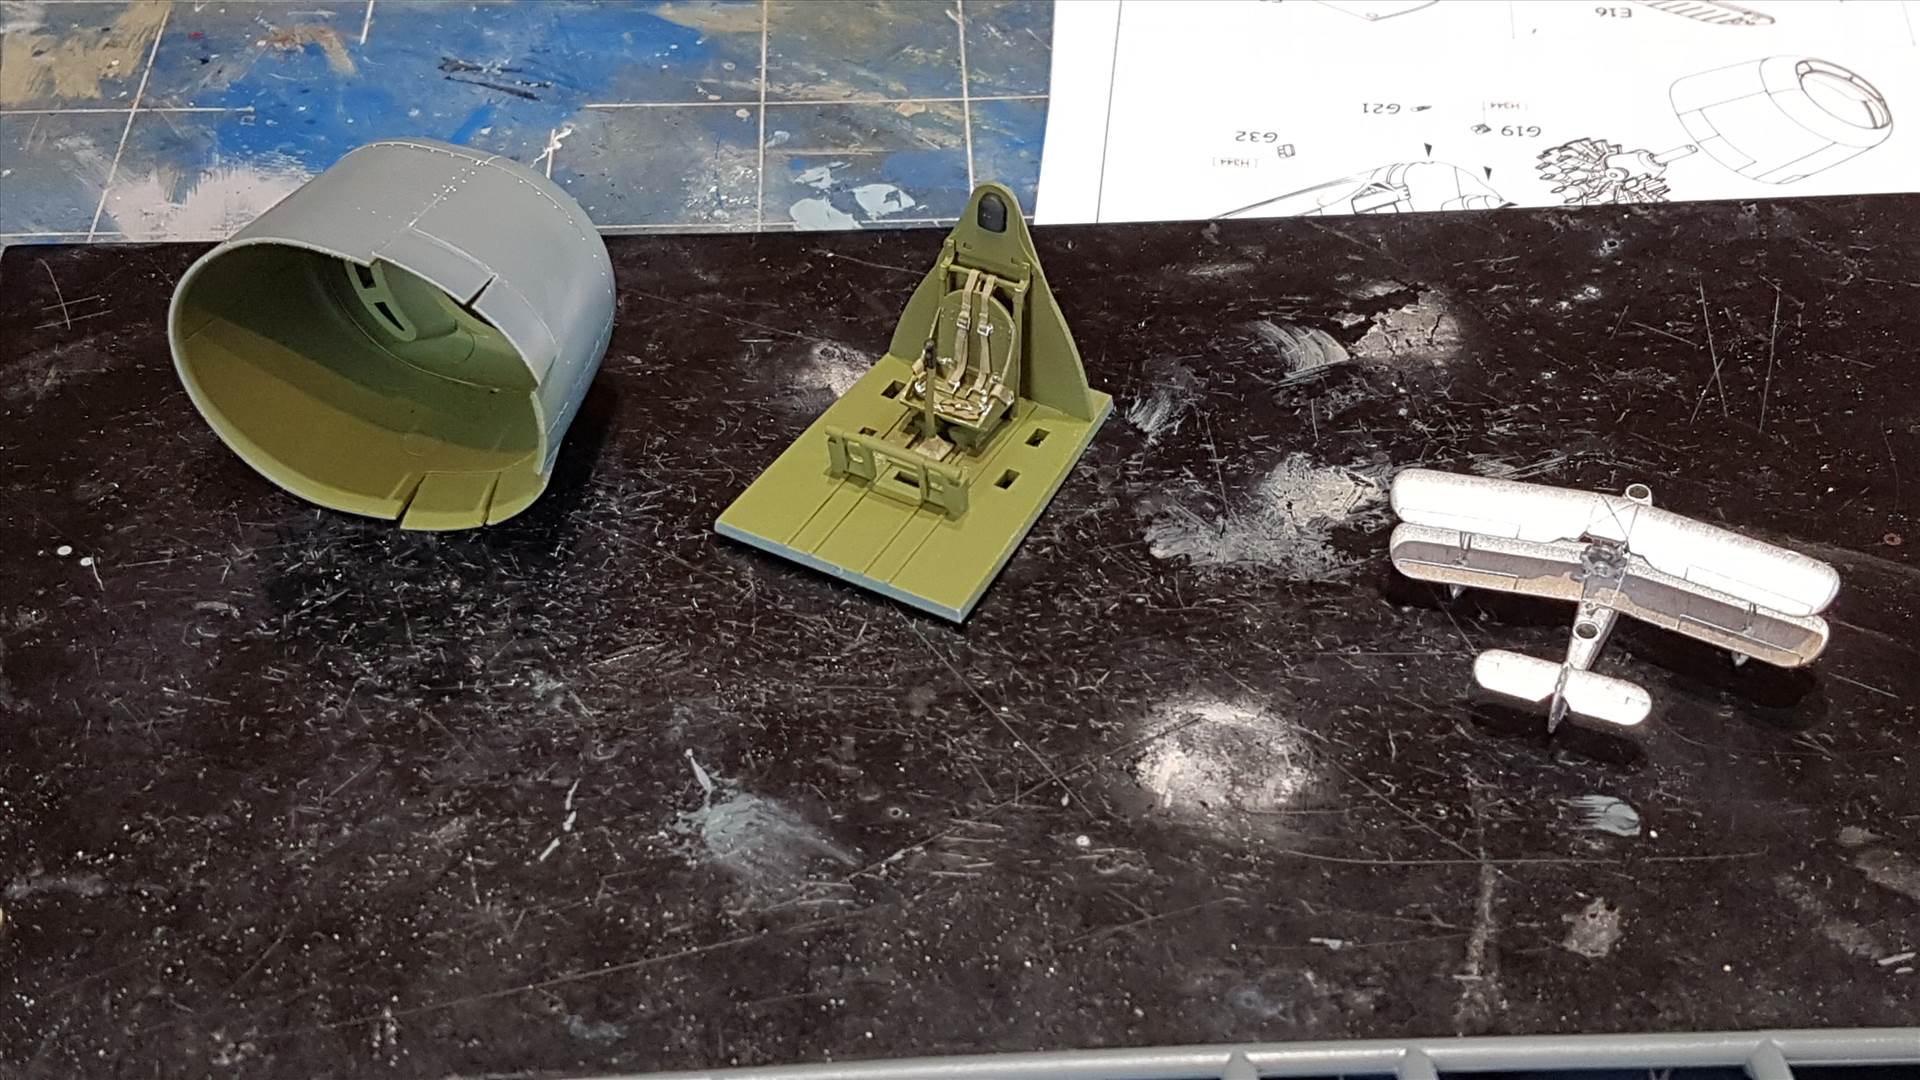
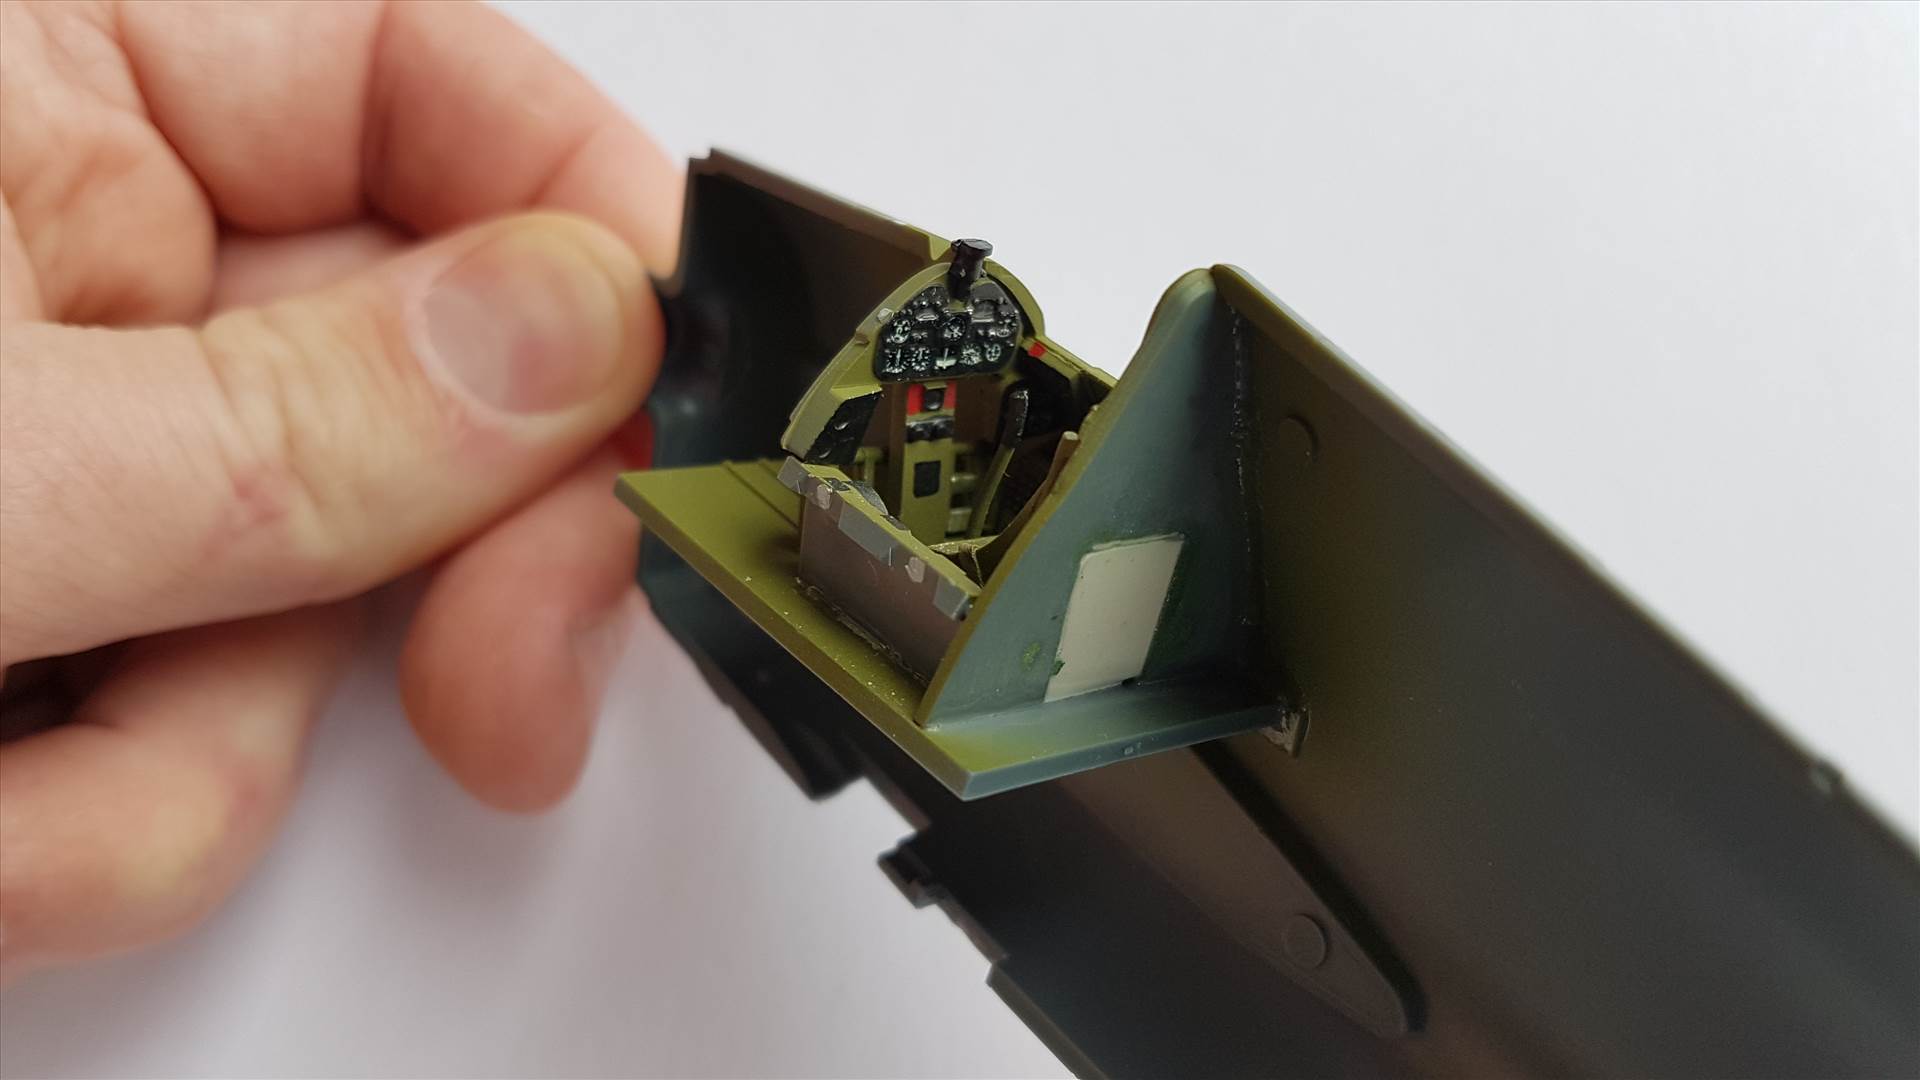
I didn't bother with any PE this time, so just used an Ultracast seat in the cockpit and tried to do a passable paint job.

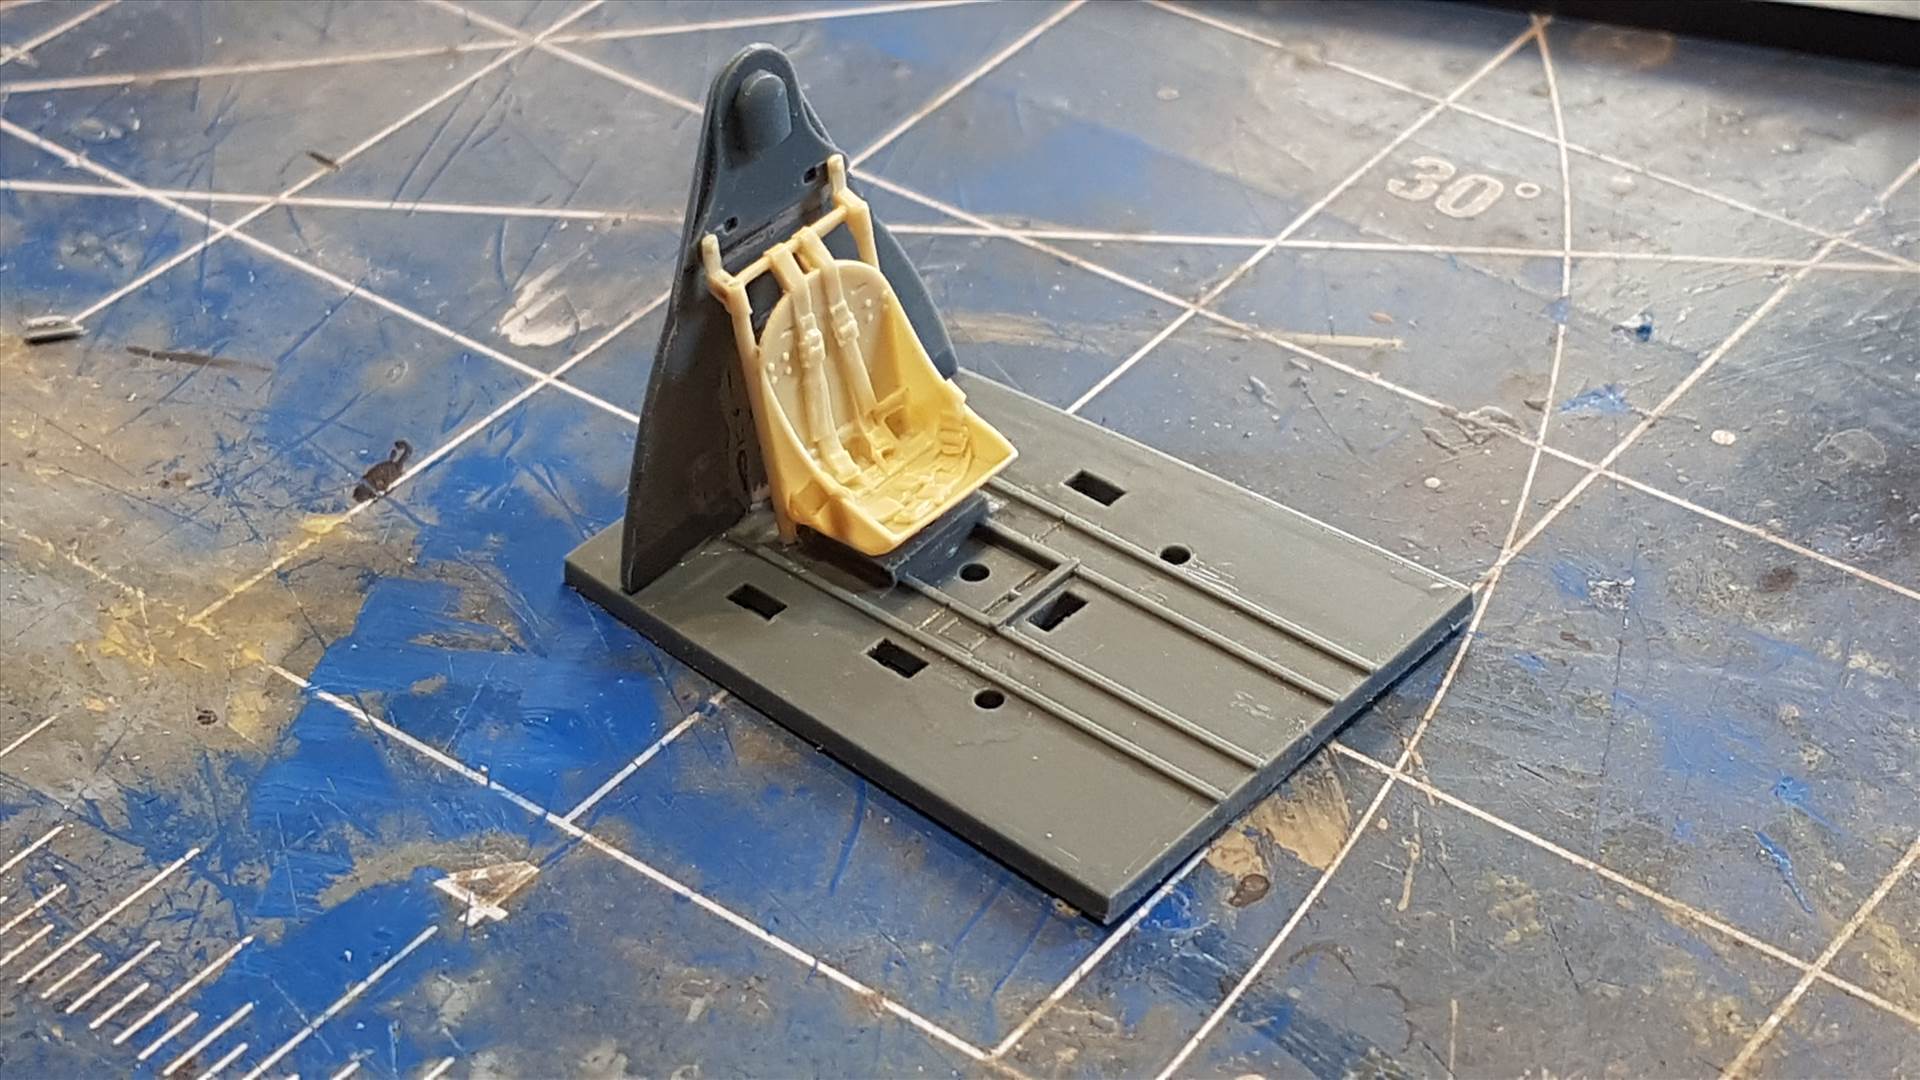
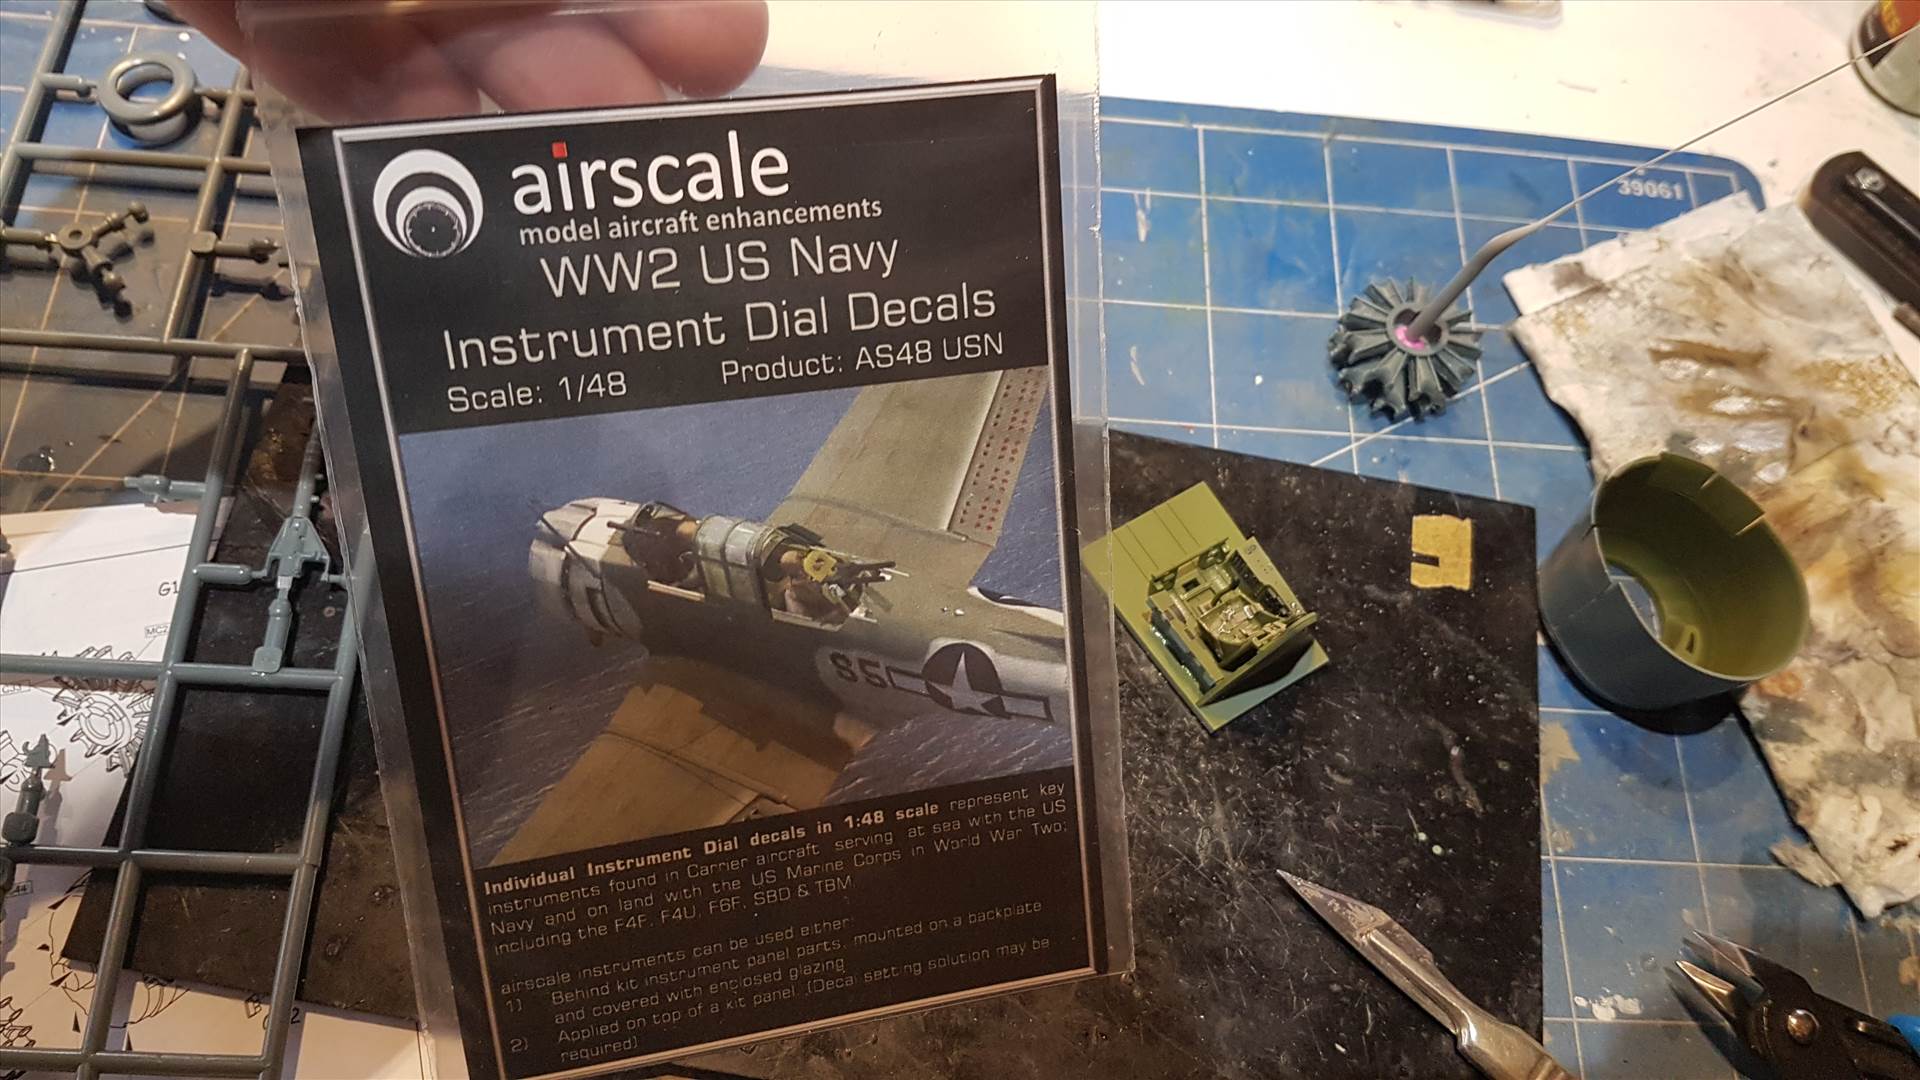
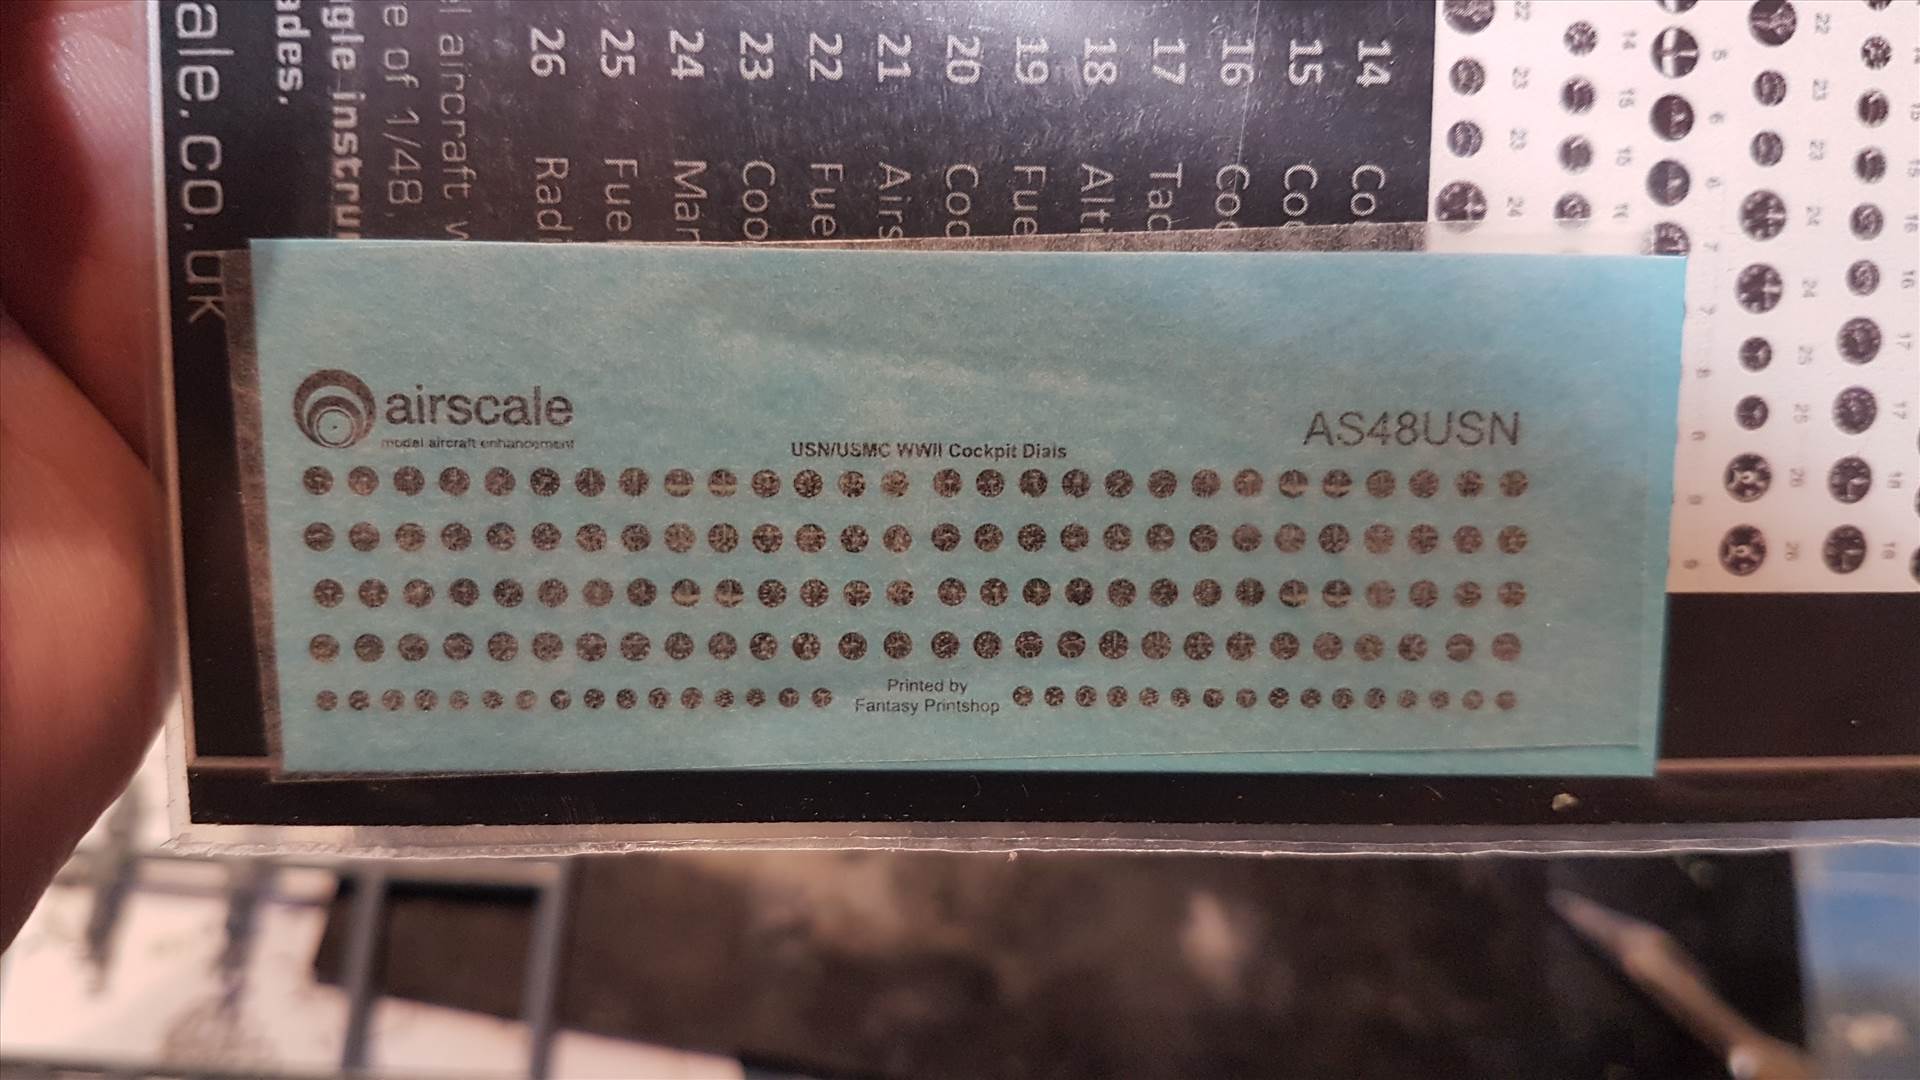
Due to lack of skill in painting instruments, I did buy @airscale's 1/48 US Navy instrument decals
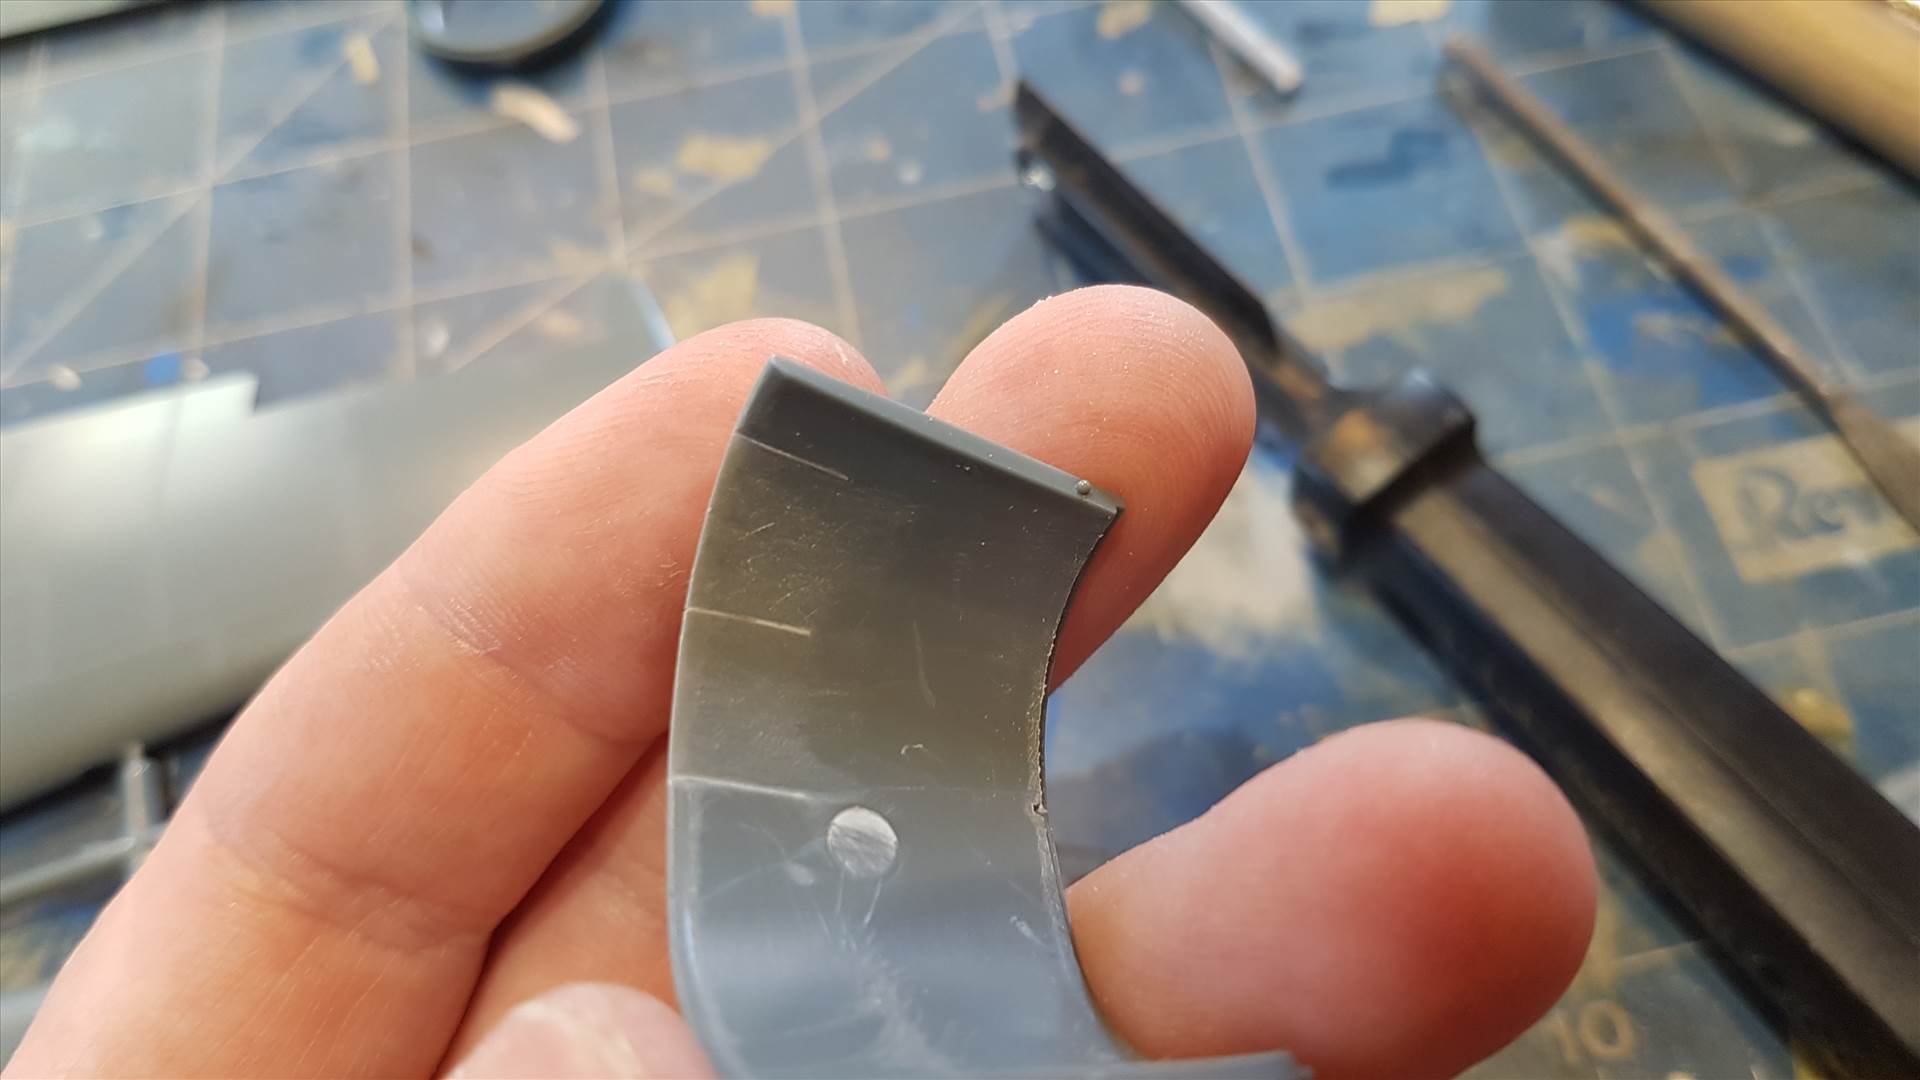
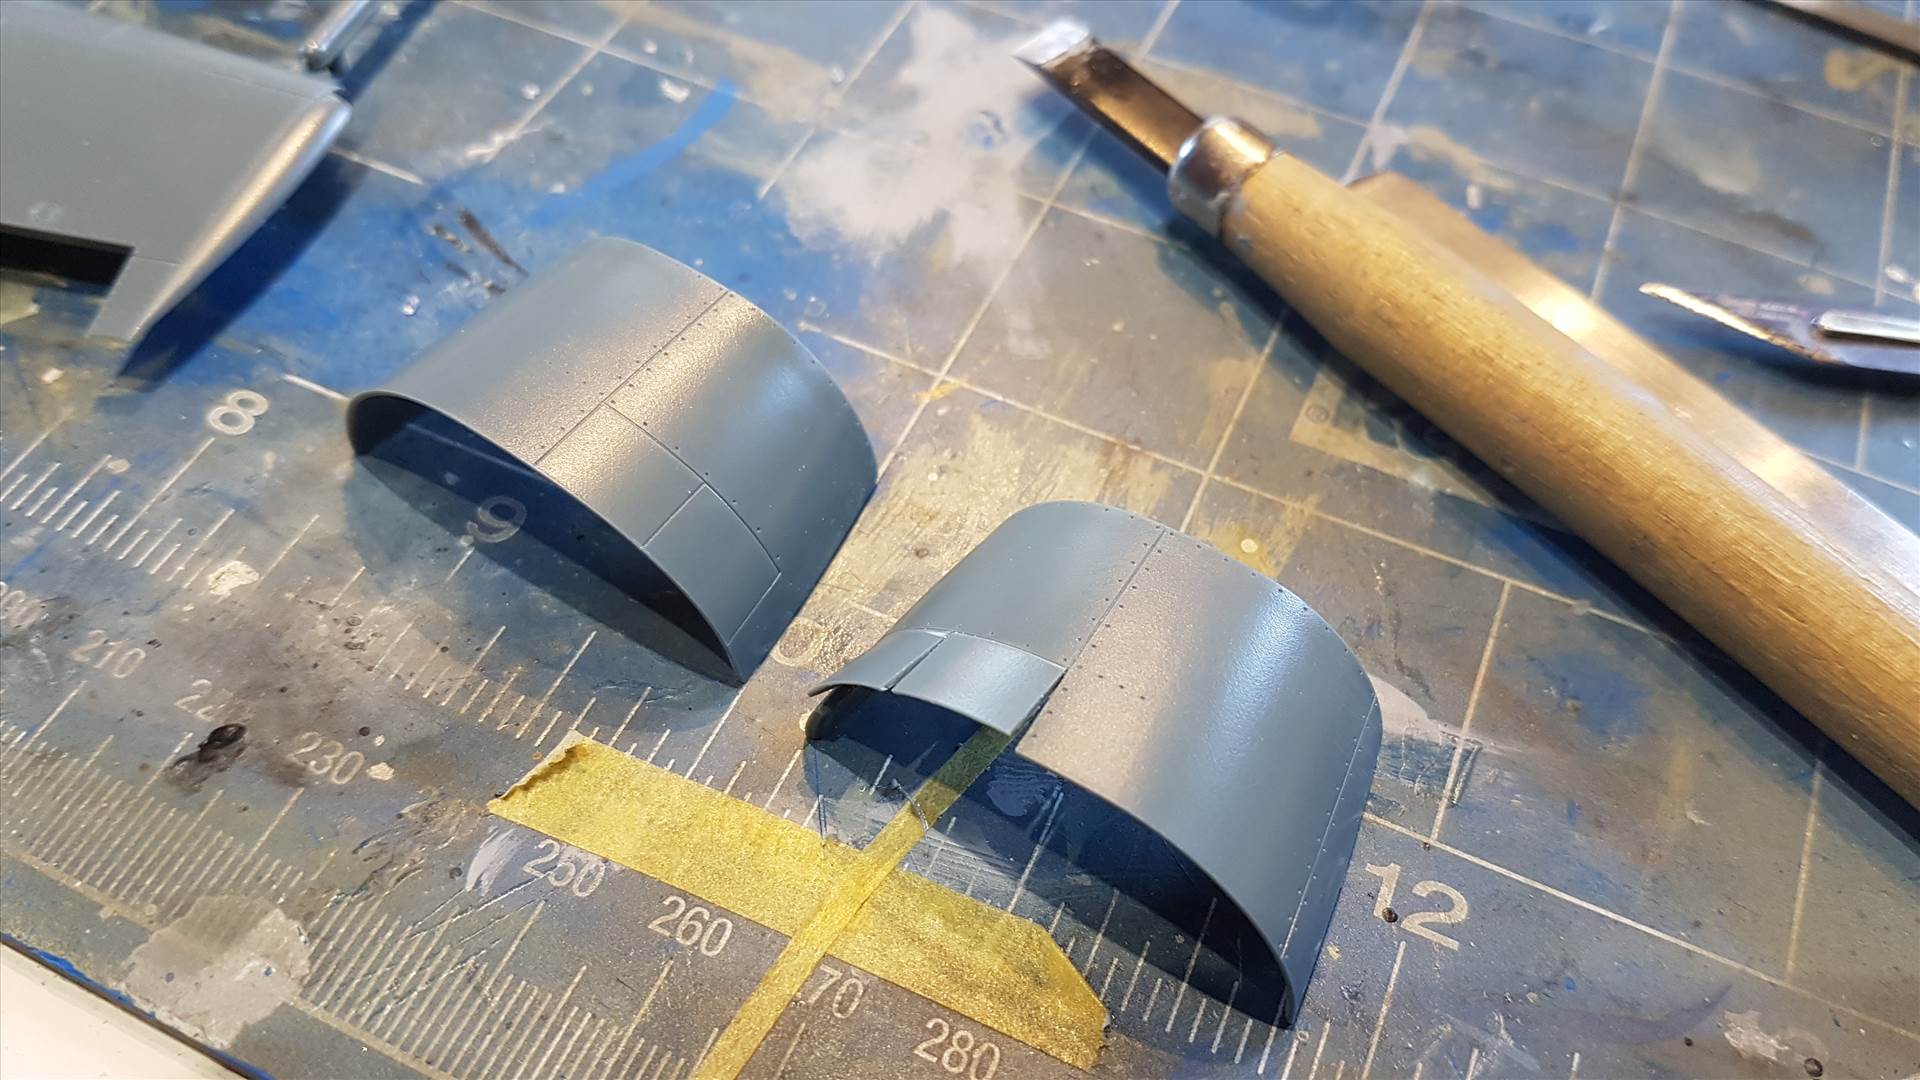
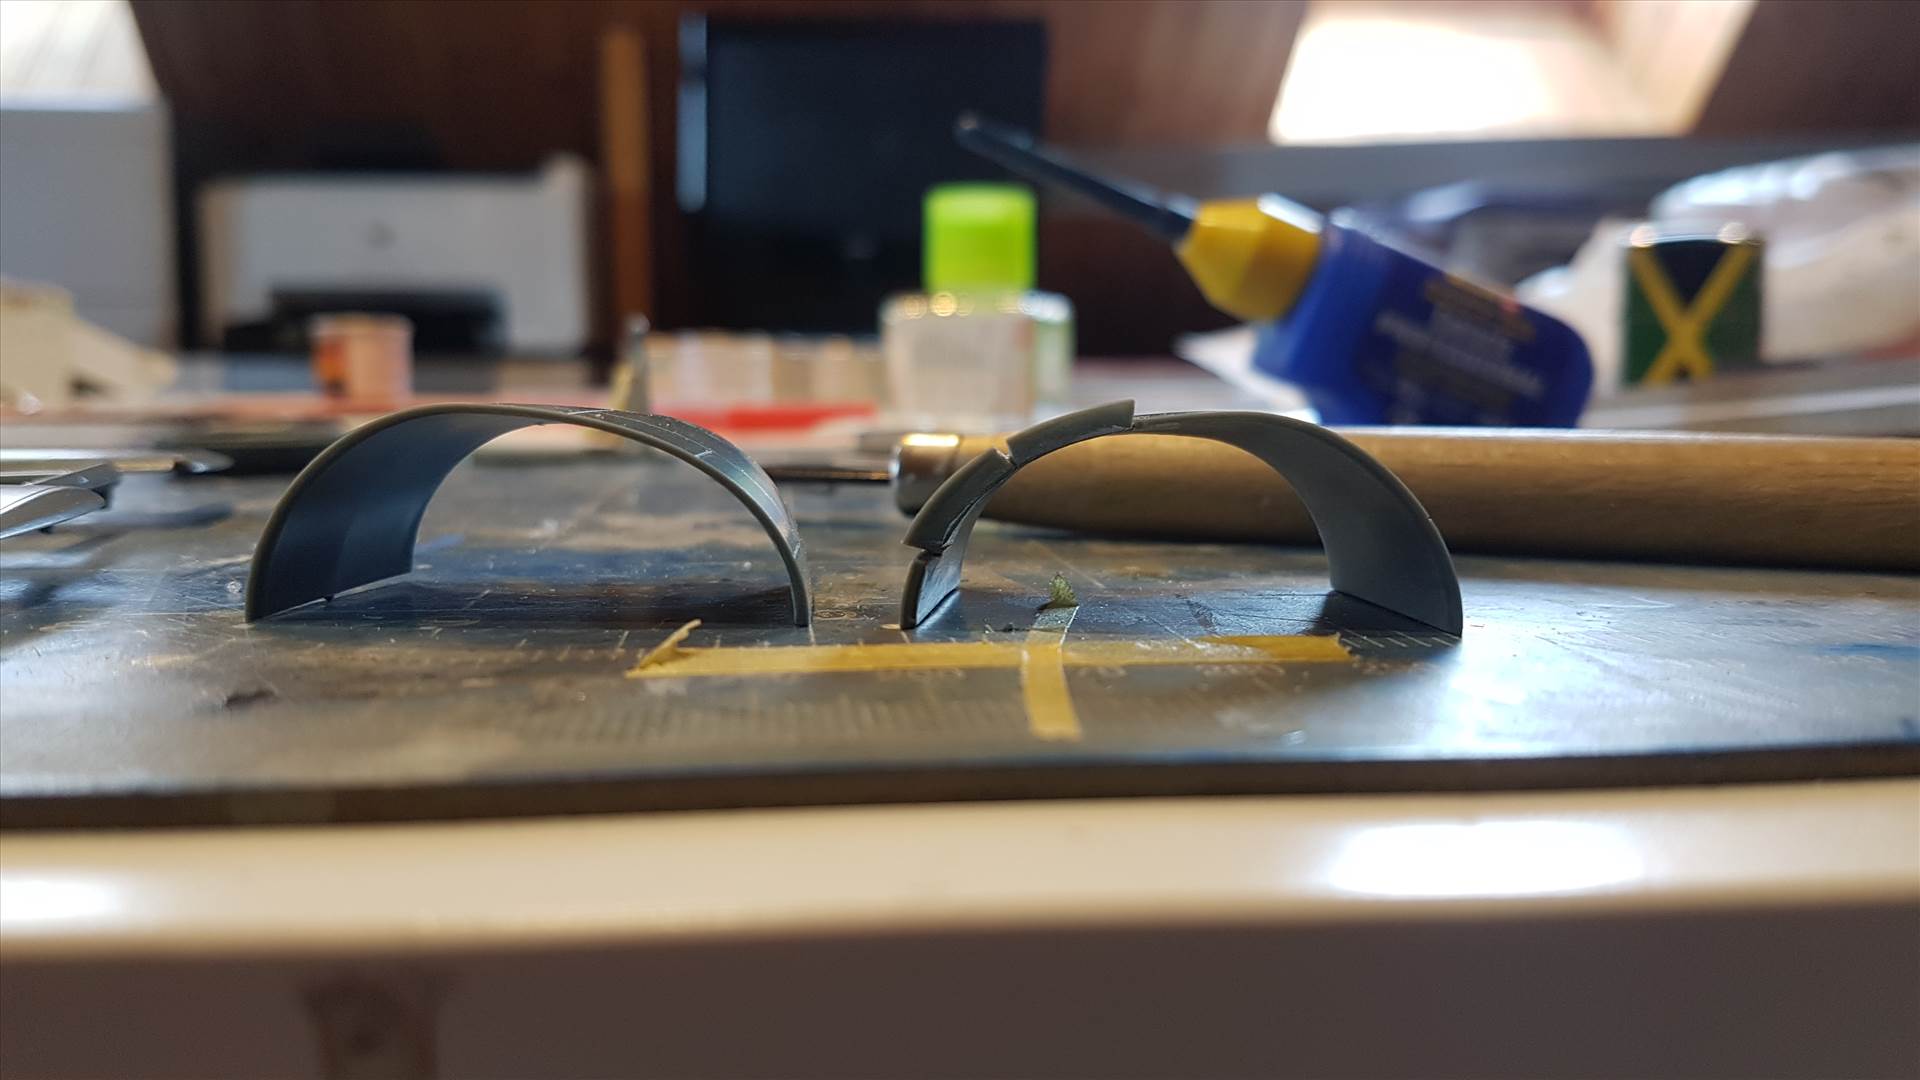
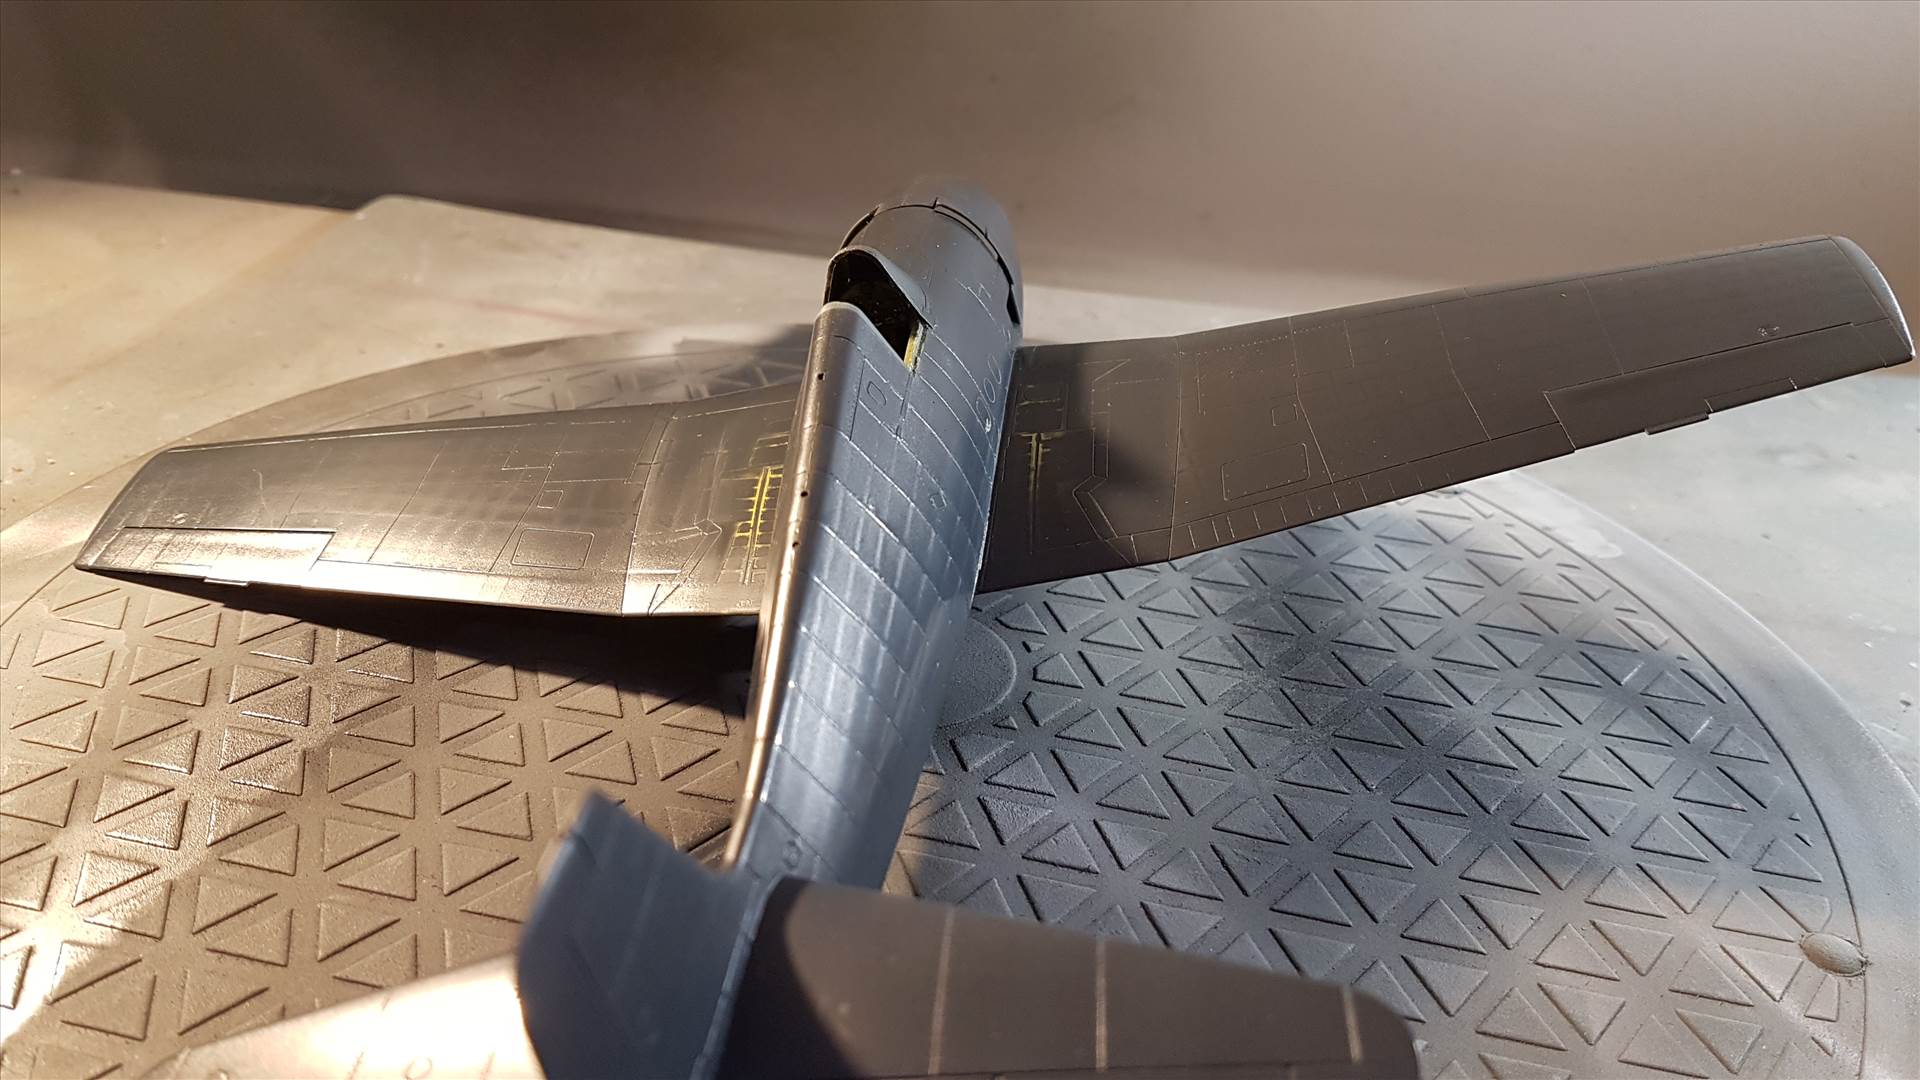
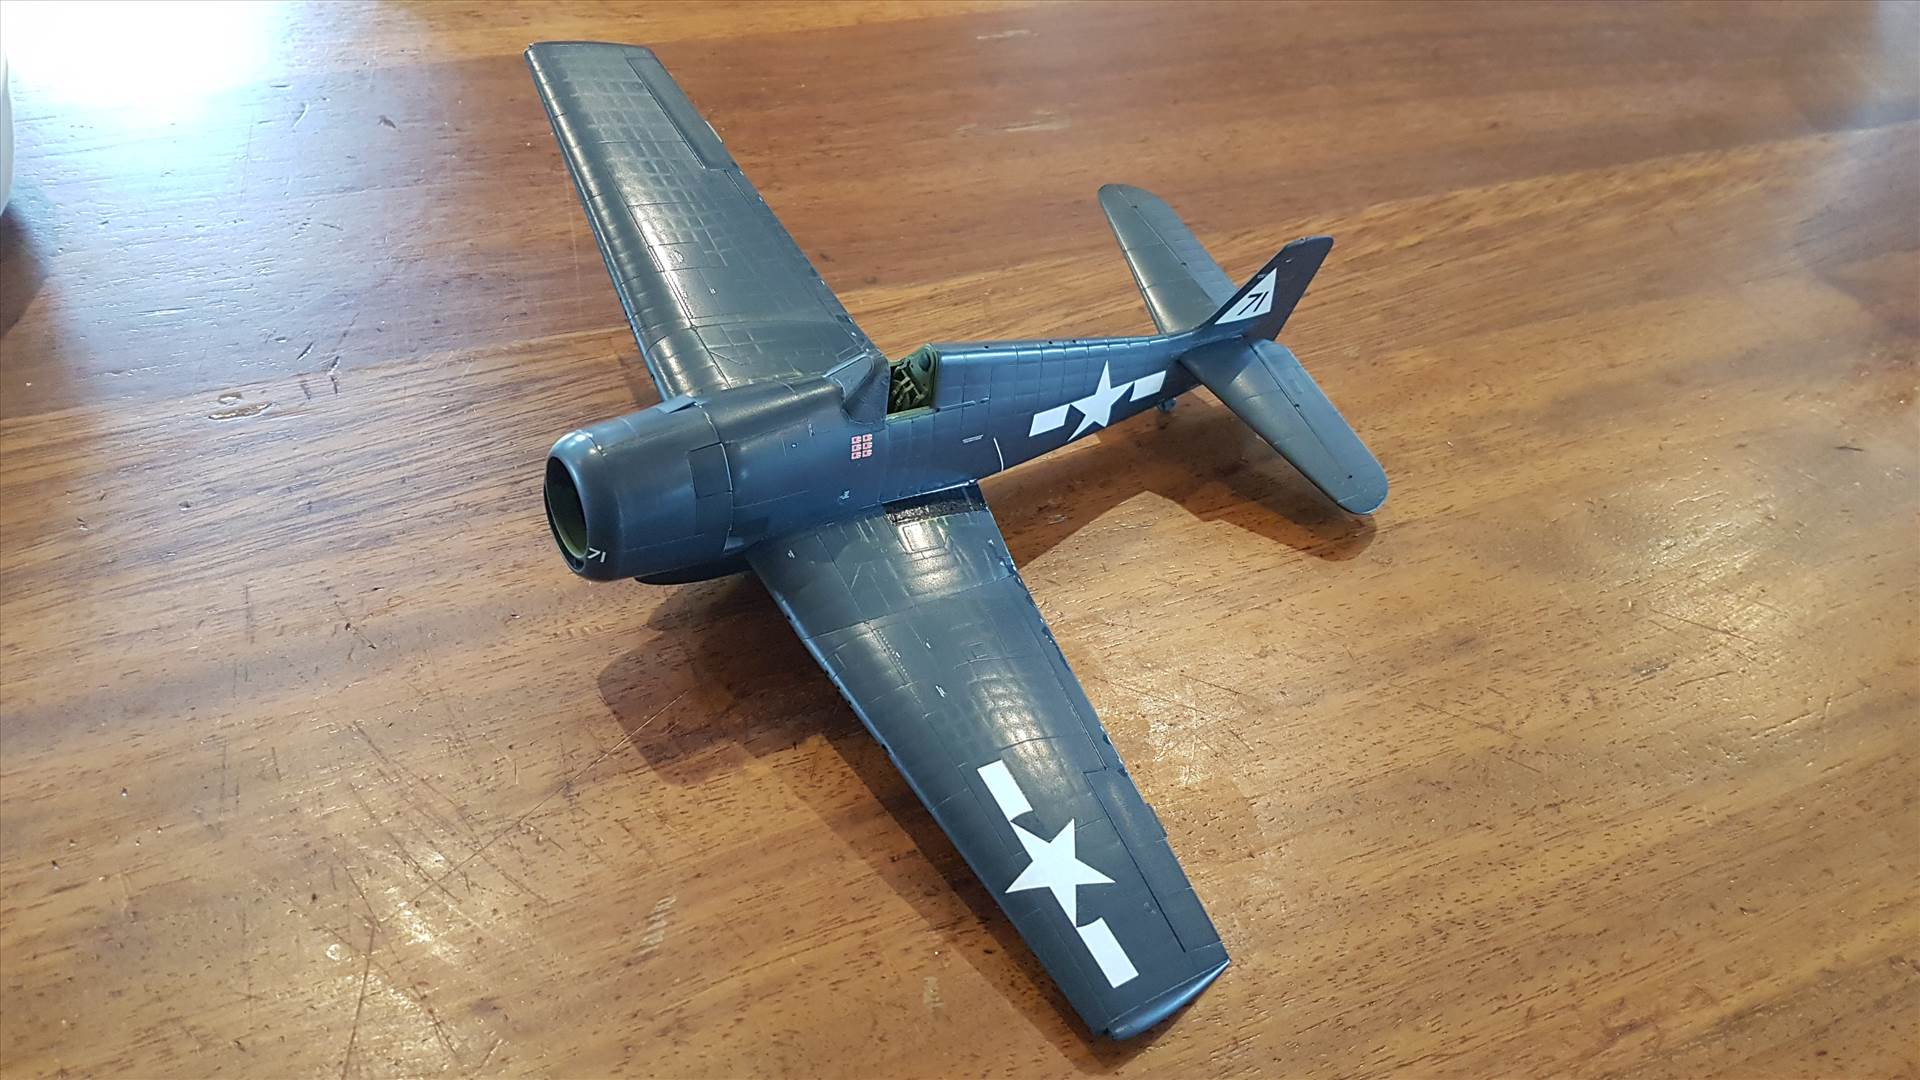
As with the last Eduard F6F I built, I sawed out and thinned down the cowl flaps for what is, in my opinion, a much enhanced appearance for very little effort and no cost. The kit parts have the cowl flaps the full thickness of the cowl piece so even closed they don't look like cowl flaps.
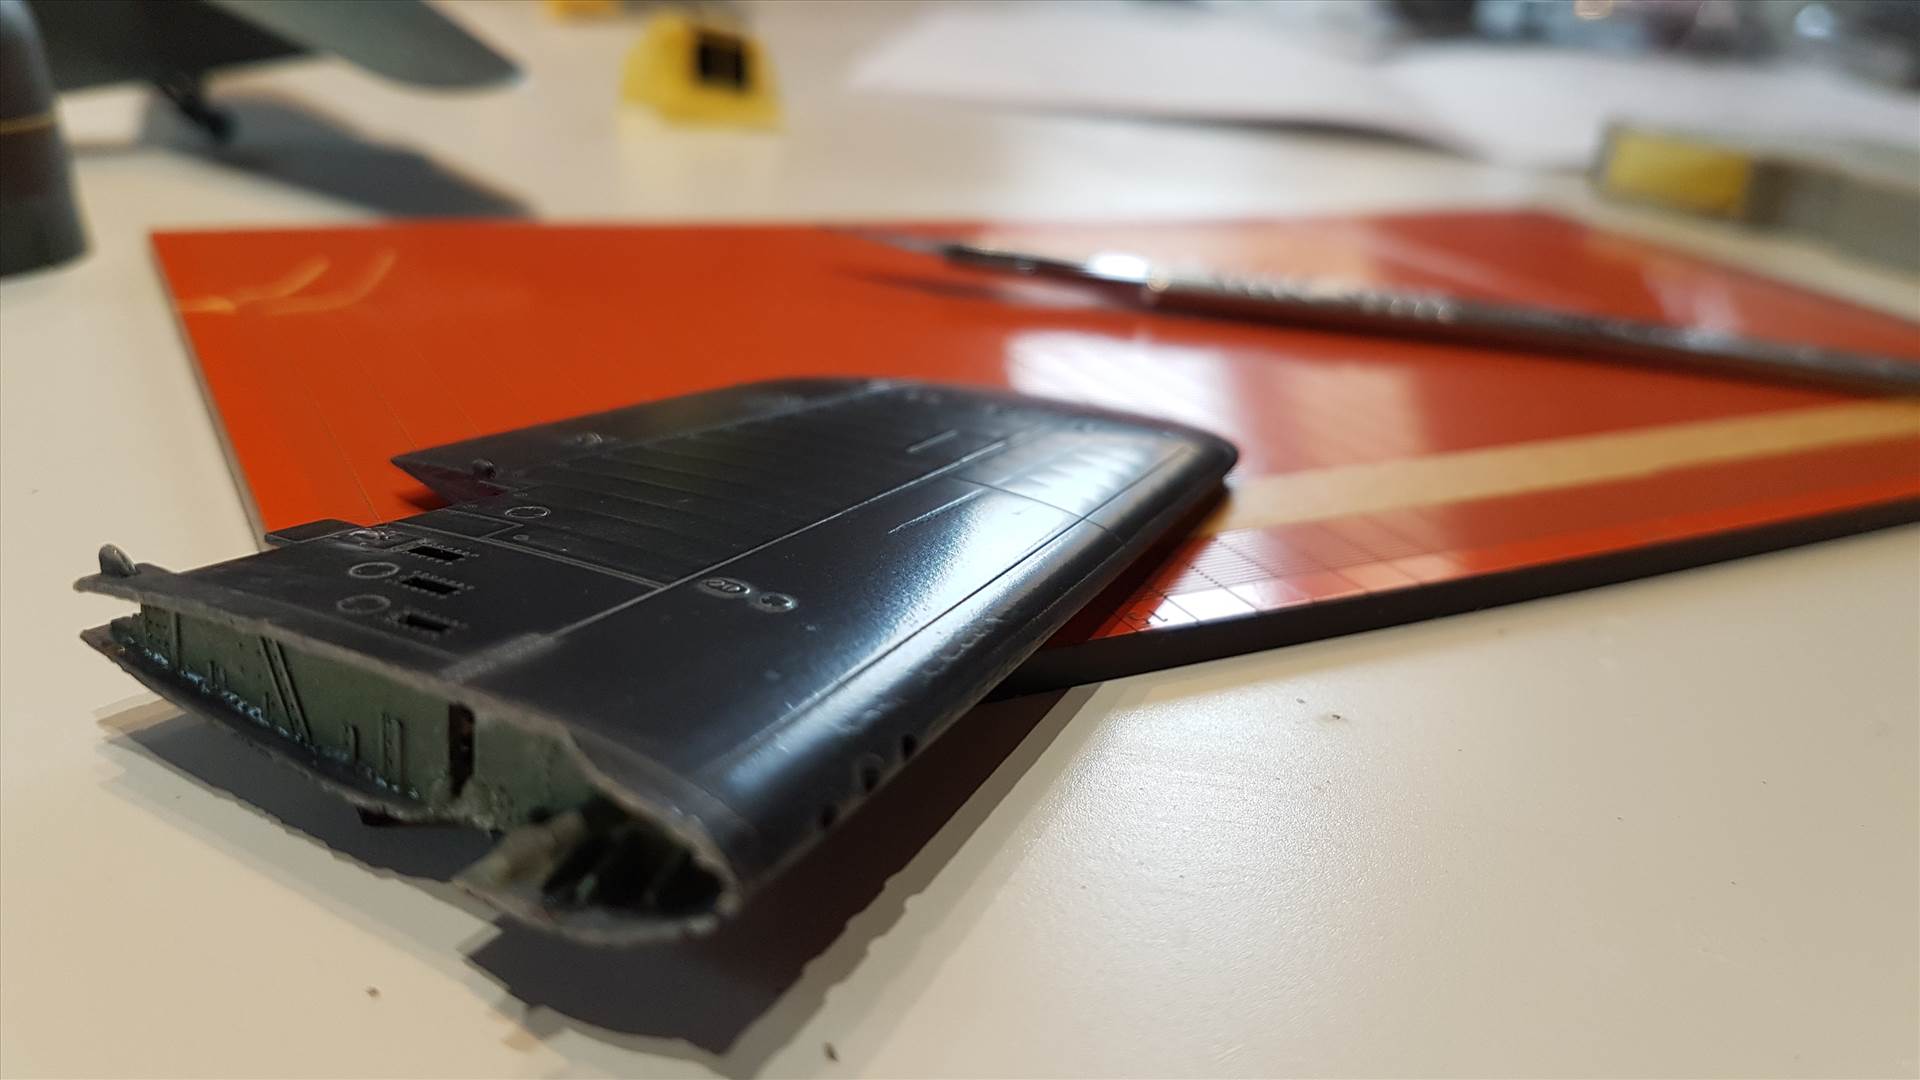
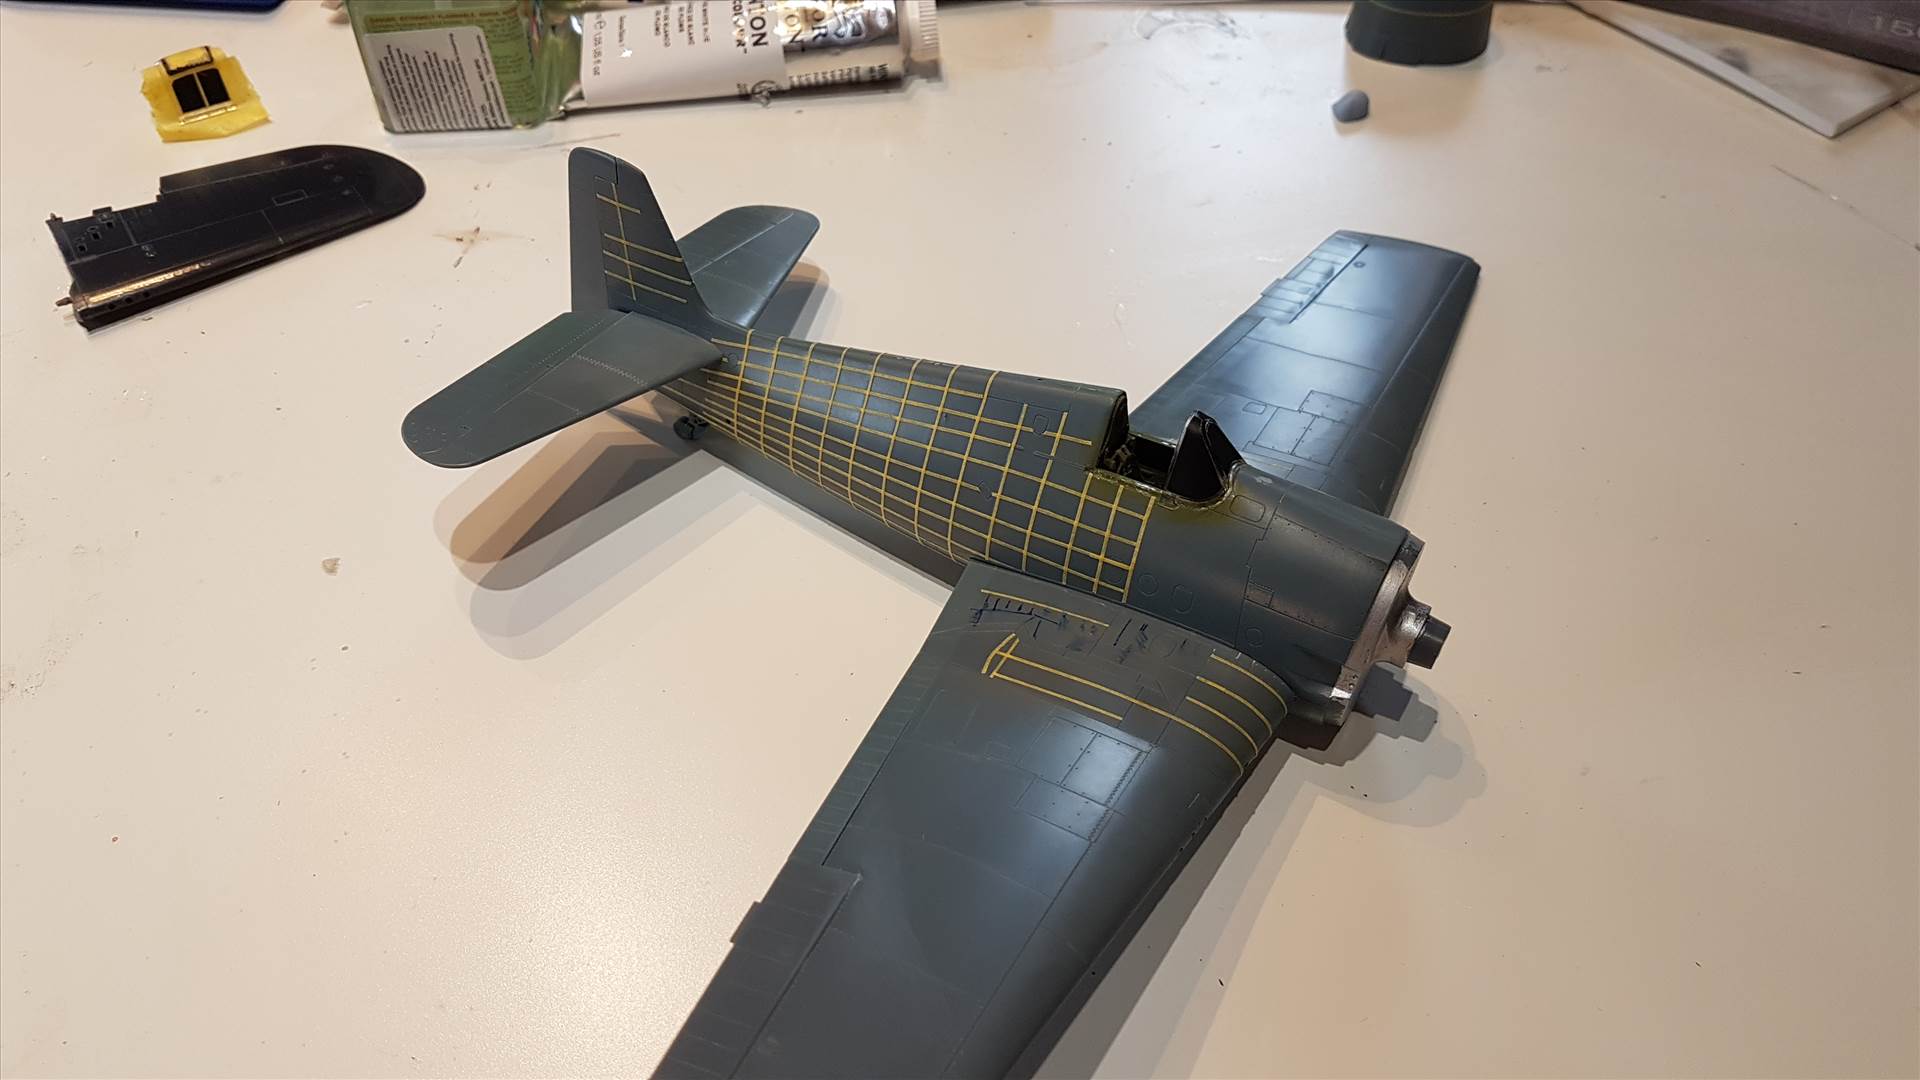
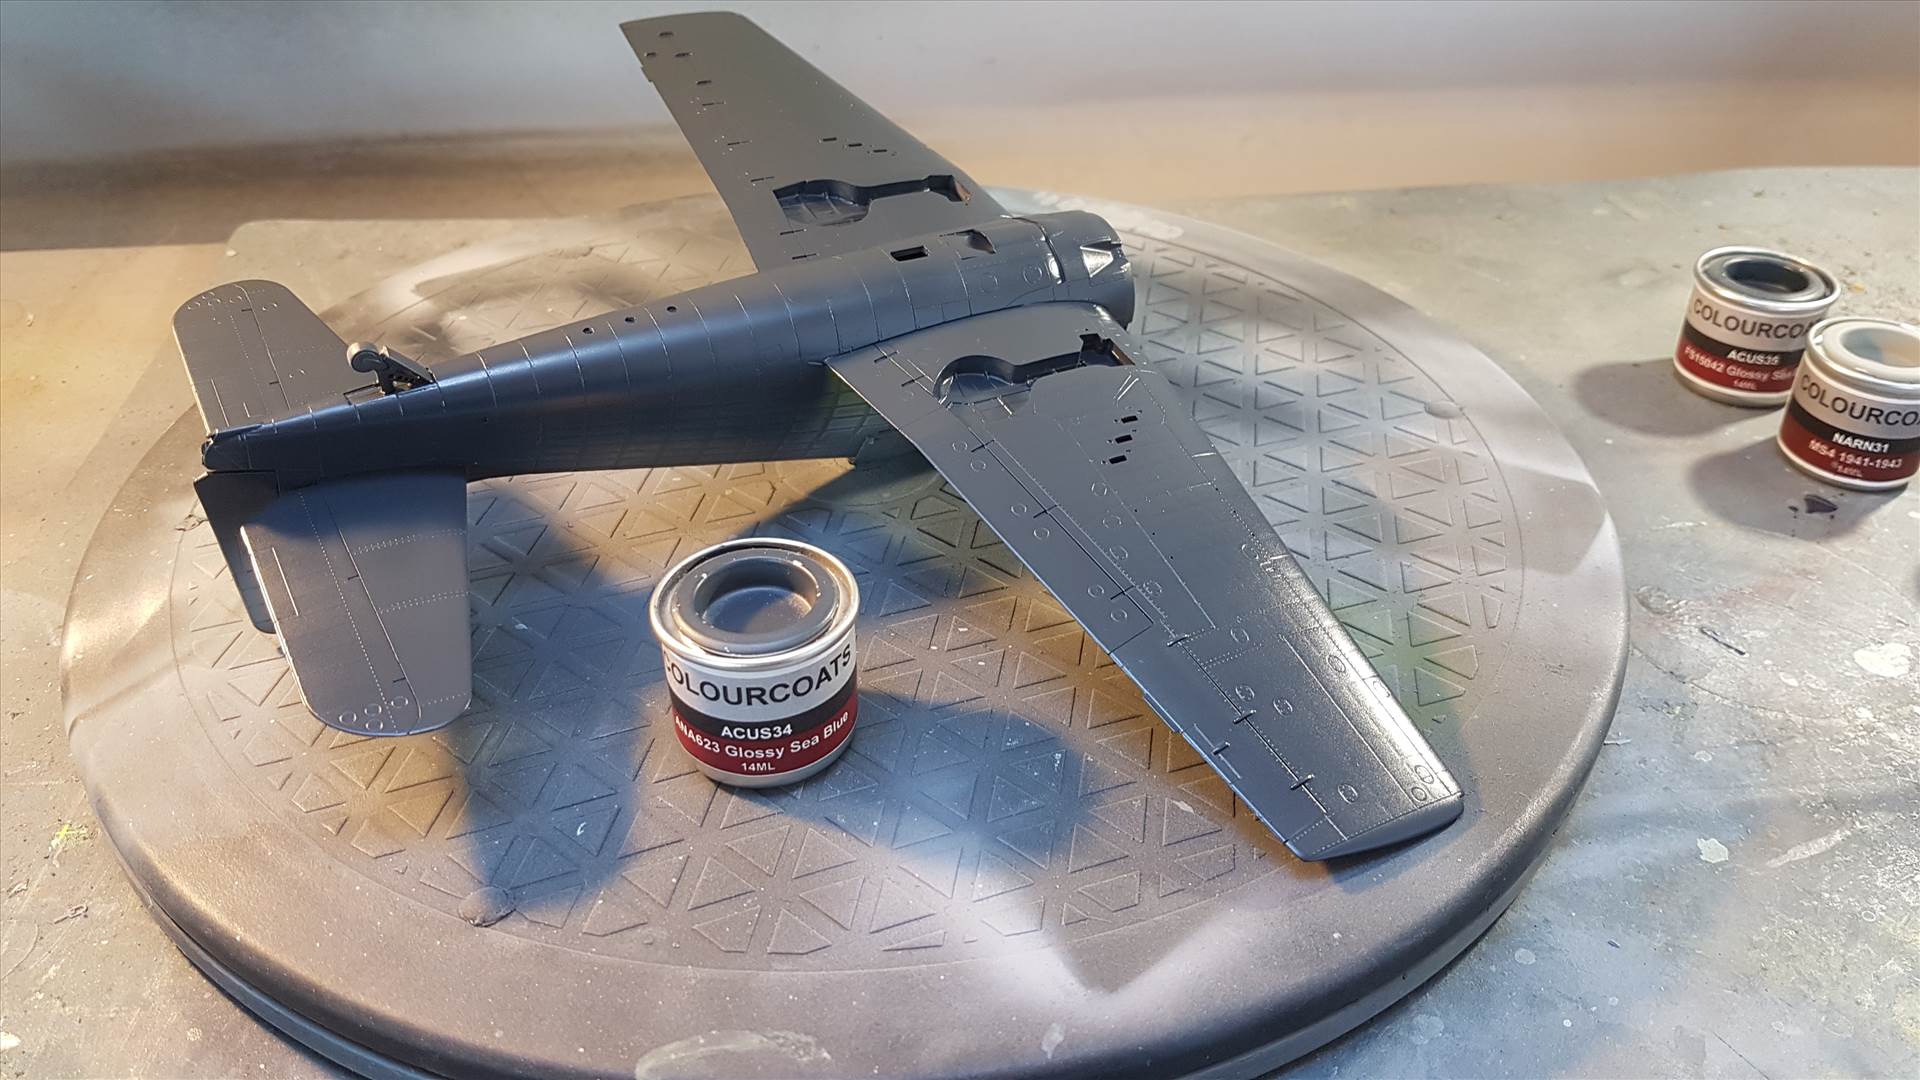
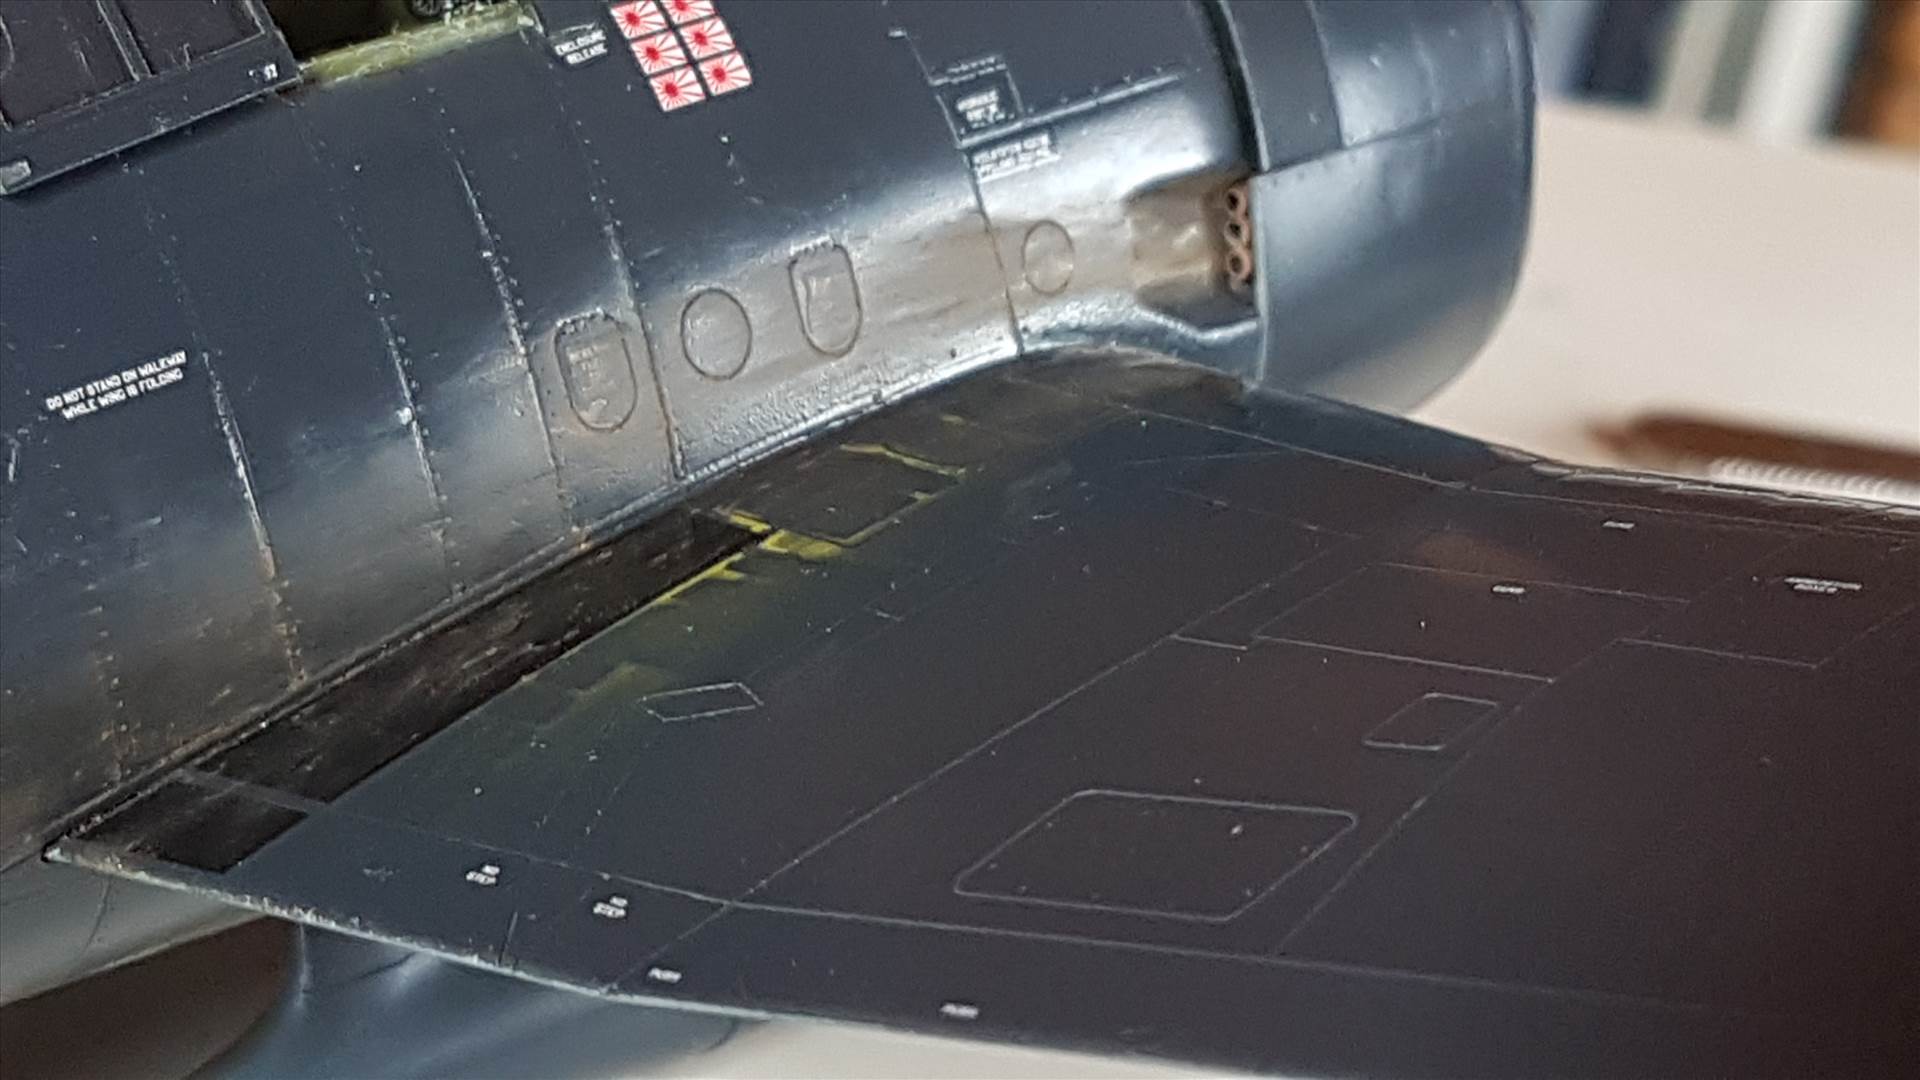
It was bought with the intention of making a very ubiquitous ANA623 Glossy Sea Blue US Navy example as seen pretty much everywhere in the Pacific from 1944 to 1945. The trouble is that ANA623 was pretty good paint and therefore most of the stuff modellers do to models such as pre or post shading, panel line washes etc is wholly inappropriate for such an aircraft. Then again, we can't be having a solid, featureless finish because the real aircraft didn't look like that either. I decided to try mimicking the stressed skin appearance of a real aircraft to try to get similar light reflections from a glossy finish. Out with the paint mule!
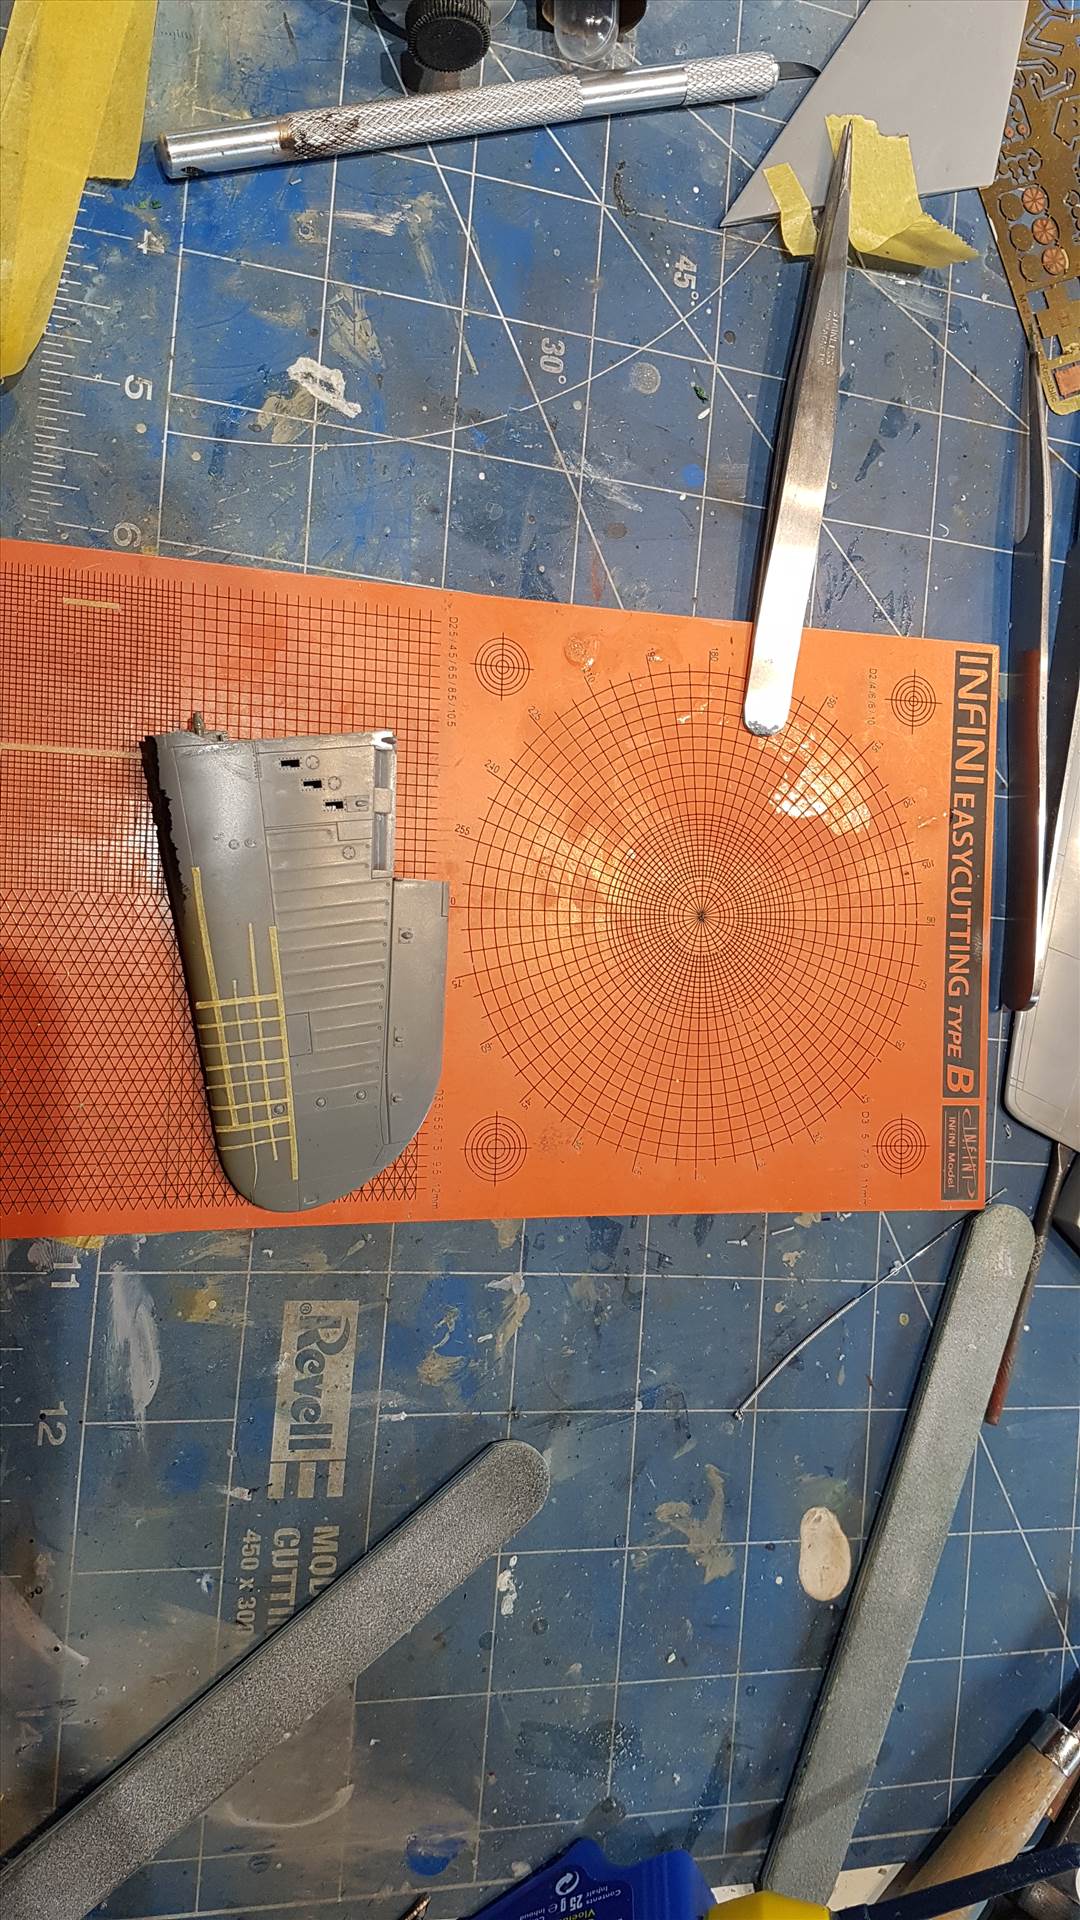
I cut narrow strips of masking tape. The Infini cutting mats made short work of that and got all strips consistent.
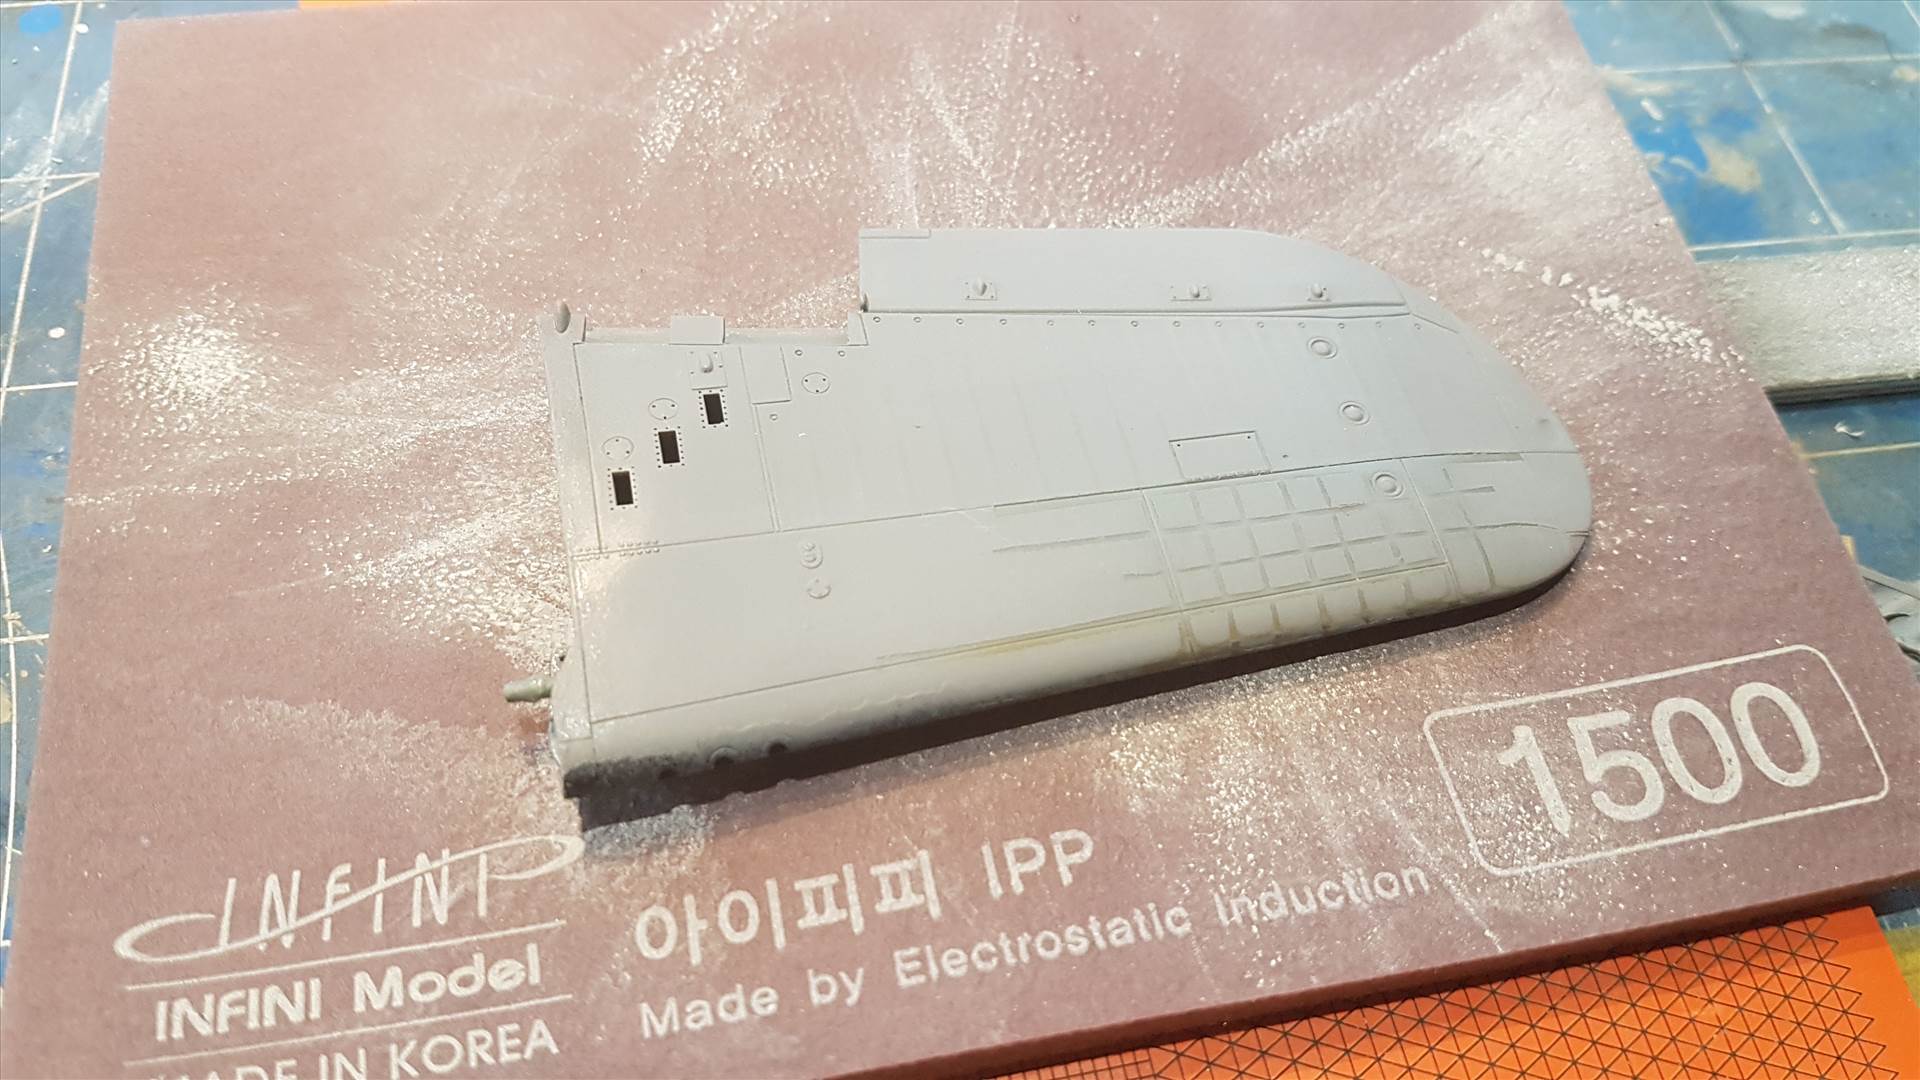
I gave it two light coats with Halfords grey aerosol primer

The tape was removed and I gave it a go over with an Infini 1500grit sanding sponge, the aim being to knock all the corners off and smooth the humps a bit.
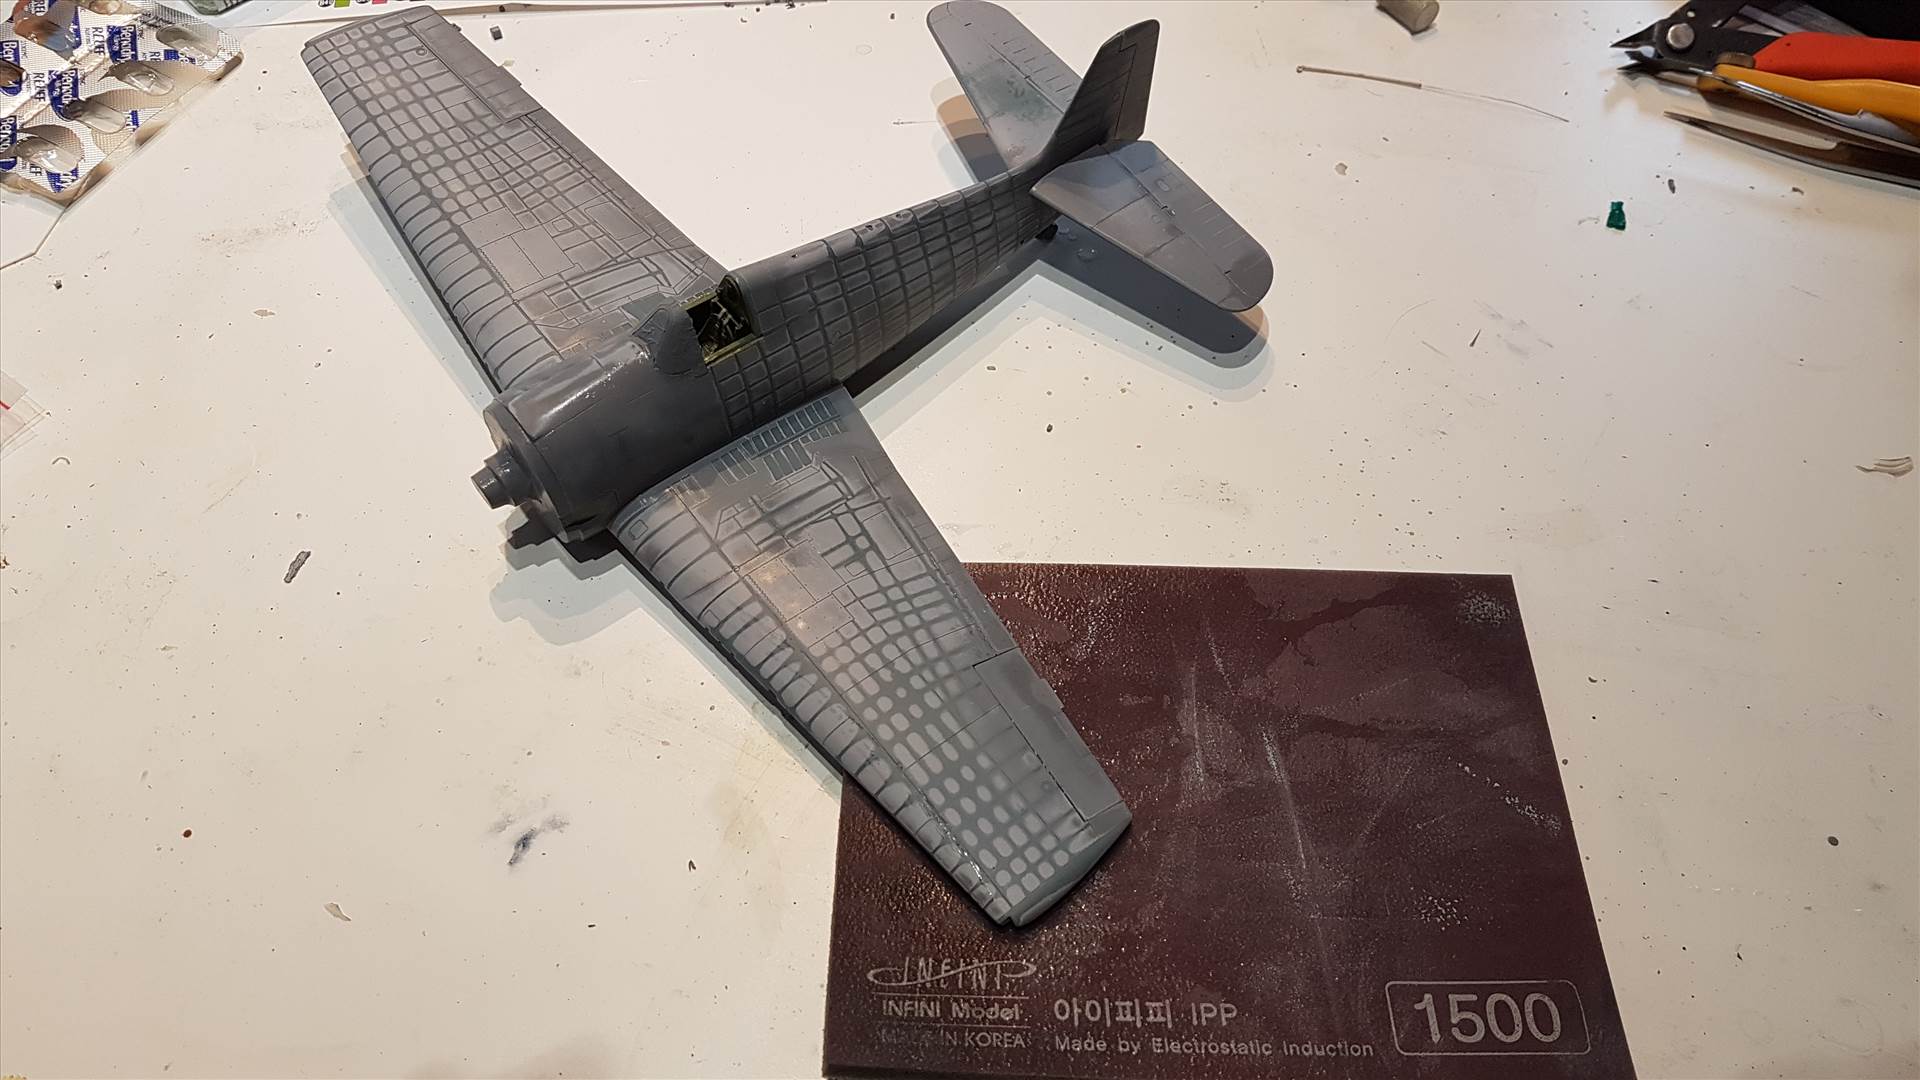
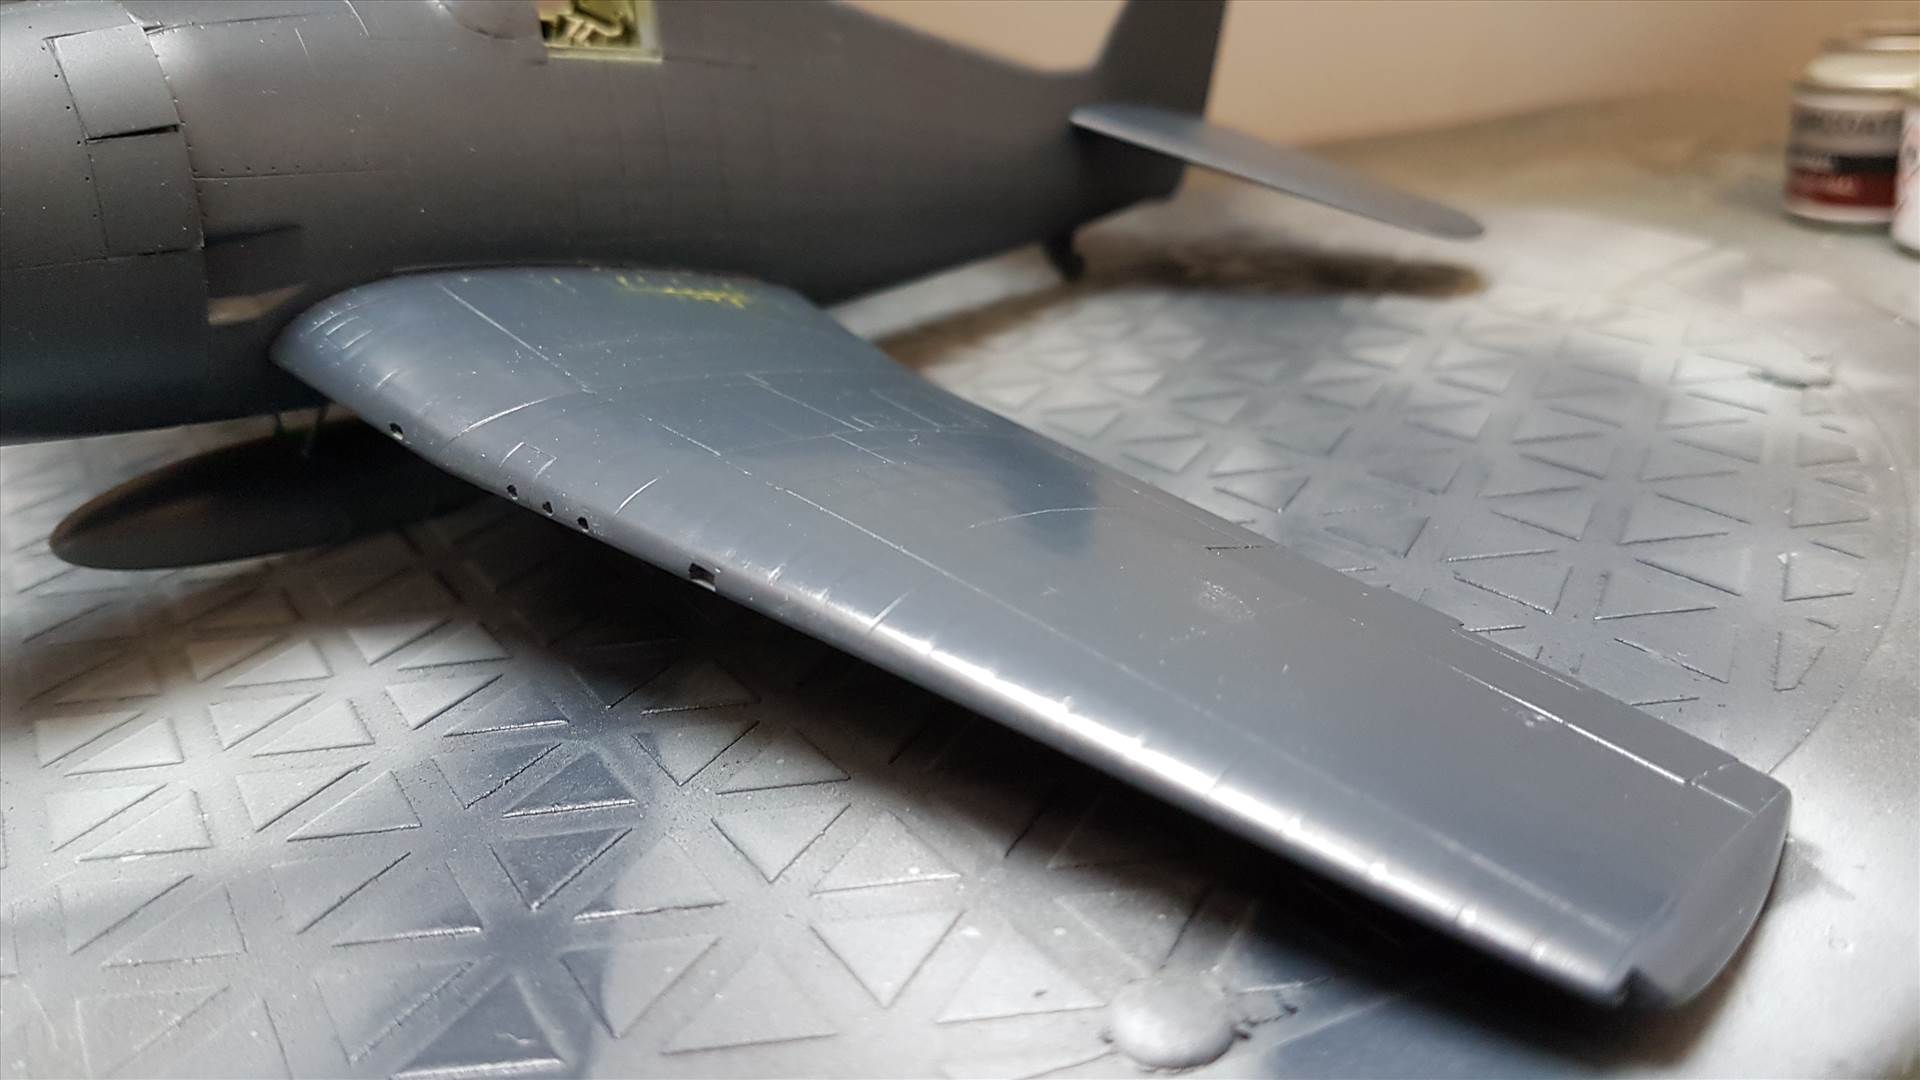
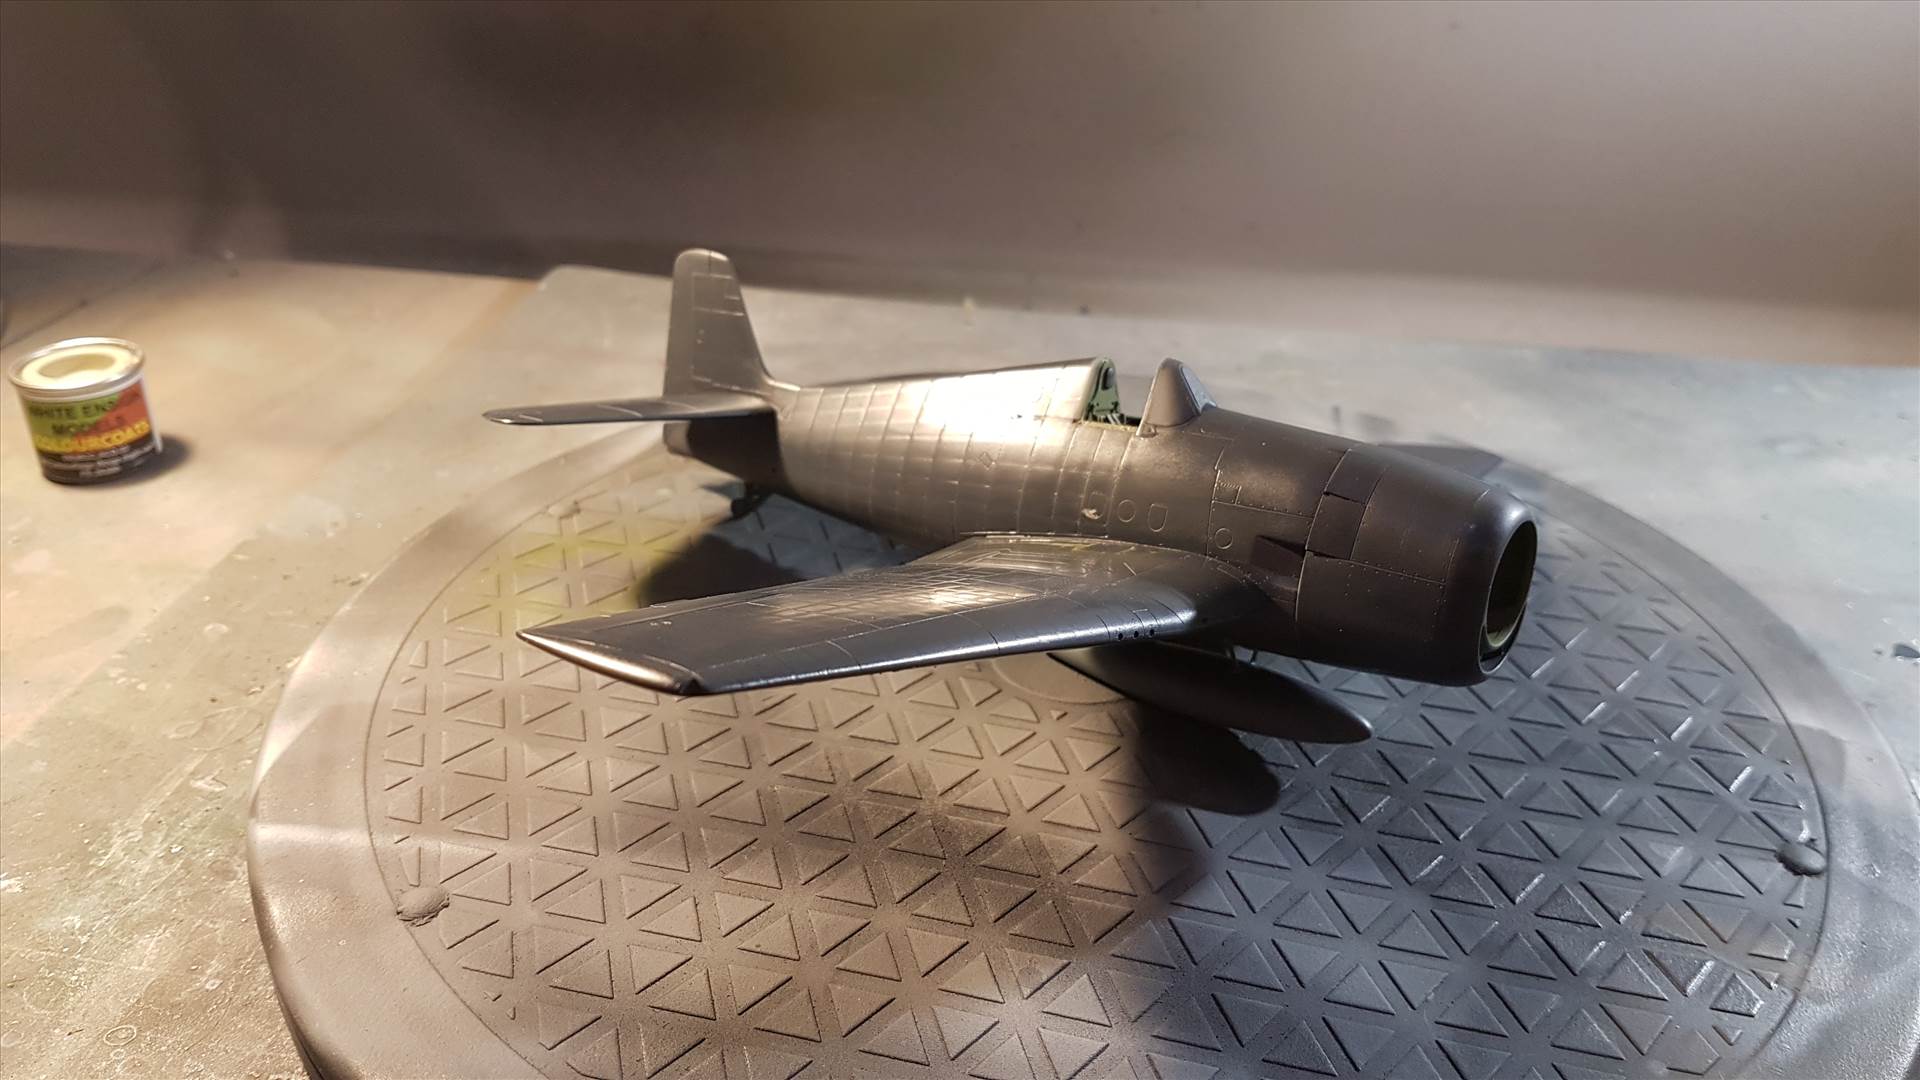
I then gave it a fairly heavy coat (in many very thin passes) of Colourcoats ACUS34 ANA623 Glossy Sea Blue this morning. This has had a polish with Infini 2500 and 4000 grit sponges and looks like this:
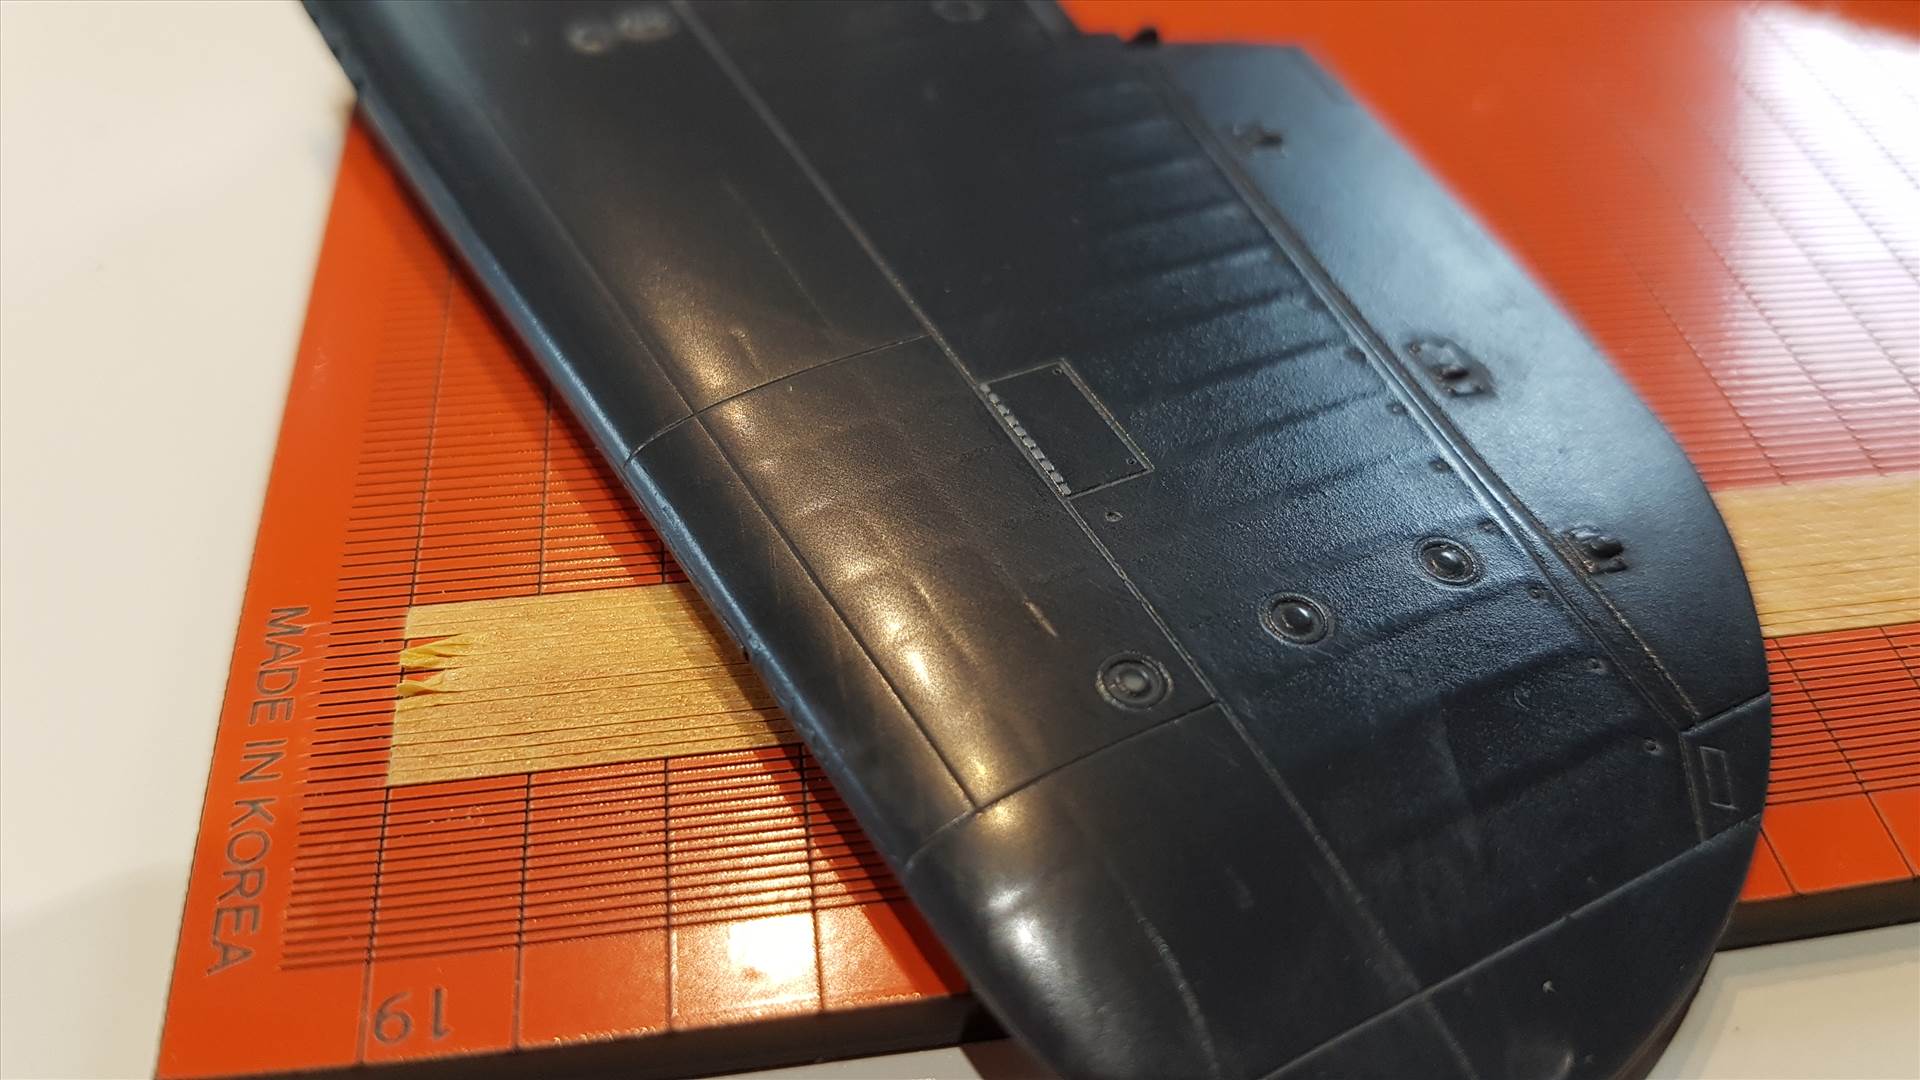
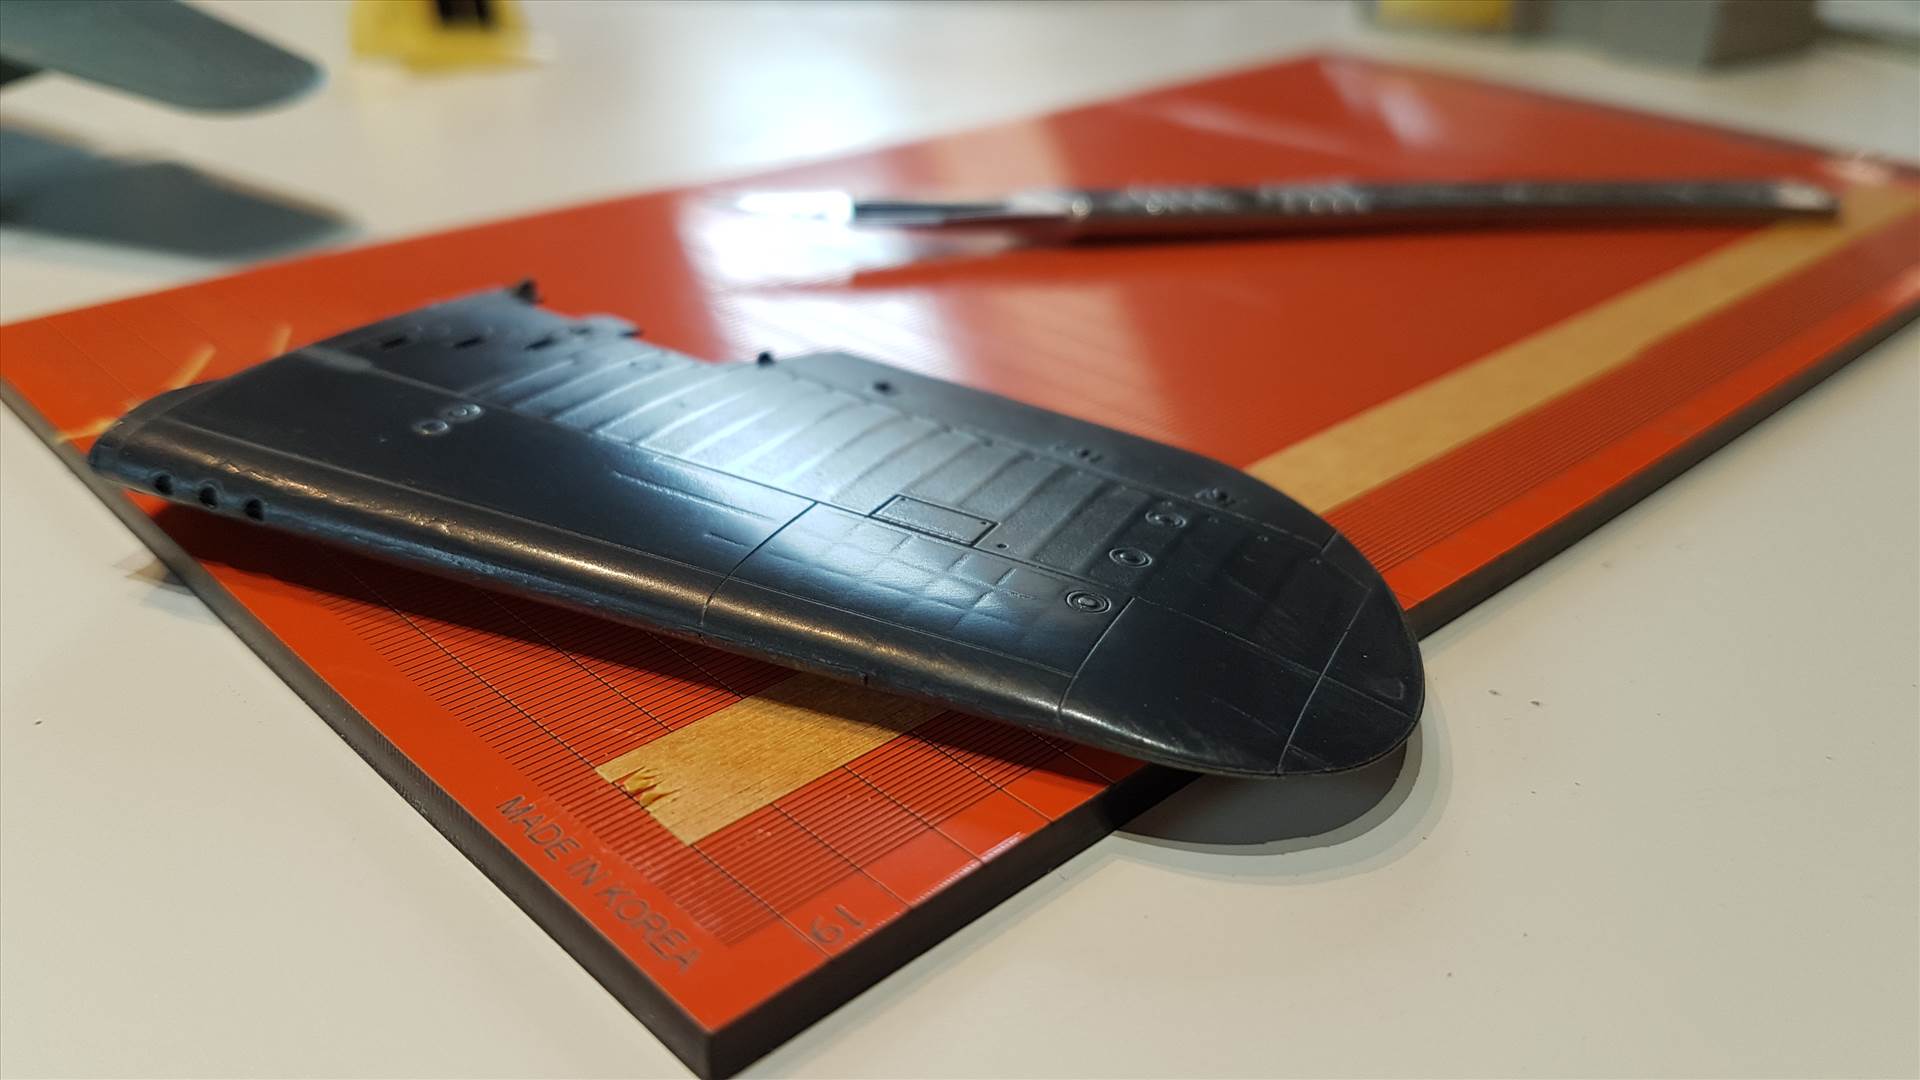
Overall, and with more work with the 1500 grit prior to top coat, I feel somewhat positive about it and have decided to go for it. This may take some time!

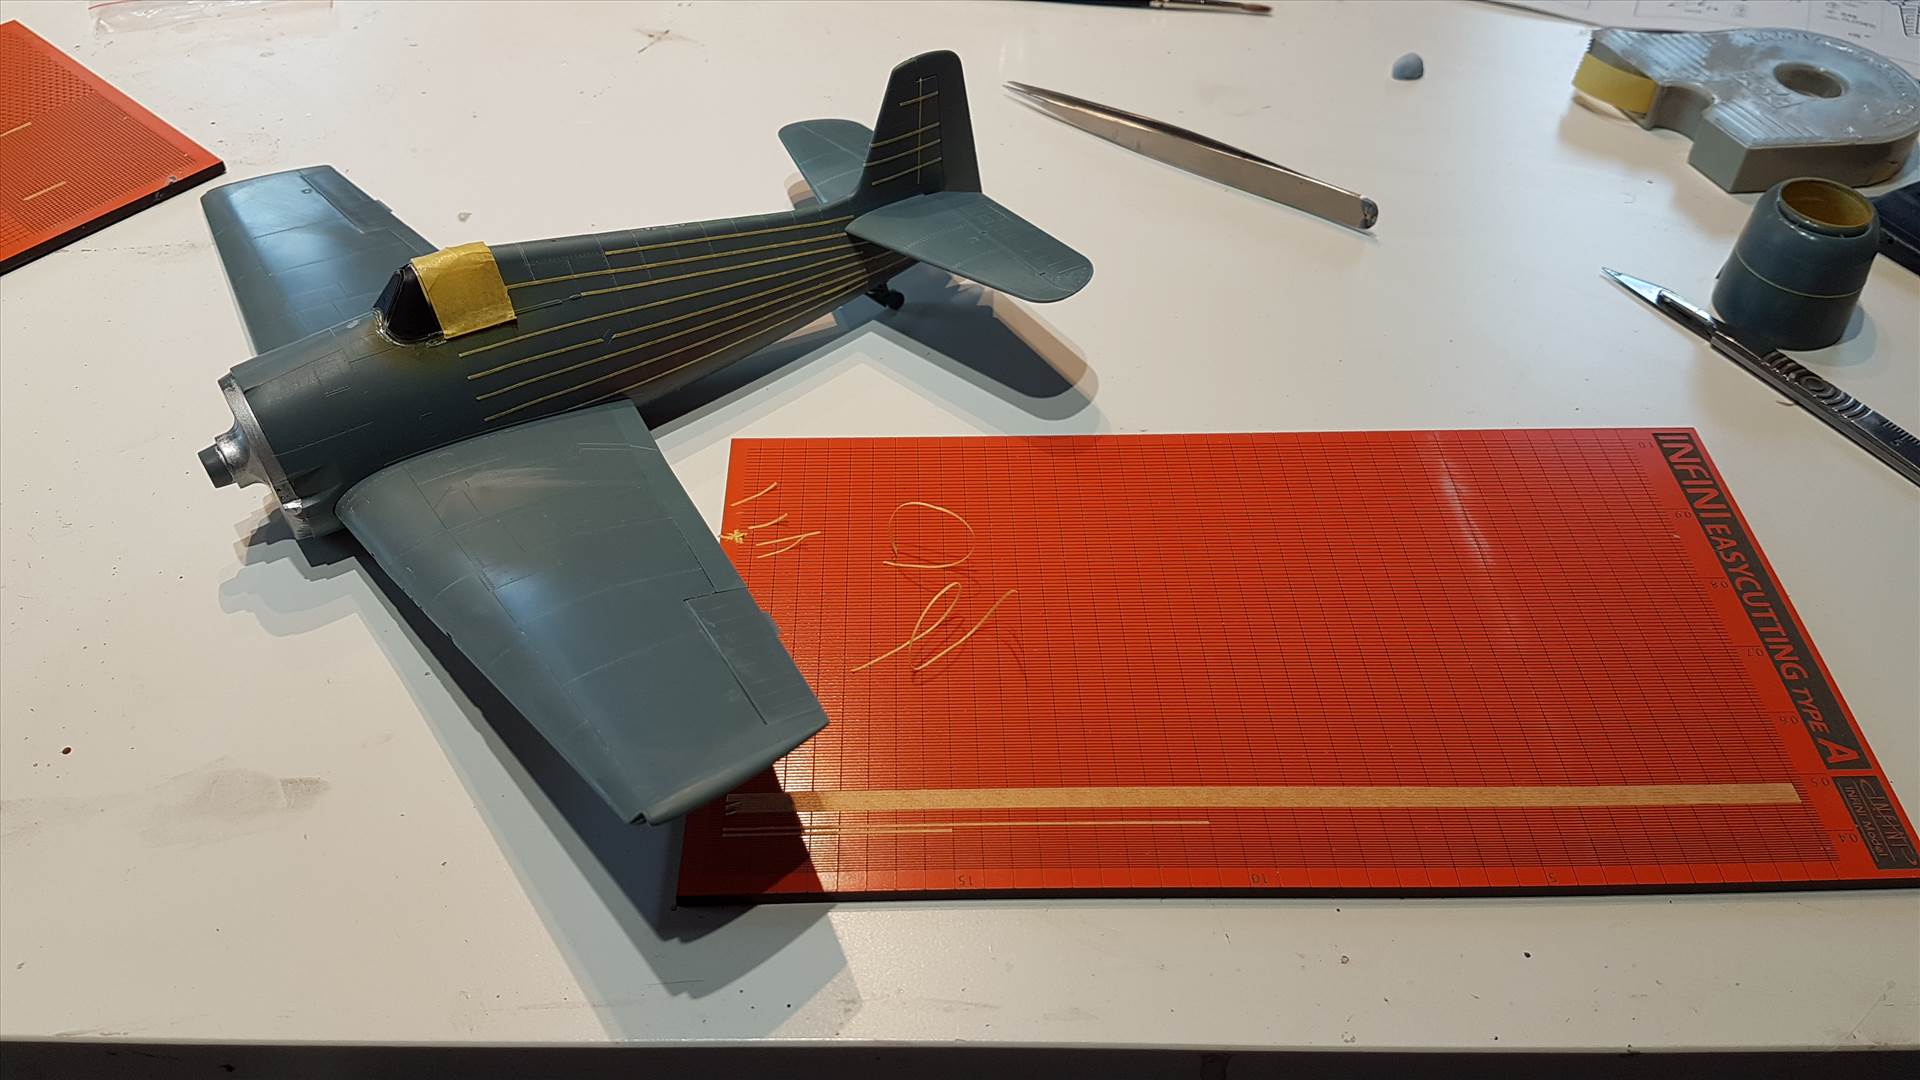
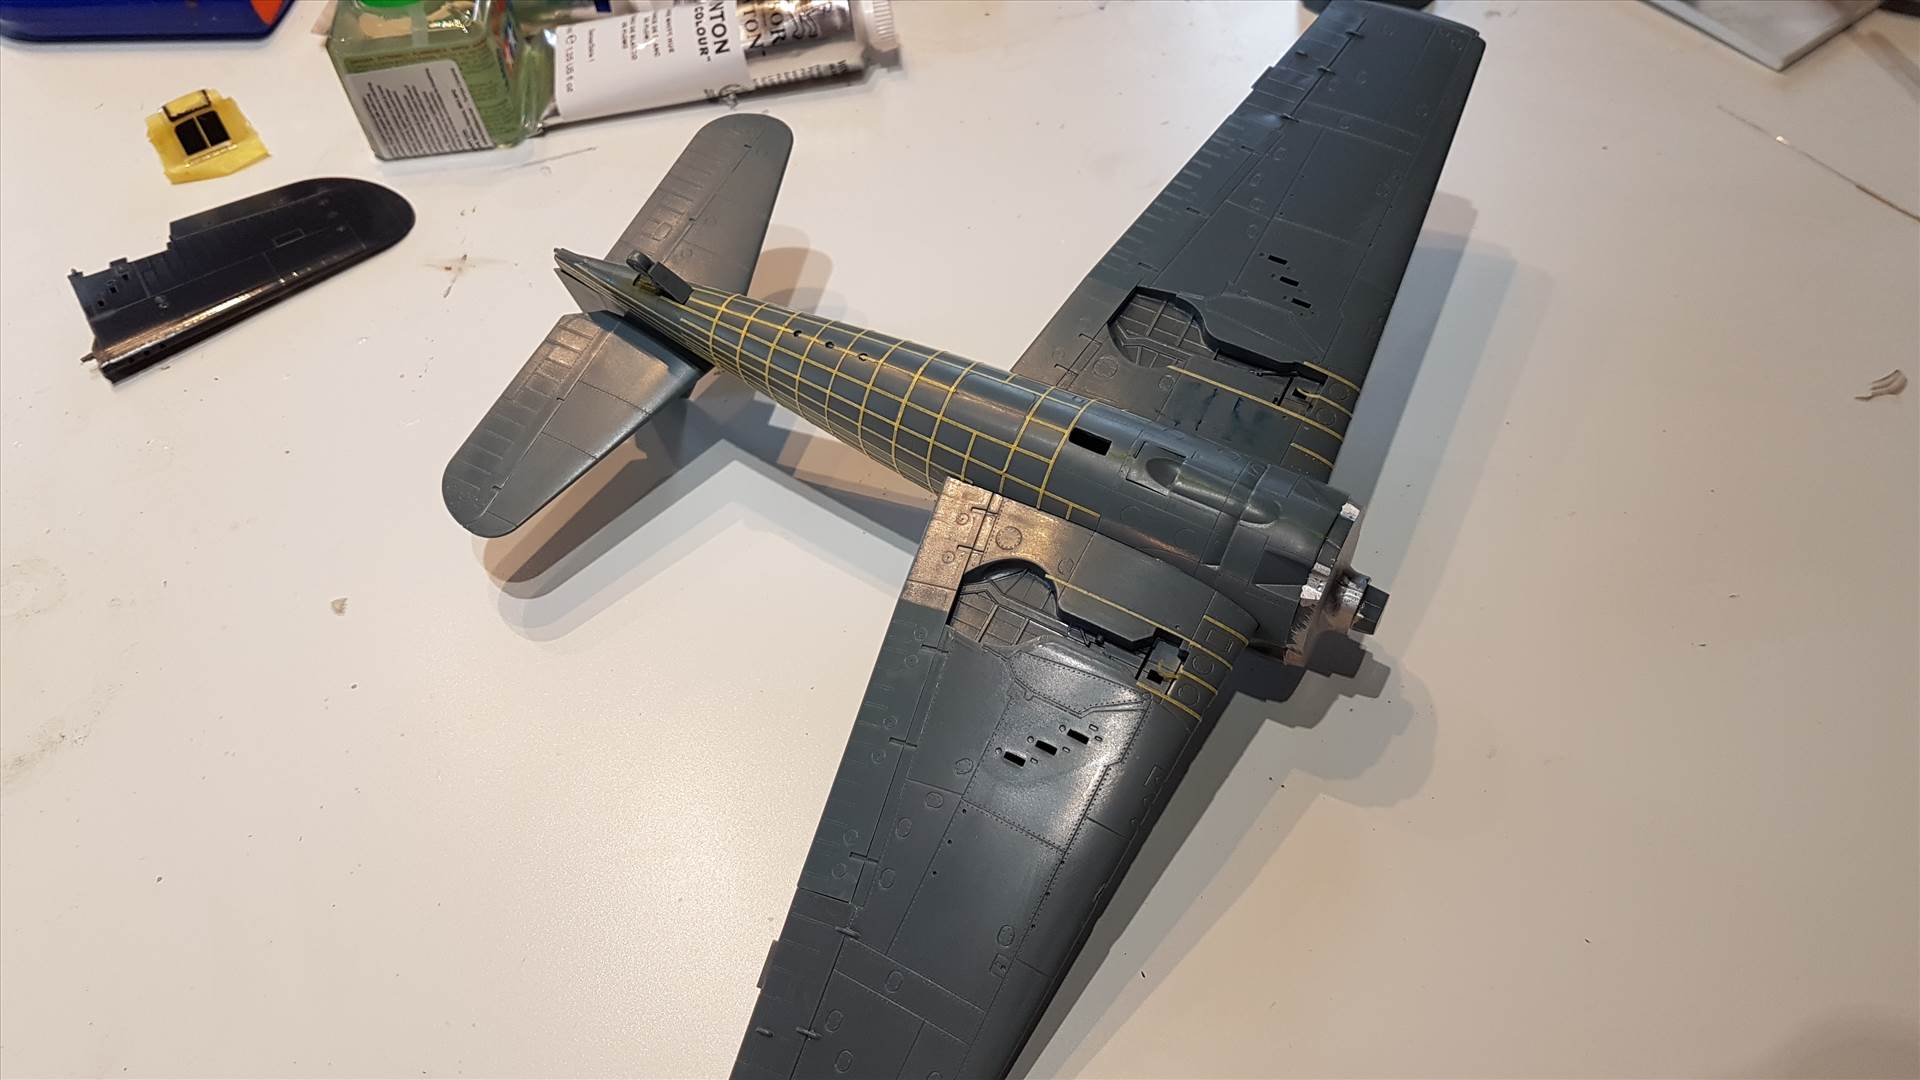
Some more tape fitted tonight. Both sides of the fuselage have been kept more-or-less up to date. I'm only doing this on areas which show any real evidence of rippling skins. I don't want the entire thing looking like it's made of bricks!
Post 2
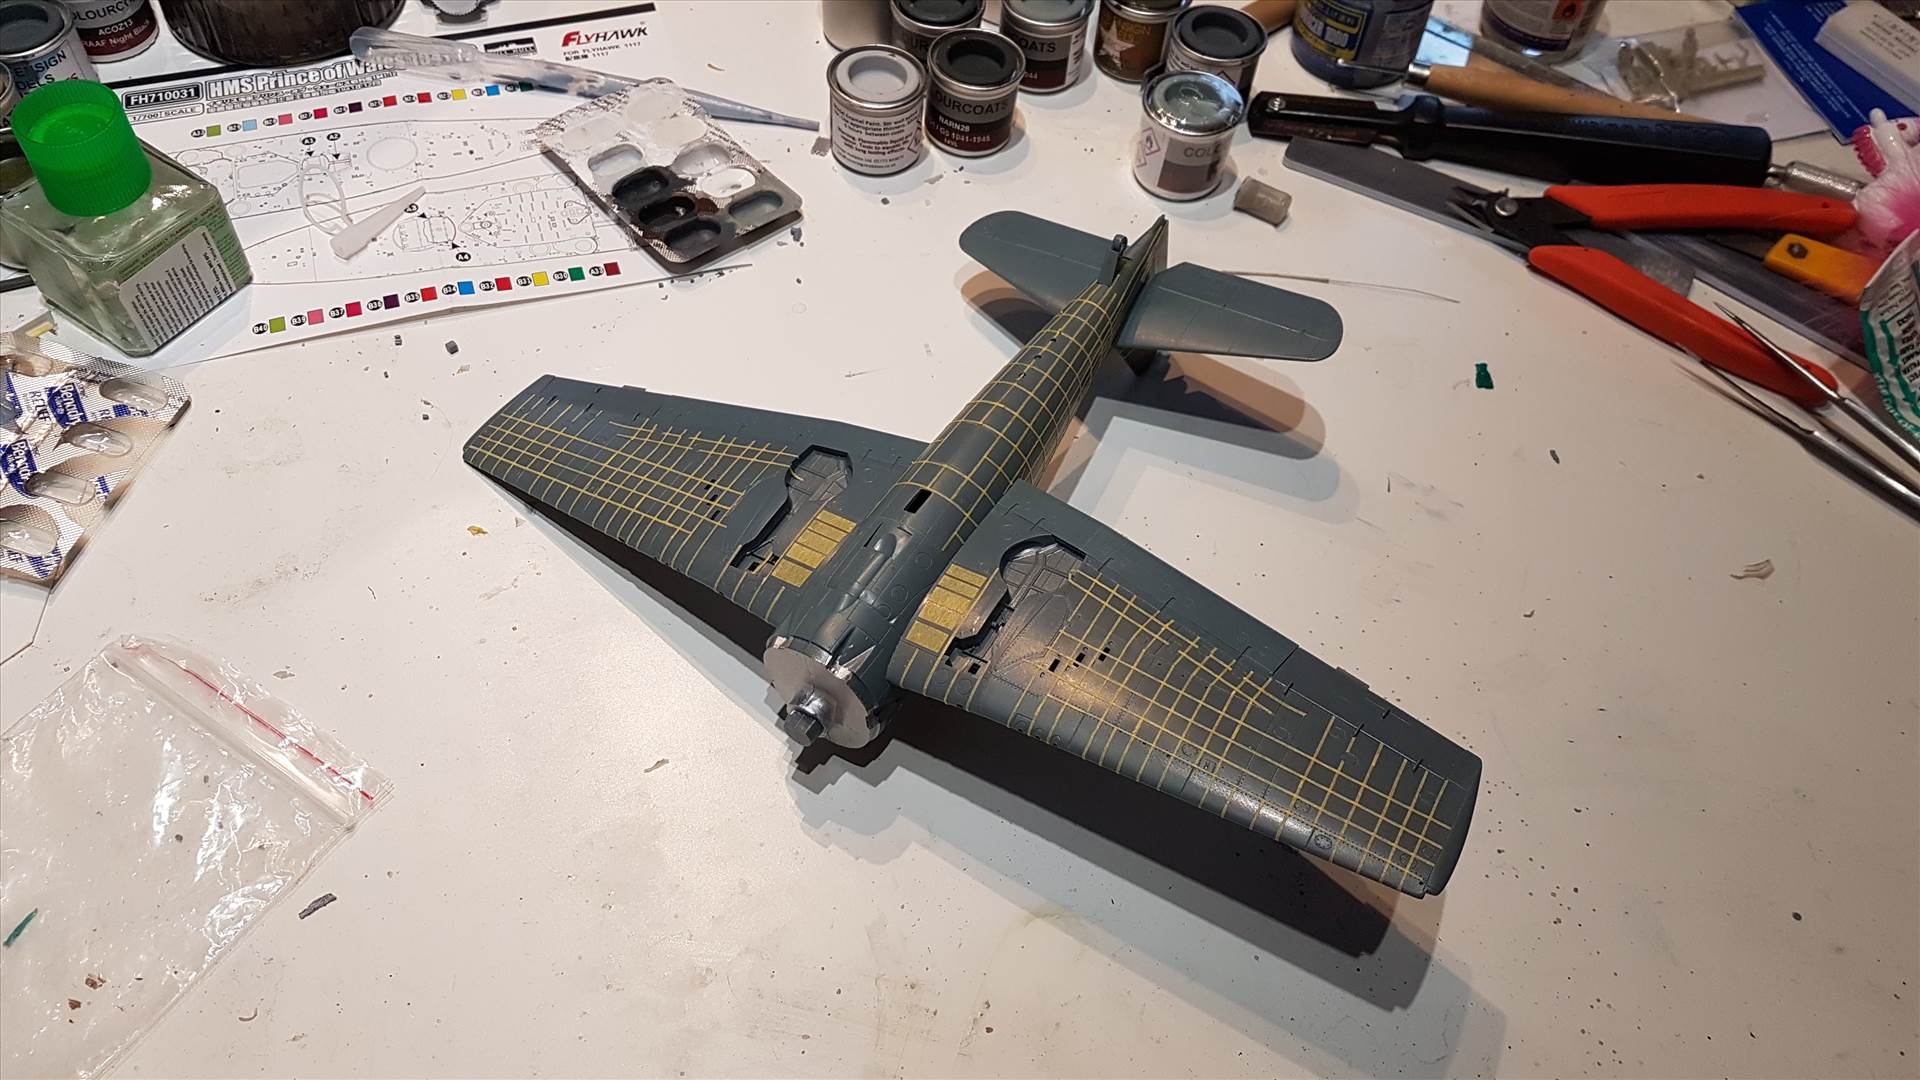
I have spent a little time this morning. I'm now on to my second strip of Tamiya 12mm tape. The fuselage is done and as can be seen I am now masking up the wings.
Most of today has been consumed applying more strips of masking tape. It's now ready for primer.
The first coat of primer is on. I'm going to let that harden up and apply some more tomorrow. Then shall follow around 5,000 manhours of peeling masking tape back off before the sanding can begin...
Post 3
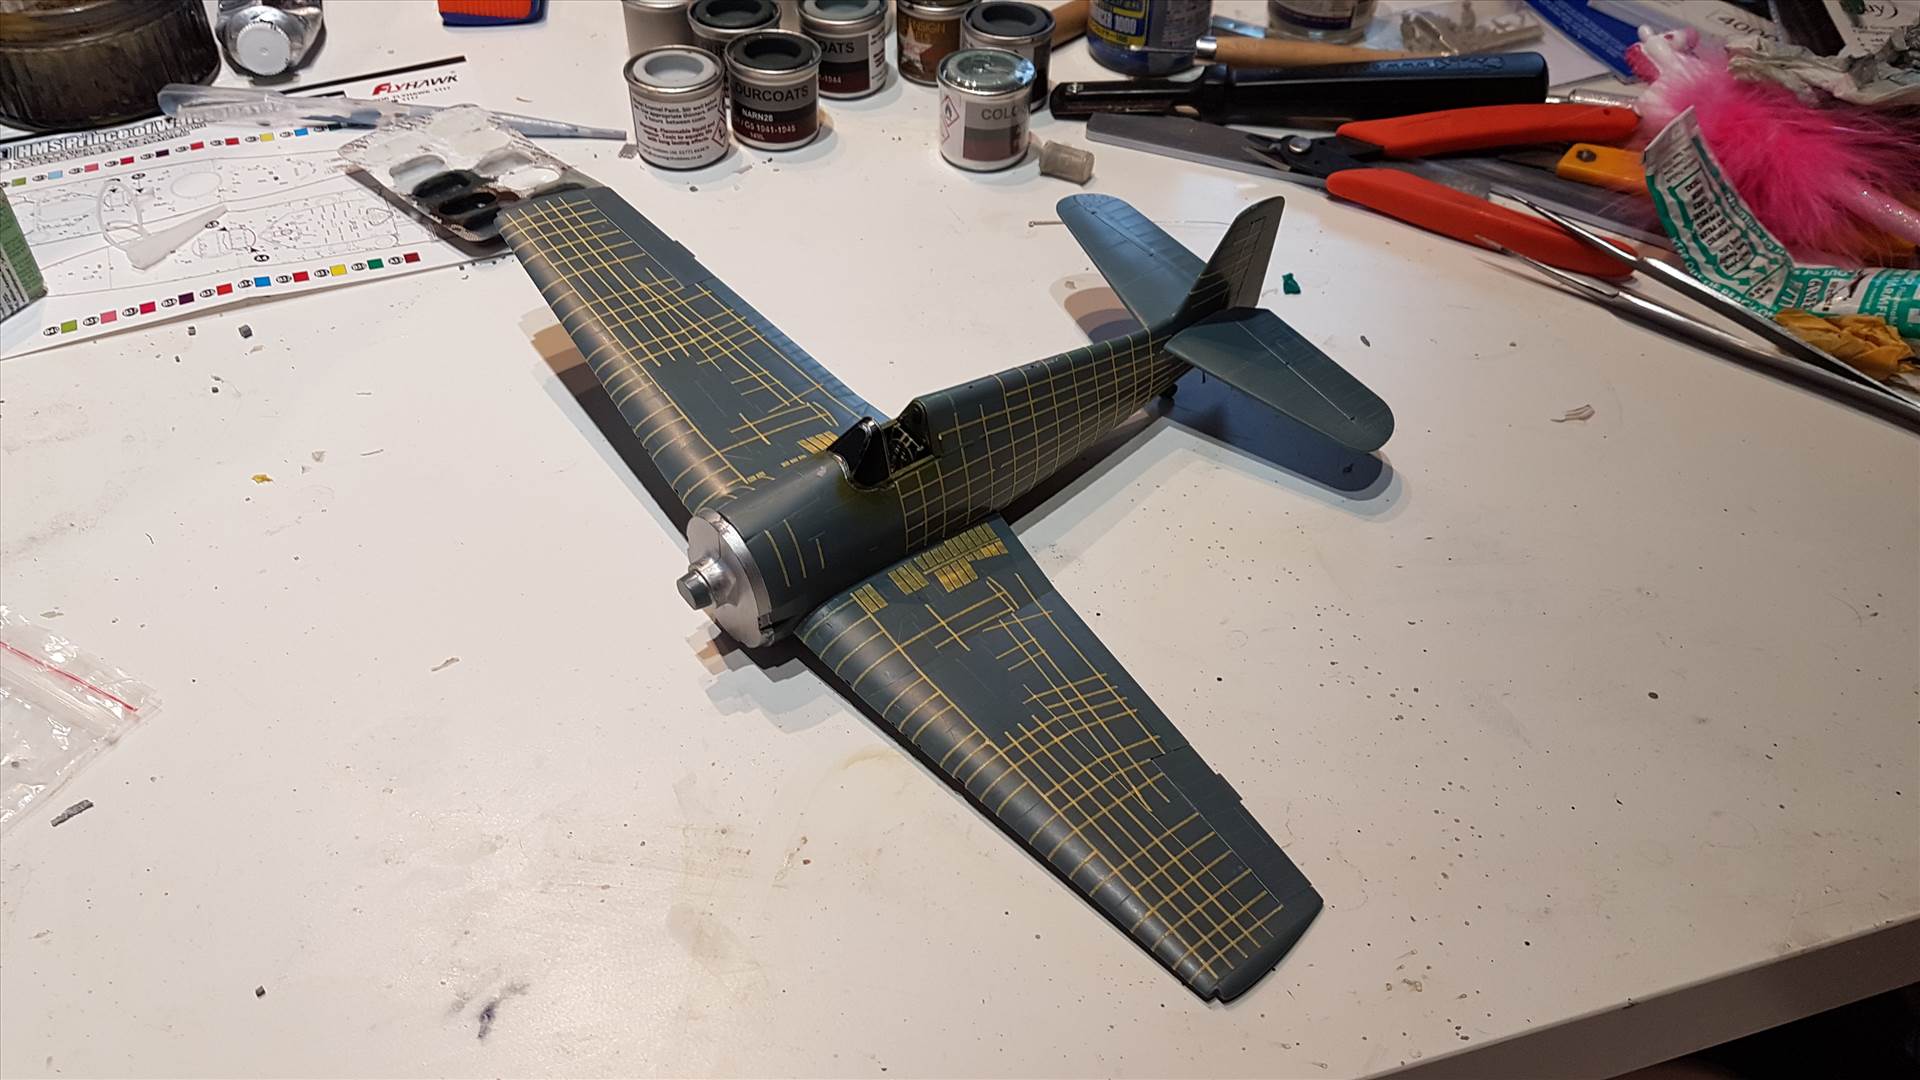
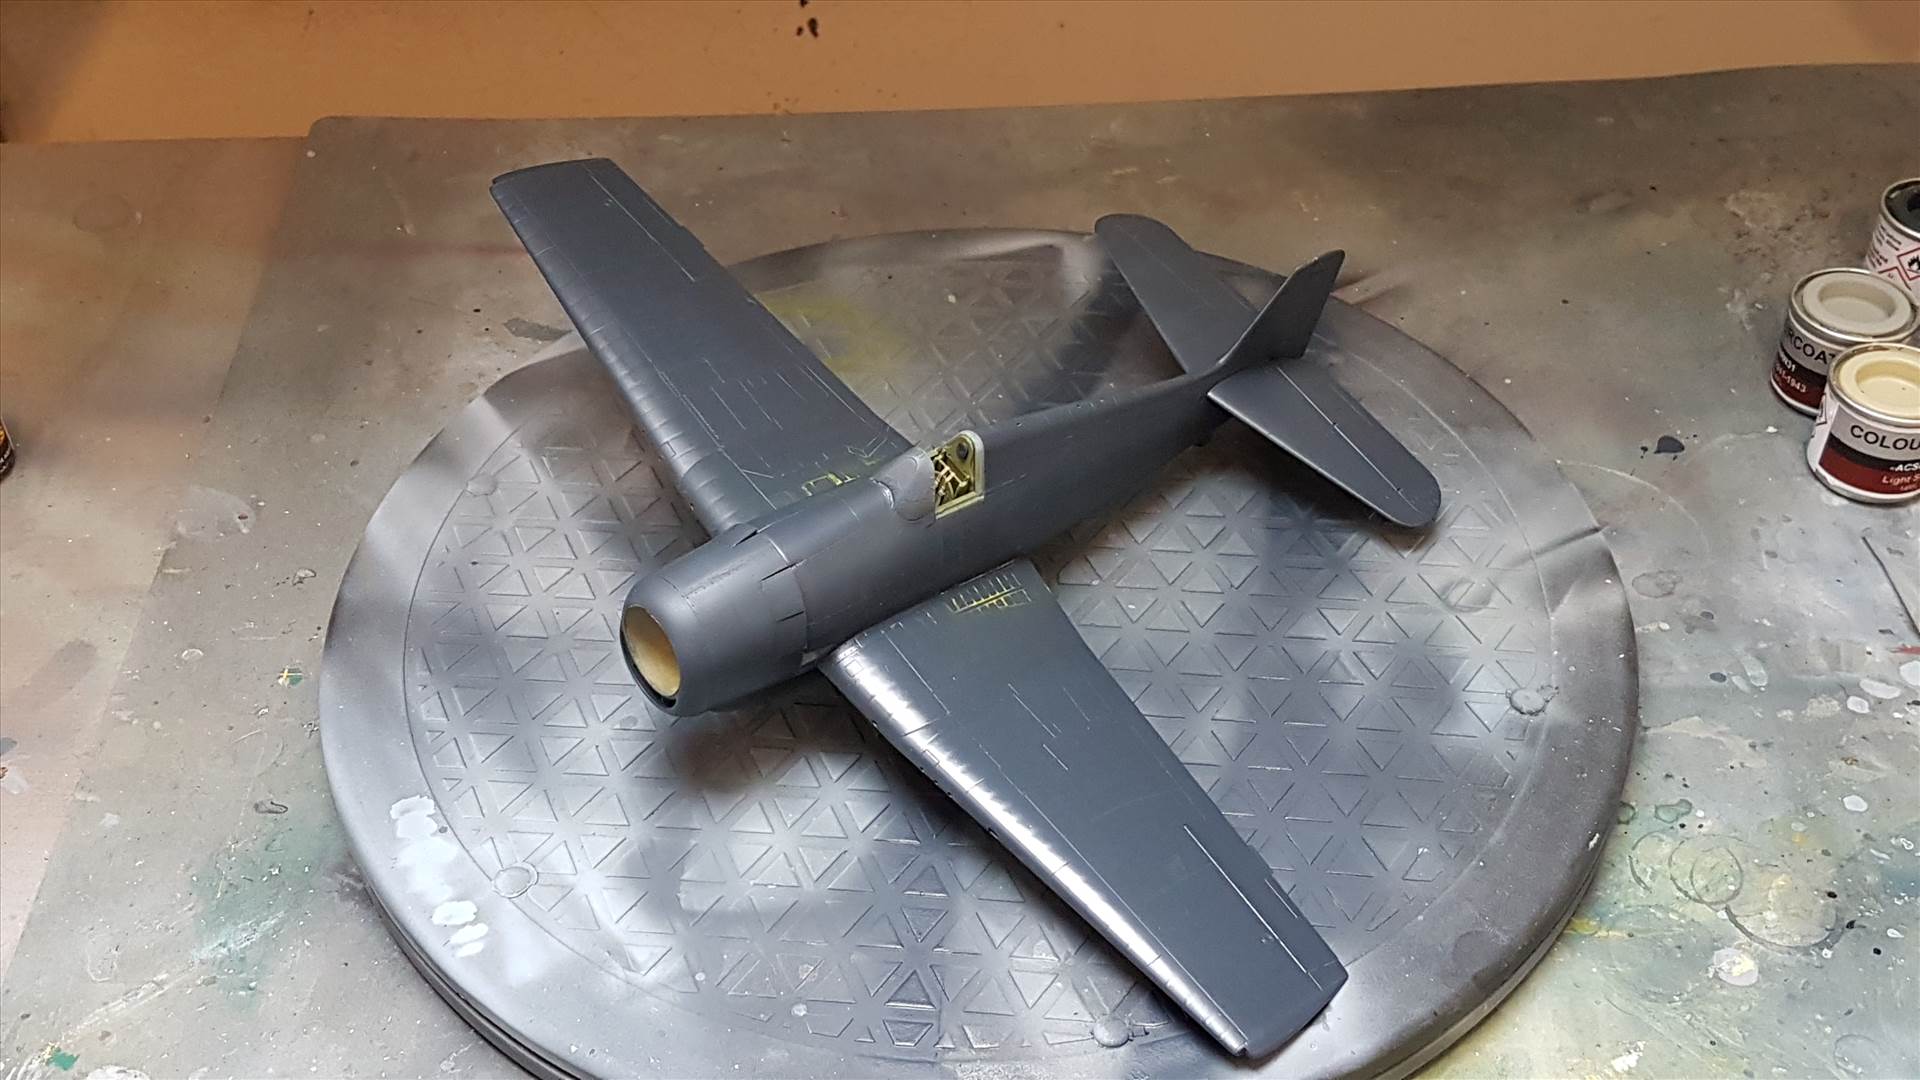
The current state:
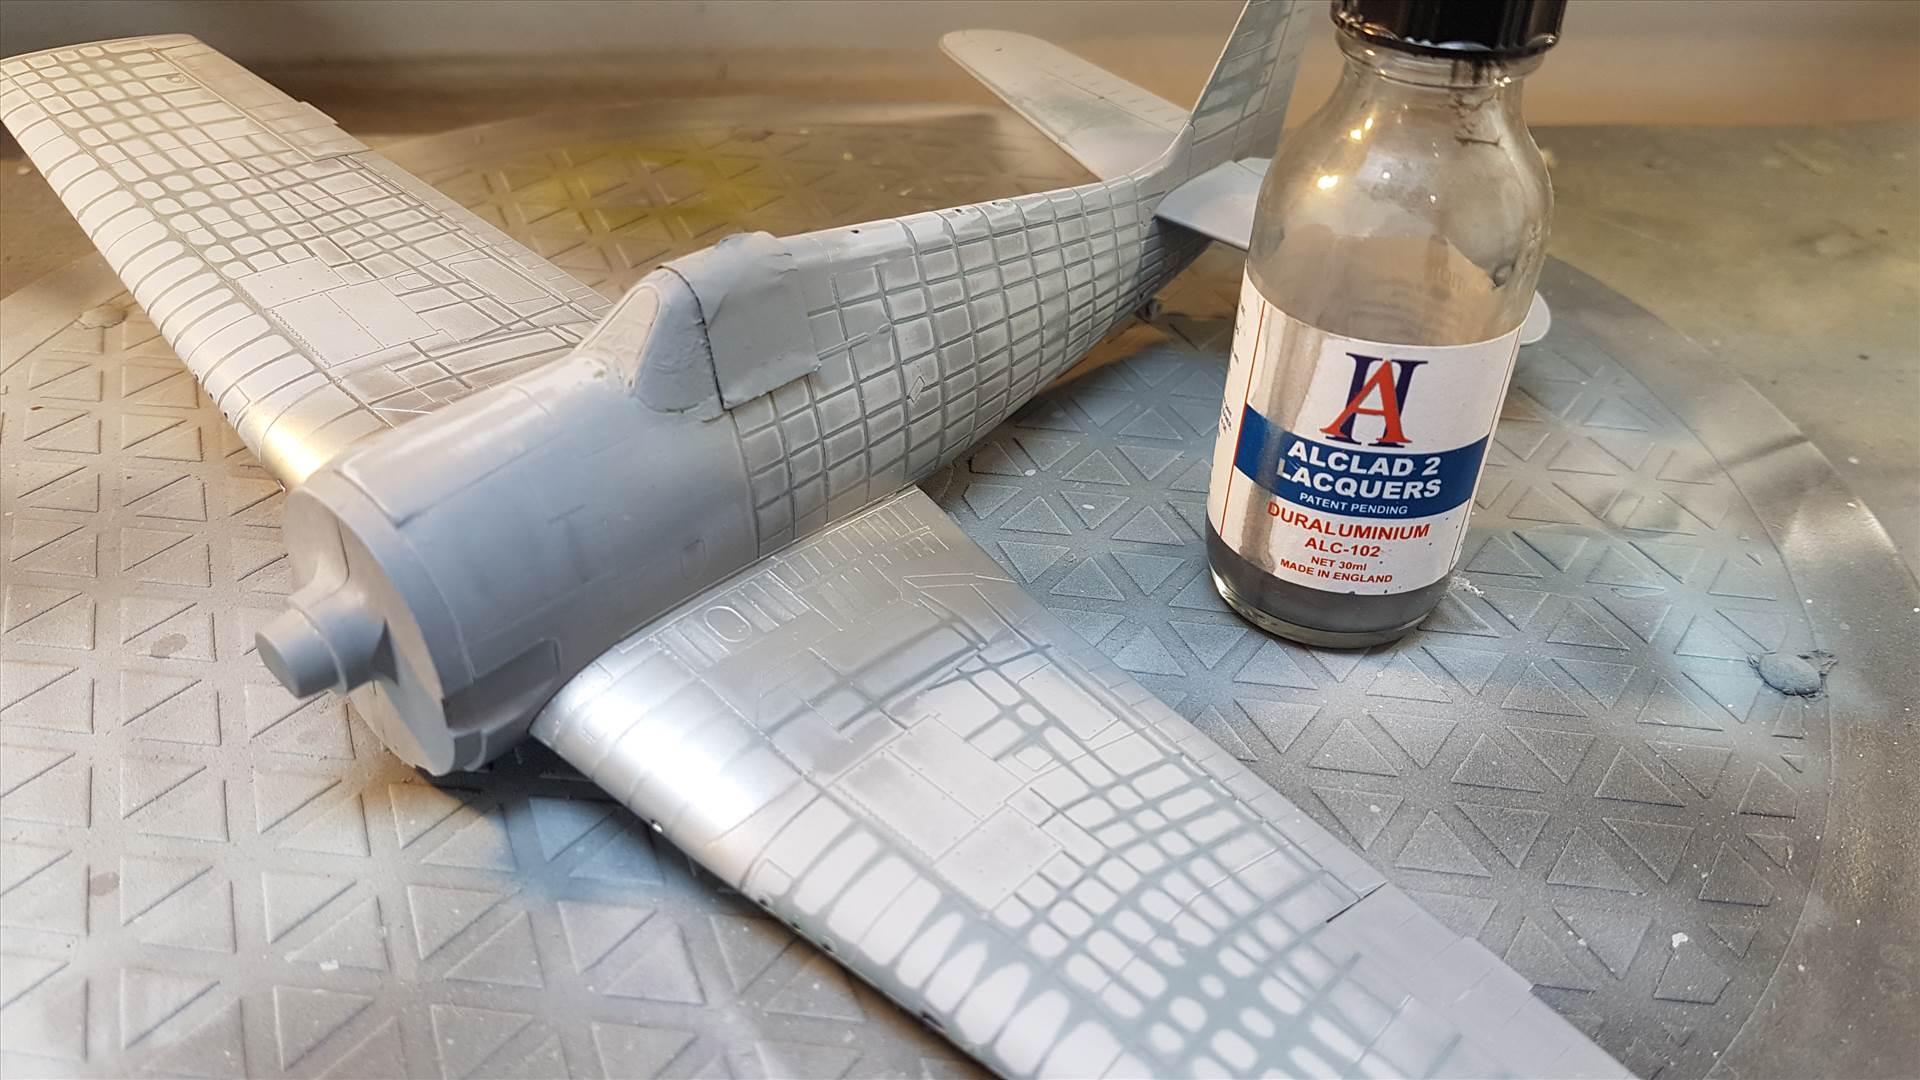
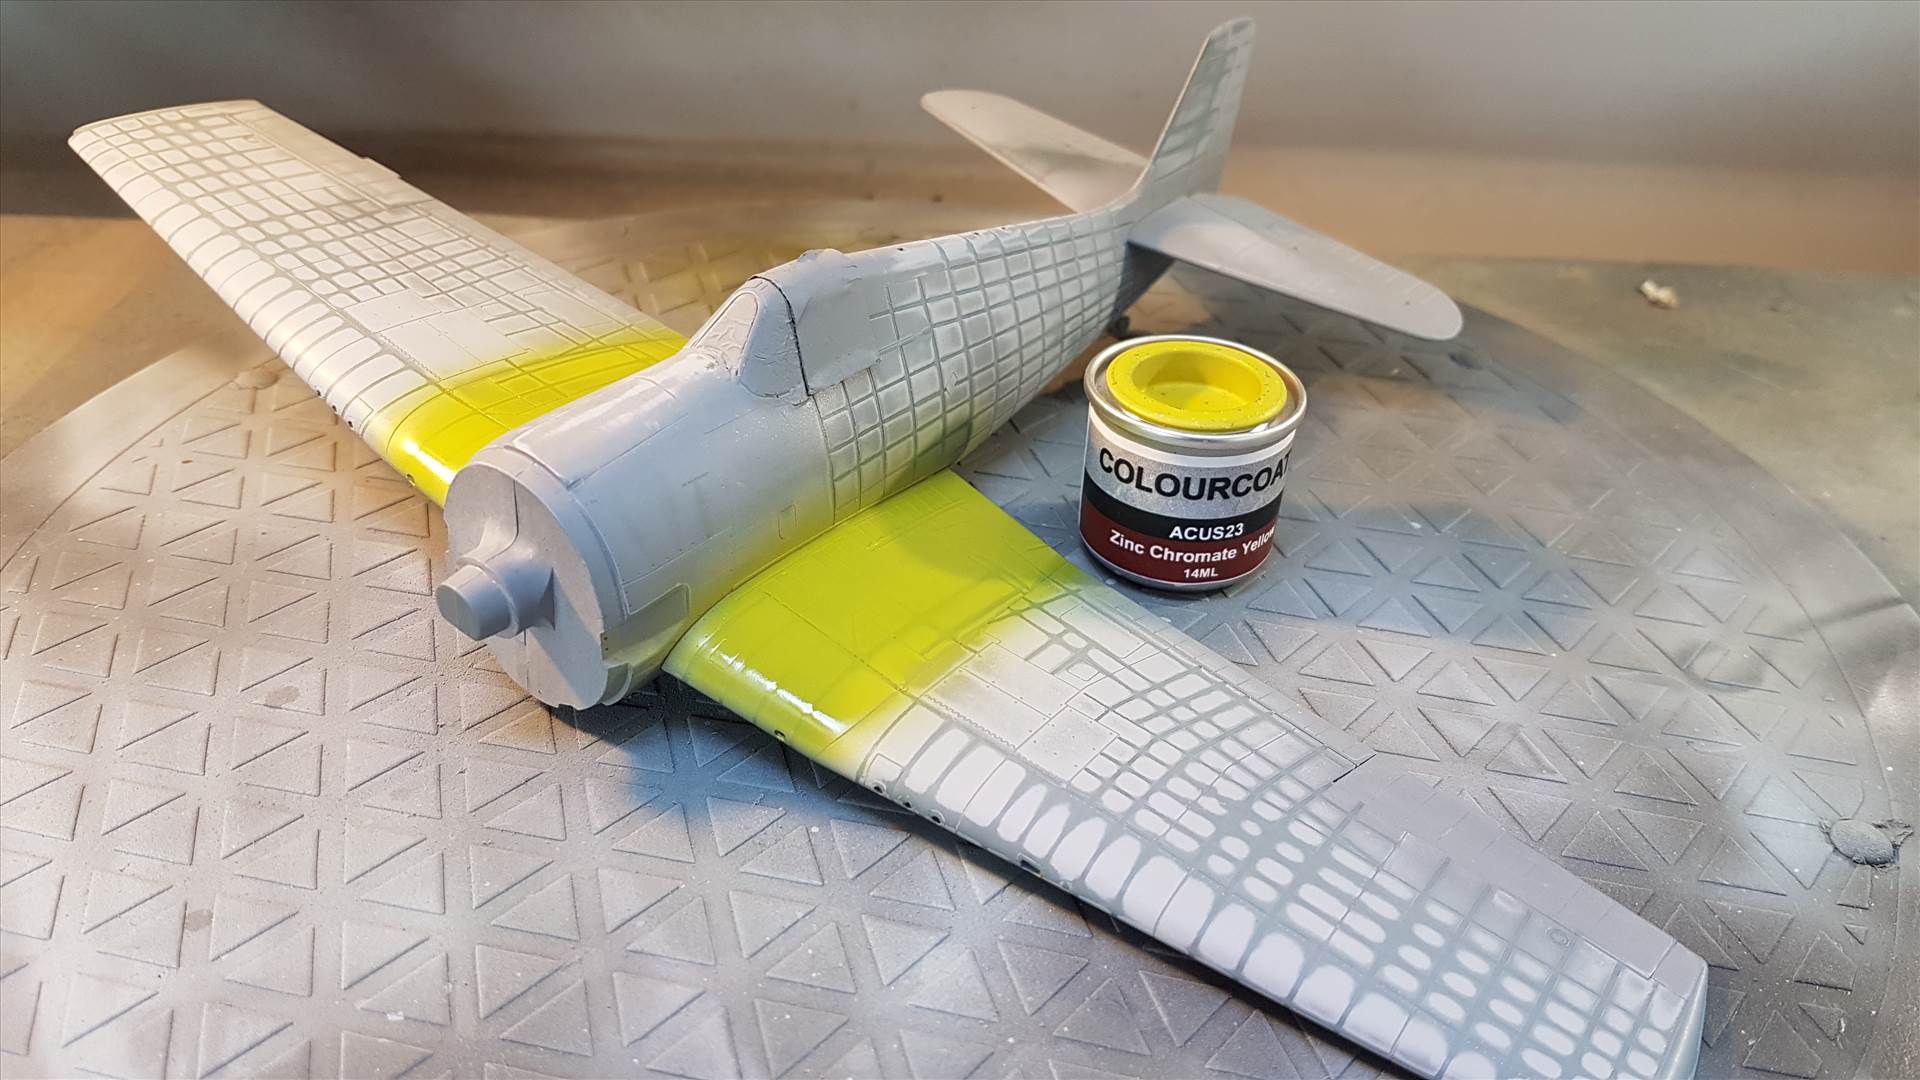
The next steps are going to be a bare metal coat on the wing roots, followed by ACUS23 yellow zinc chromate on top of that, then the overall ACUS34 ANA623 Glossy Sea Blue top coat.
Some Duralumin on:
...and some Yellow Zinc Chromate
Post 4
A coat of ANA623 on the undersurfaces needs to dry before I spray the topsides.

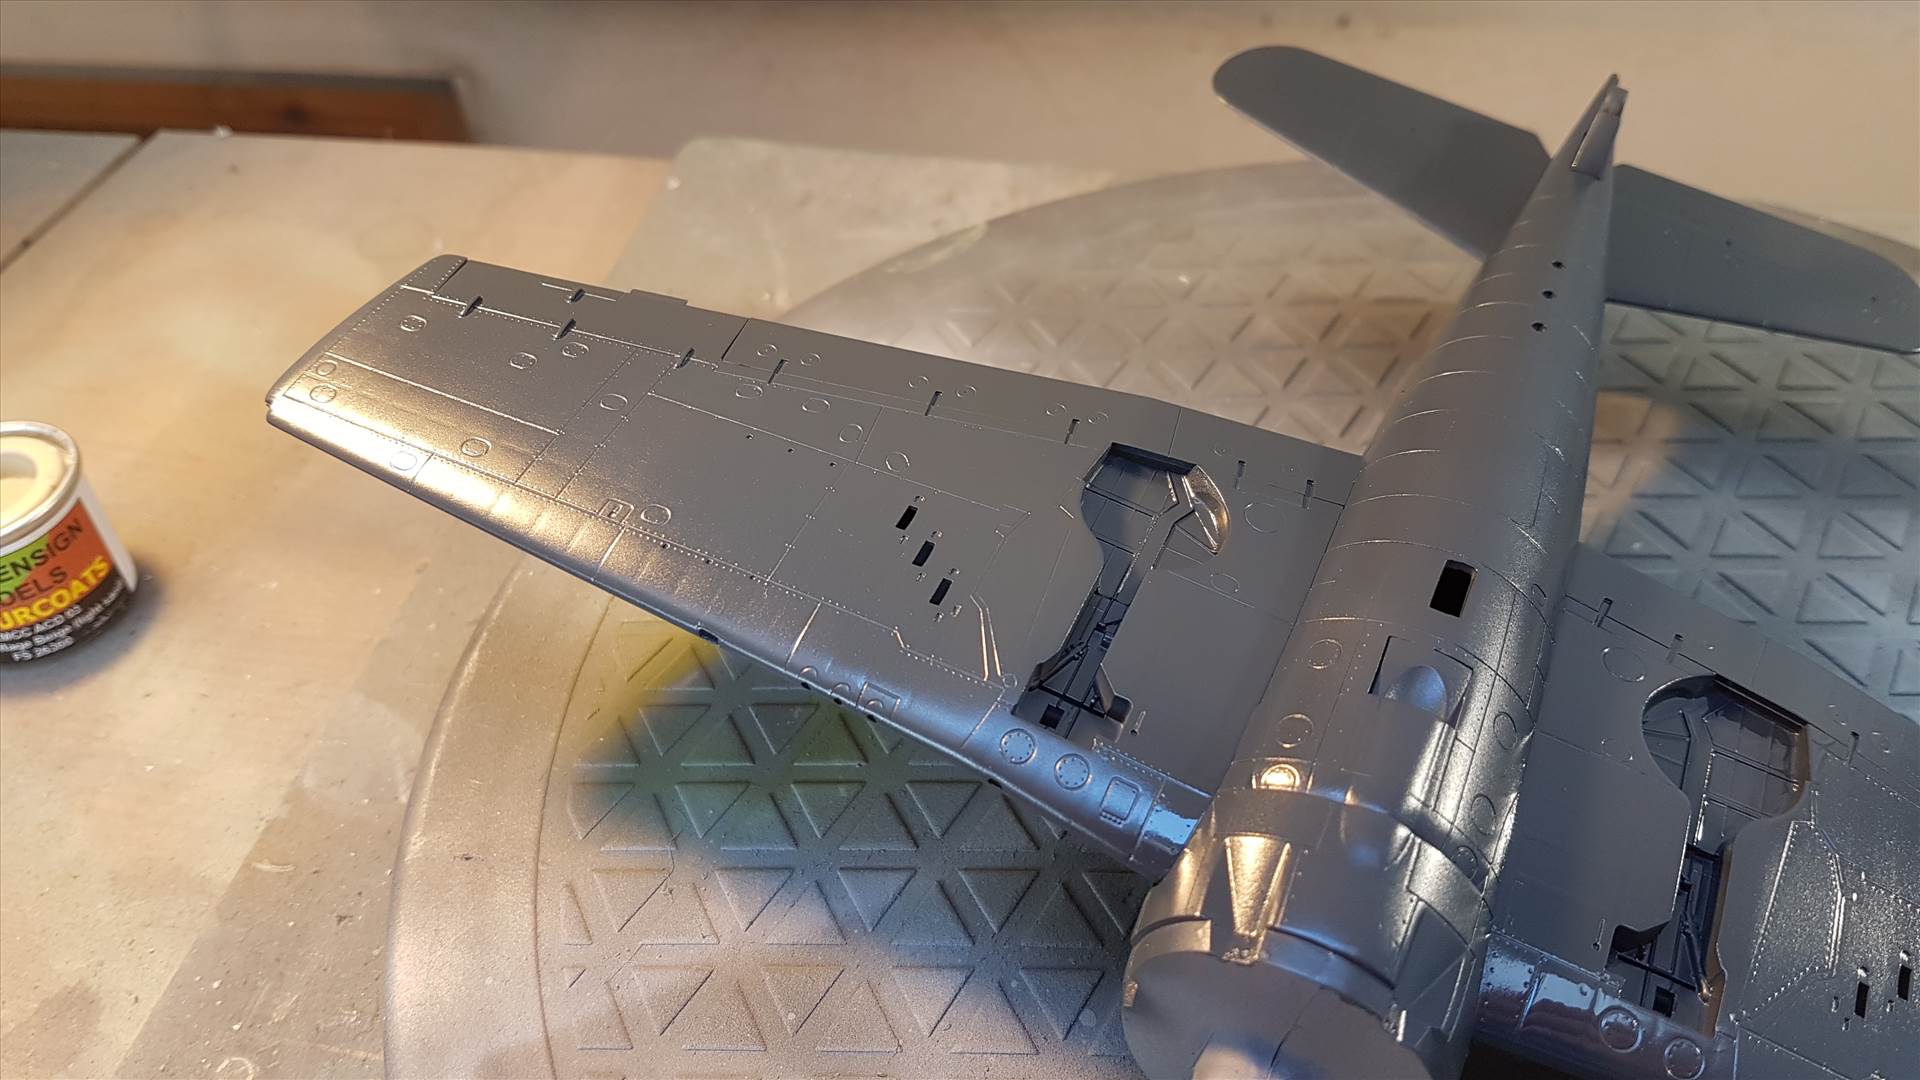
Progress
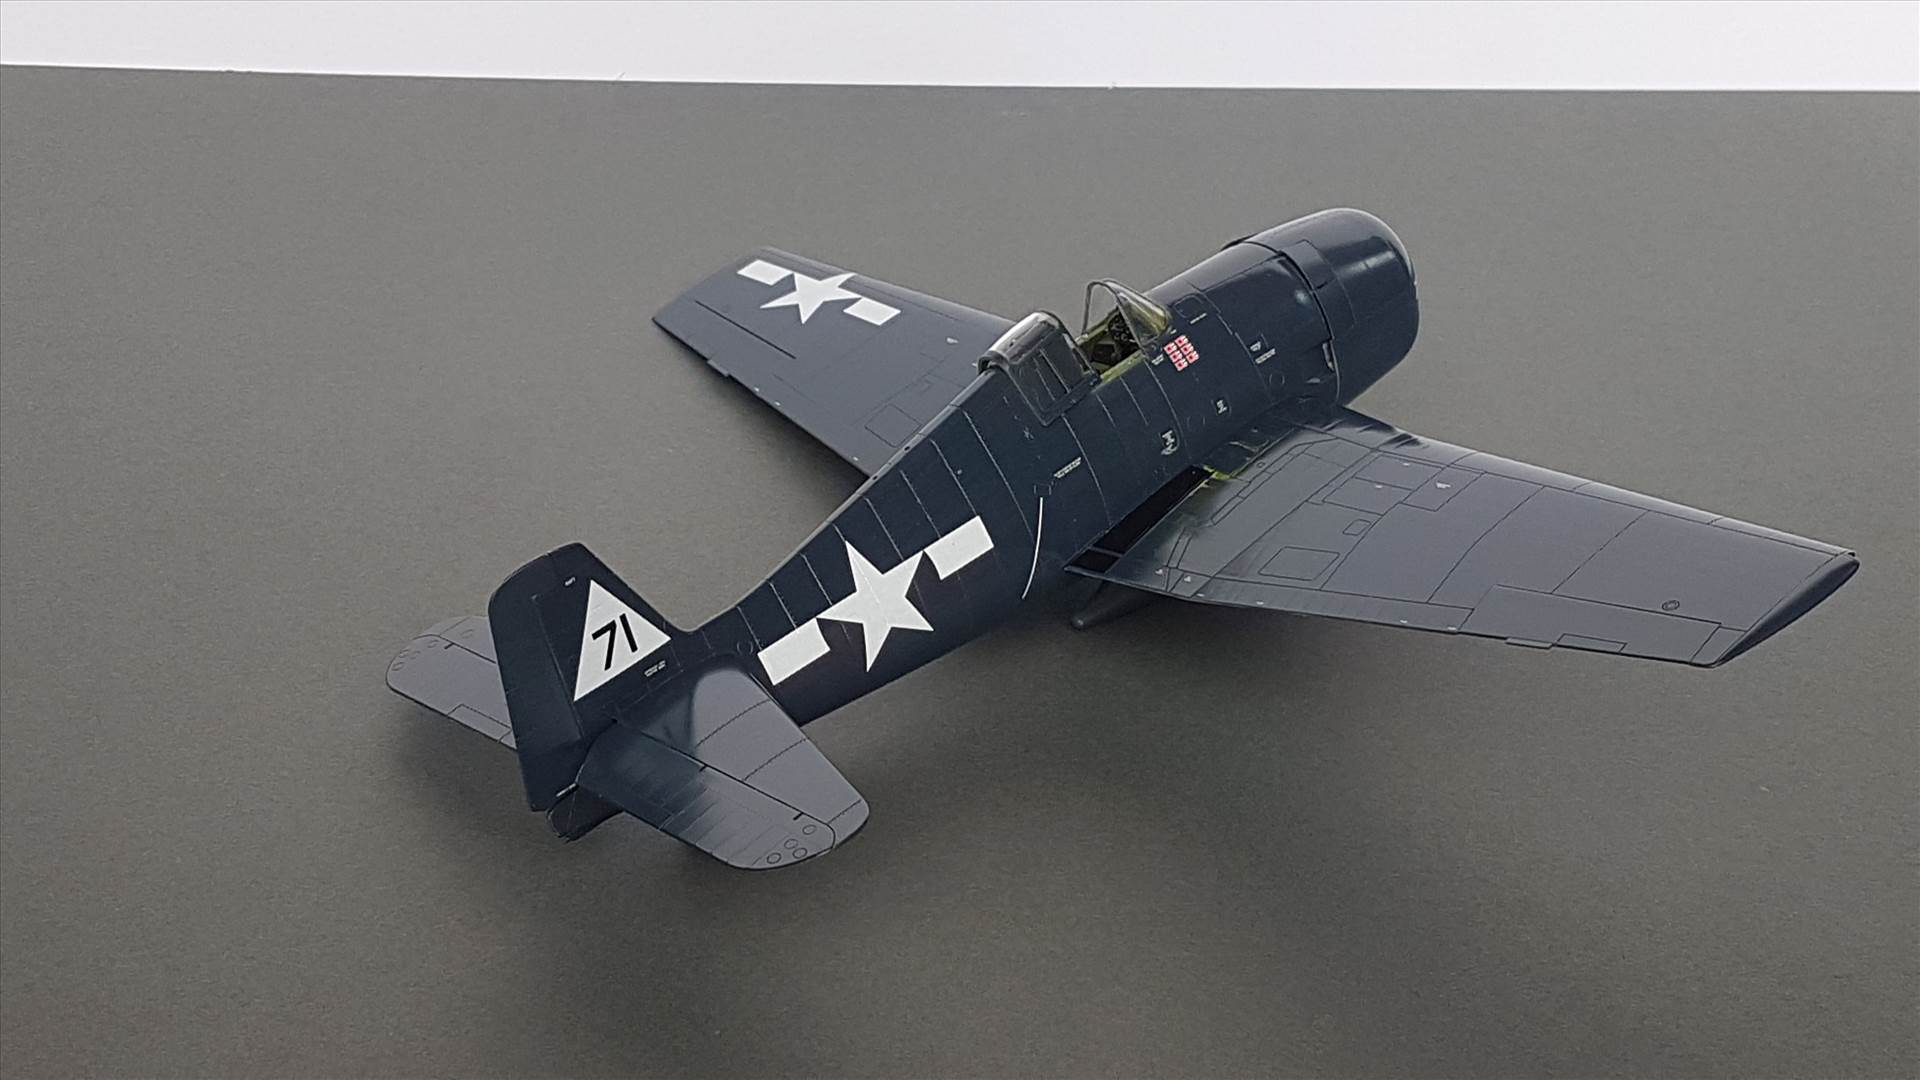
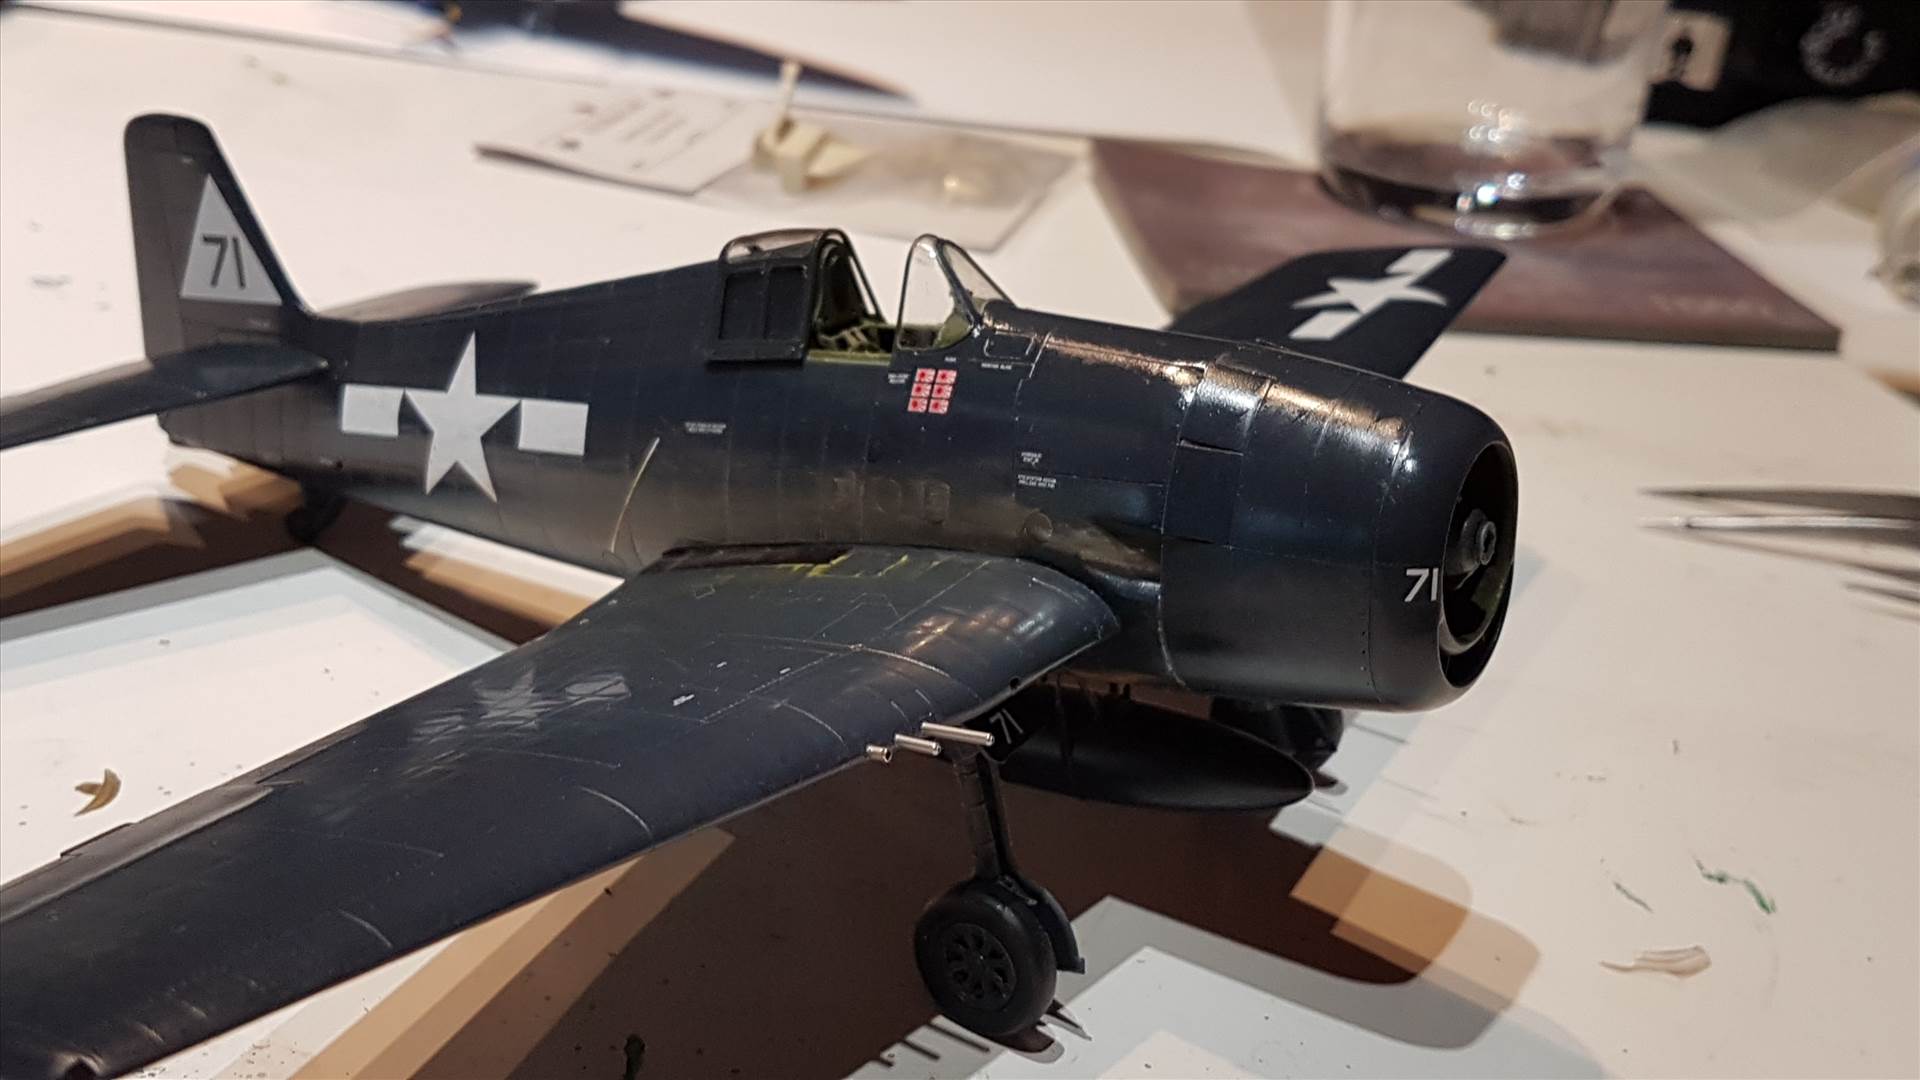
After a general polish to see if it's worth continuing we have this:
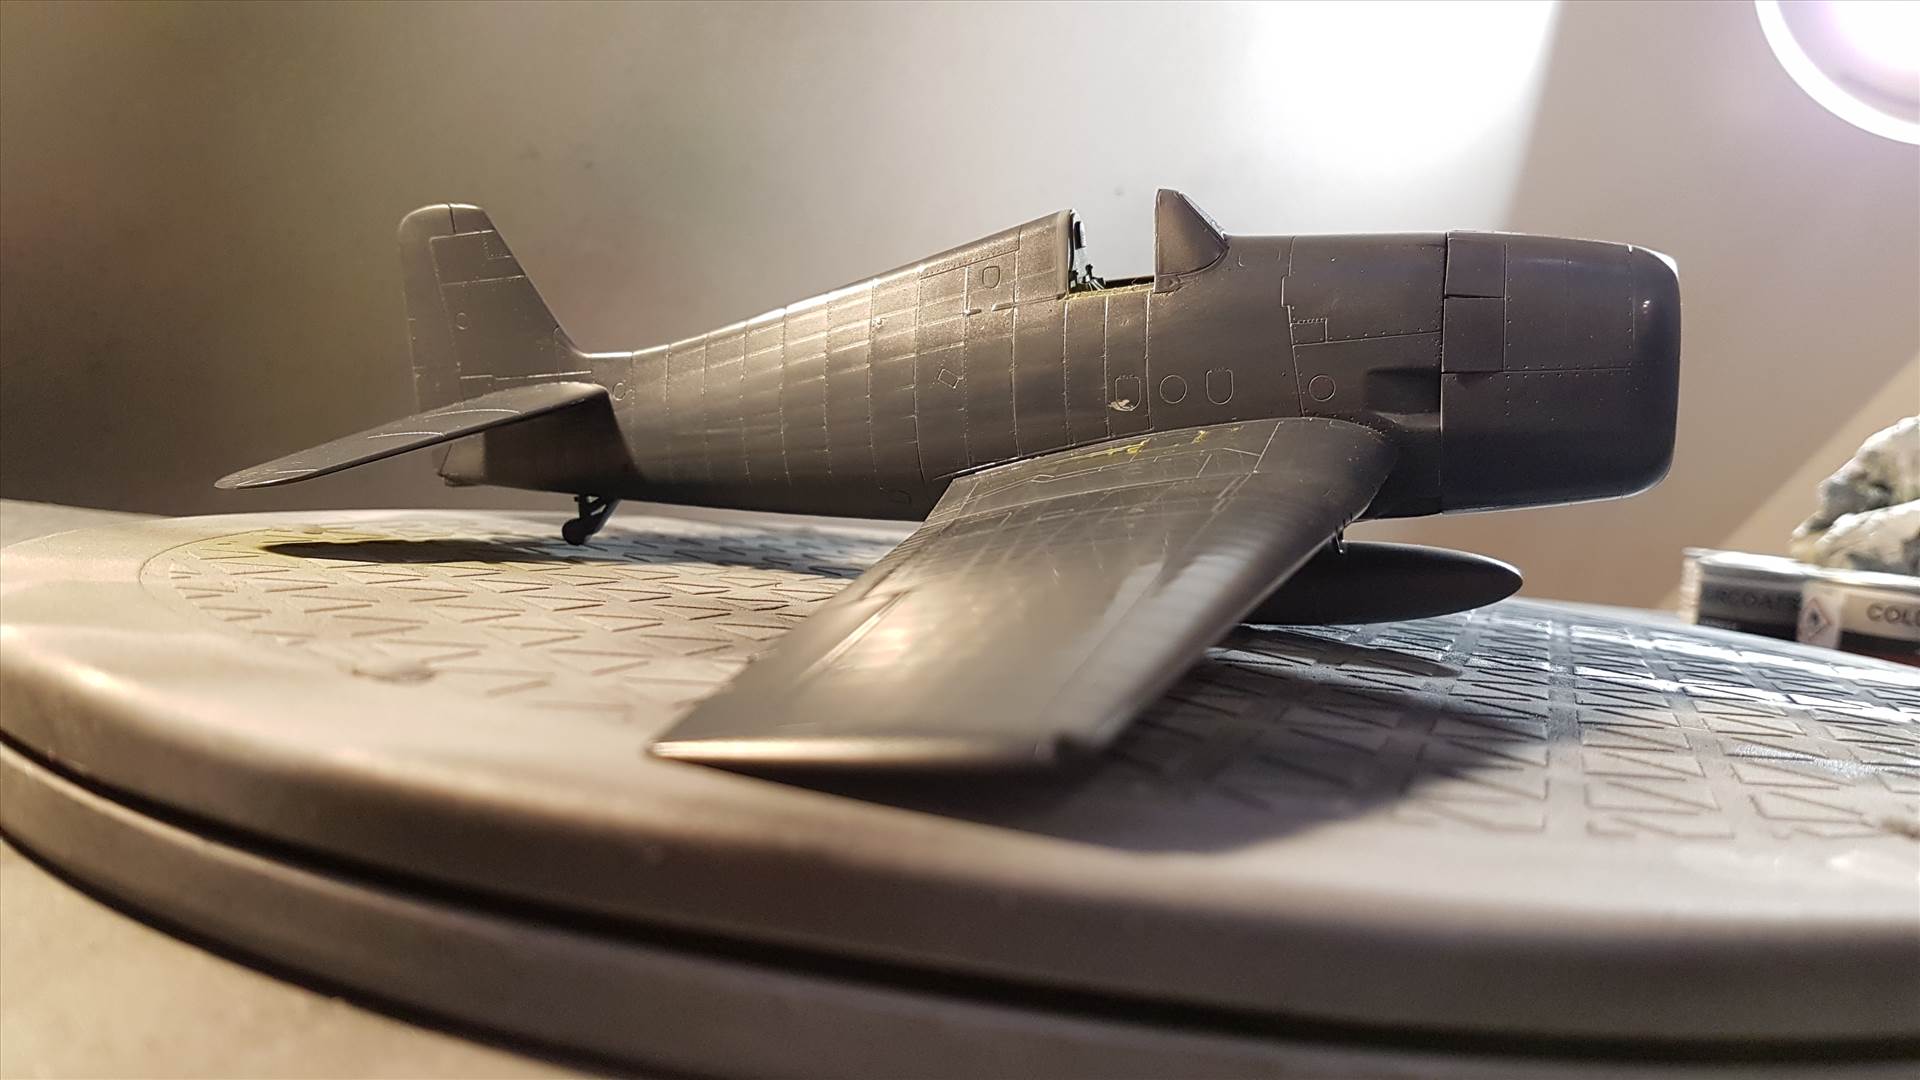
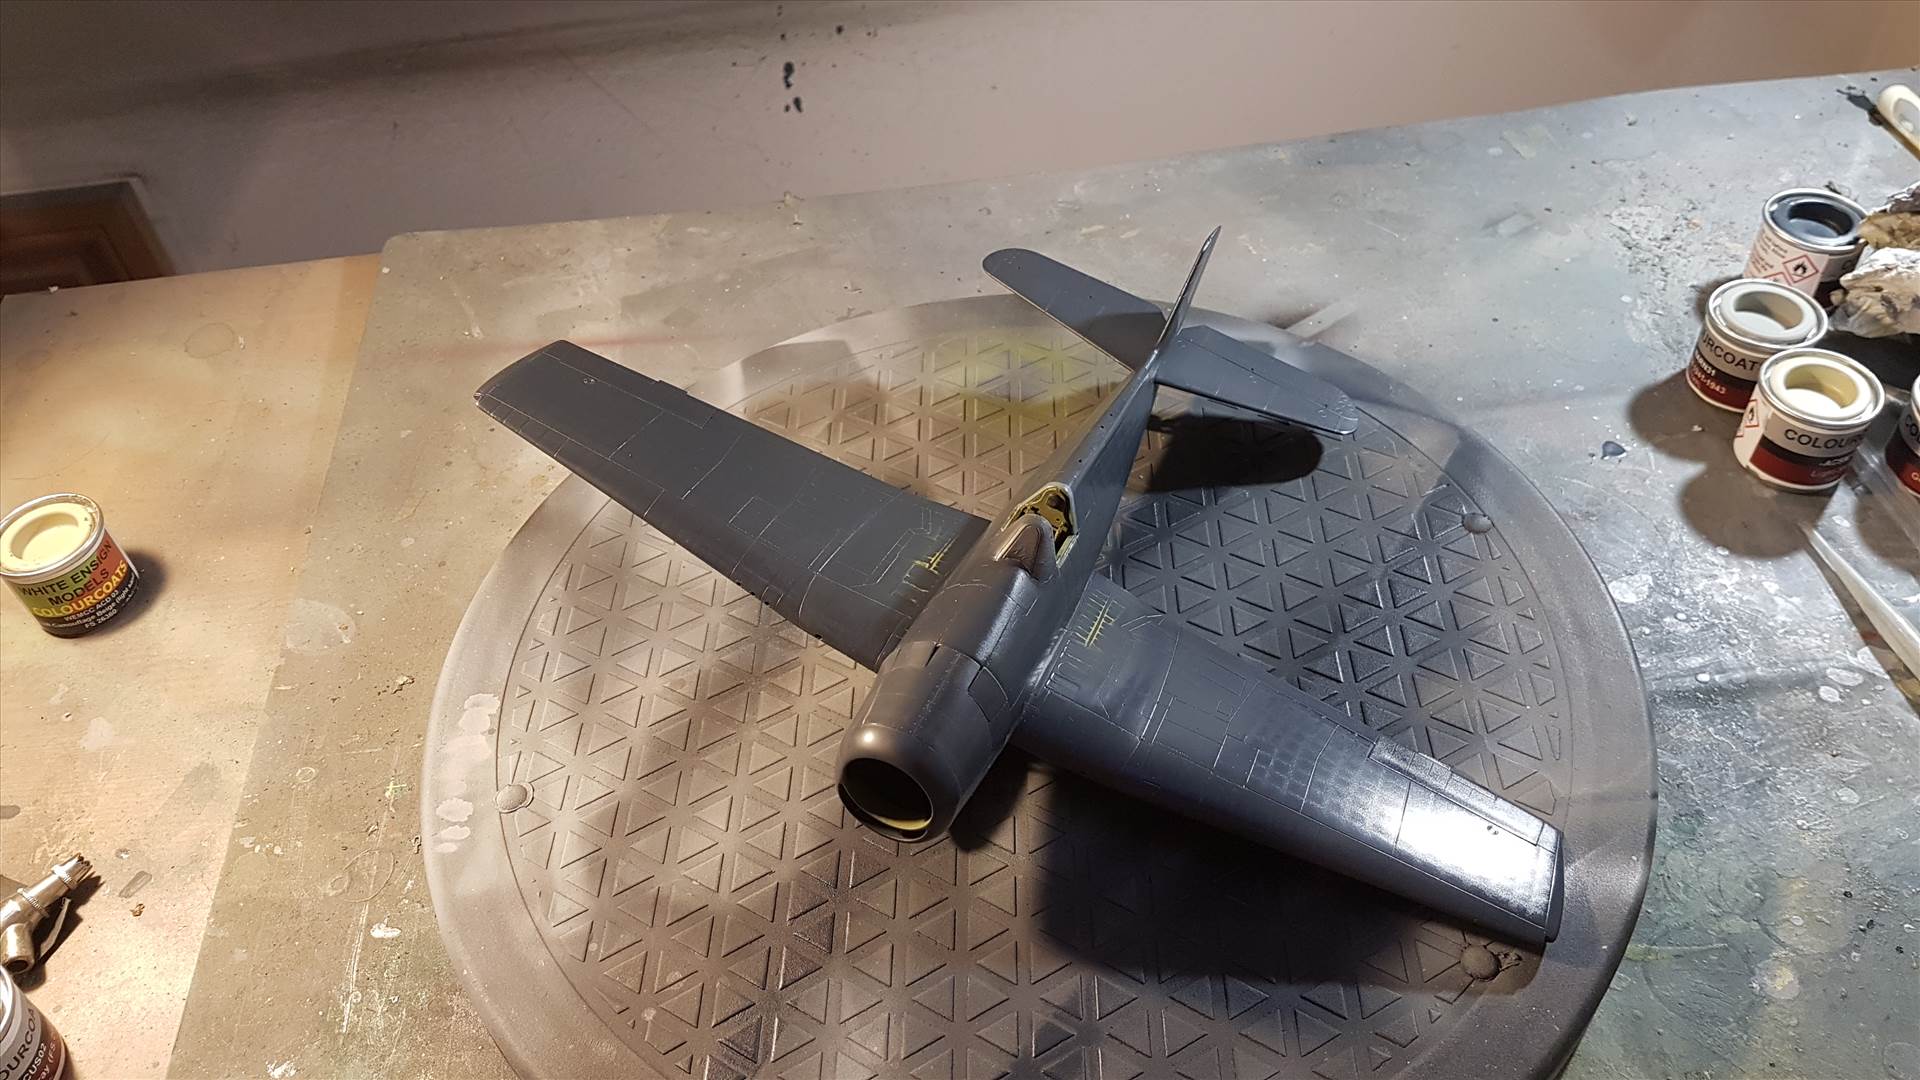
There are probably still refinements I'd like to make on the fuselage in particular (specifically, learning how to augment the distortion of the skins to portray shear loads which look like diagonal buckling) but overall I'm fairly pleased.
Post 6
I'm trying to keep this cheap so aftermarket PE is vetoed, but the straps holding the long range tank on were an obvious omission in the kit. I've made representations to stand in.

Post 7
I want to get something finished. I really (I mean REALLY) hate the tedious faff associated with finishing models. Chief amongst such mind-numbingly unrewarding dross is stencil decals. Ugh...
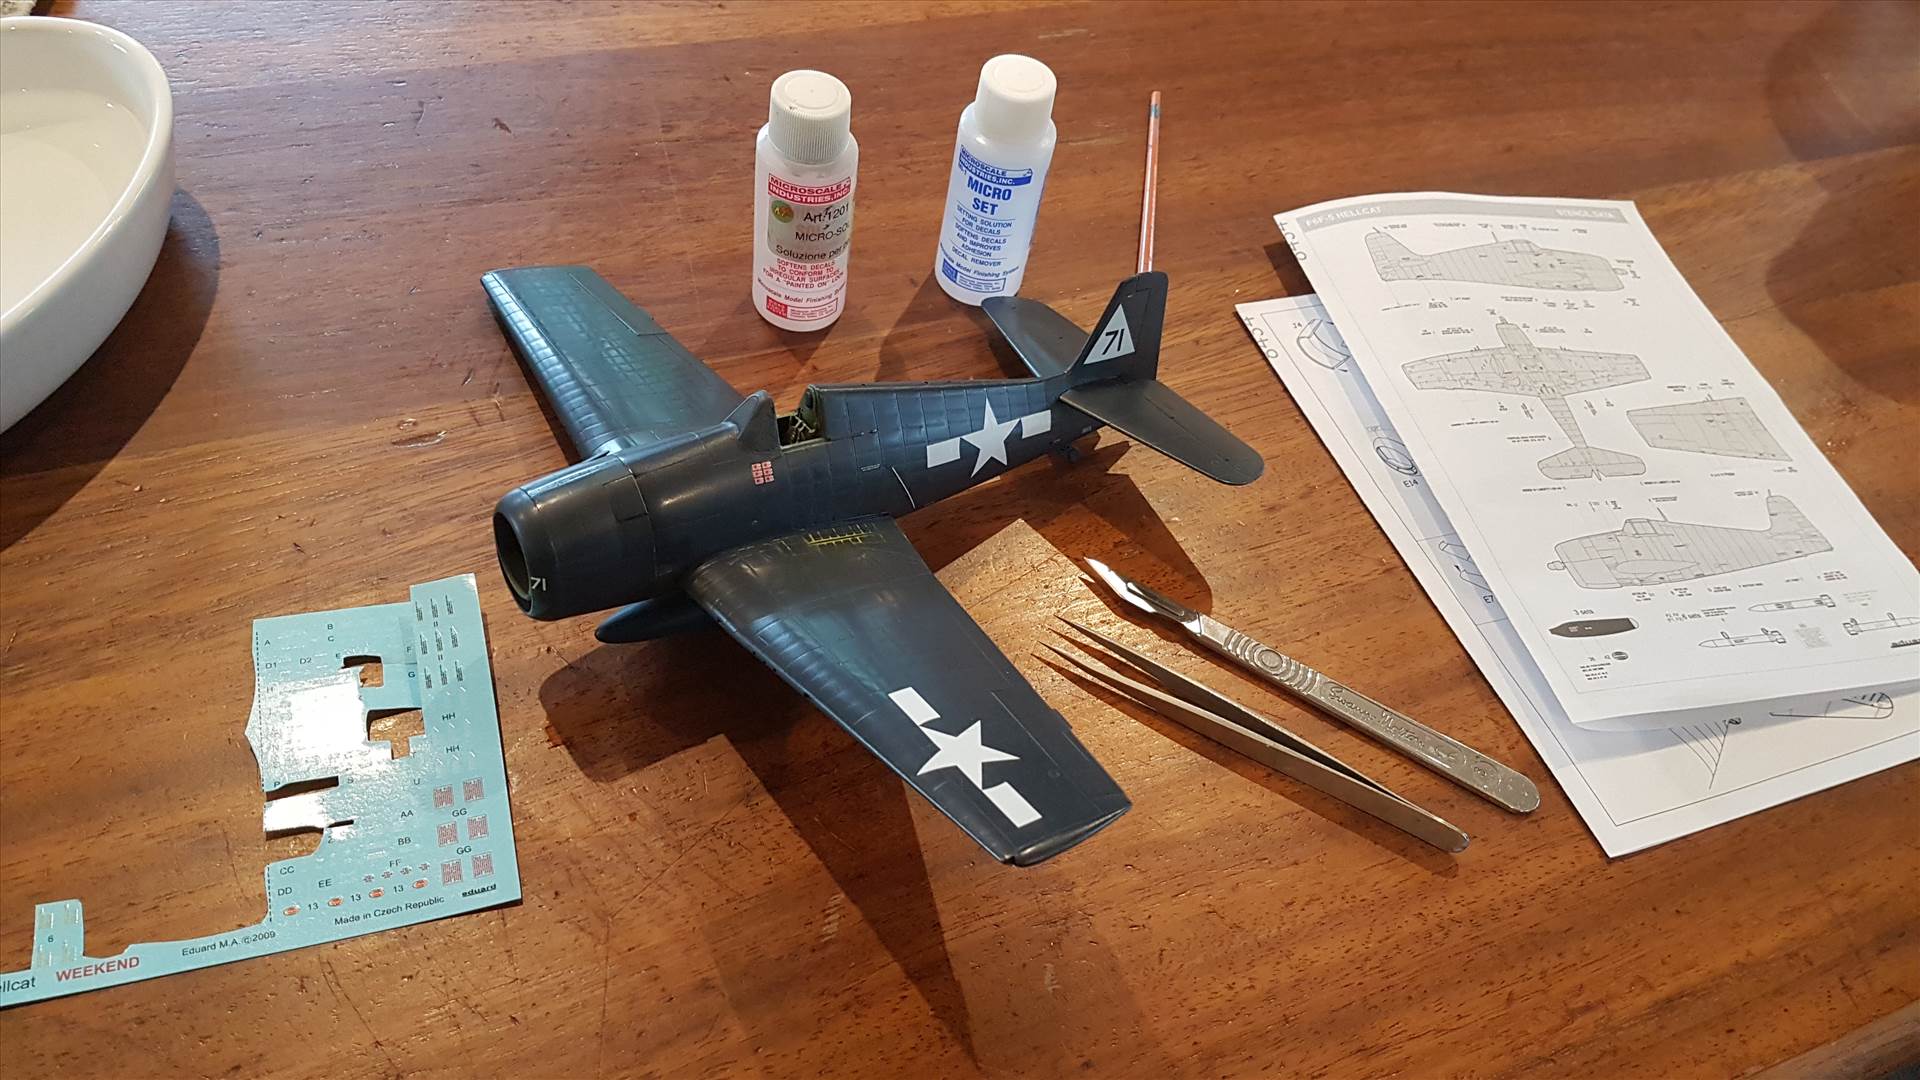
Not sure if I'm just getting old or if I'm justified in finding these difficult to see in order to cut them out.

I ended up trying to cut them out using their reflections
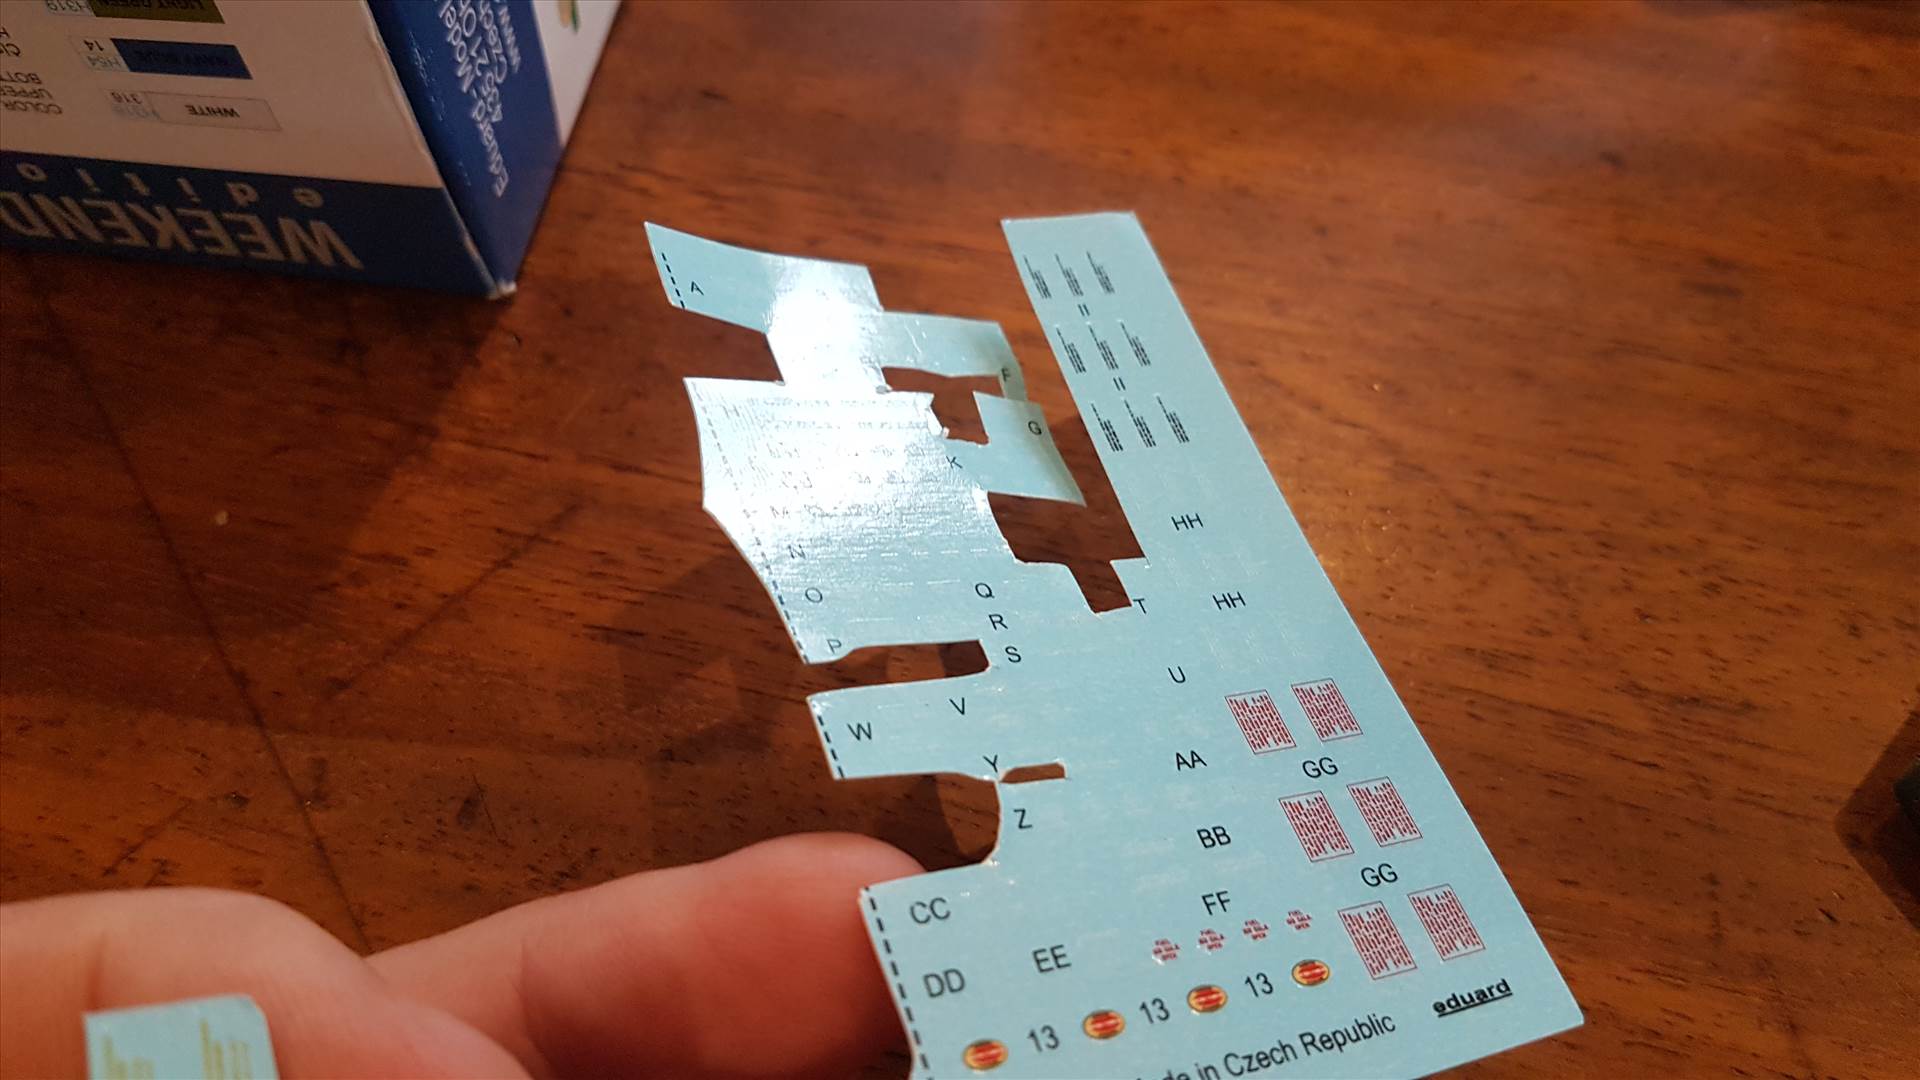
Anyway. 3 hours of my life later I am thoroughly bored and have a very sore neck. The stencils are all on and it still looks the same 
Post 8
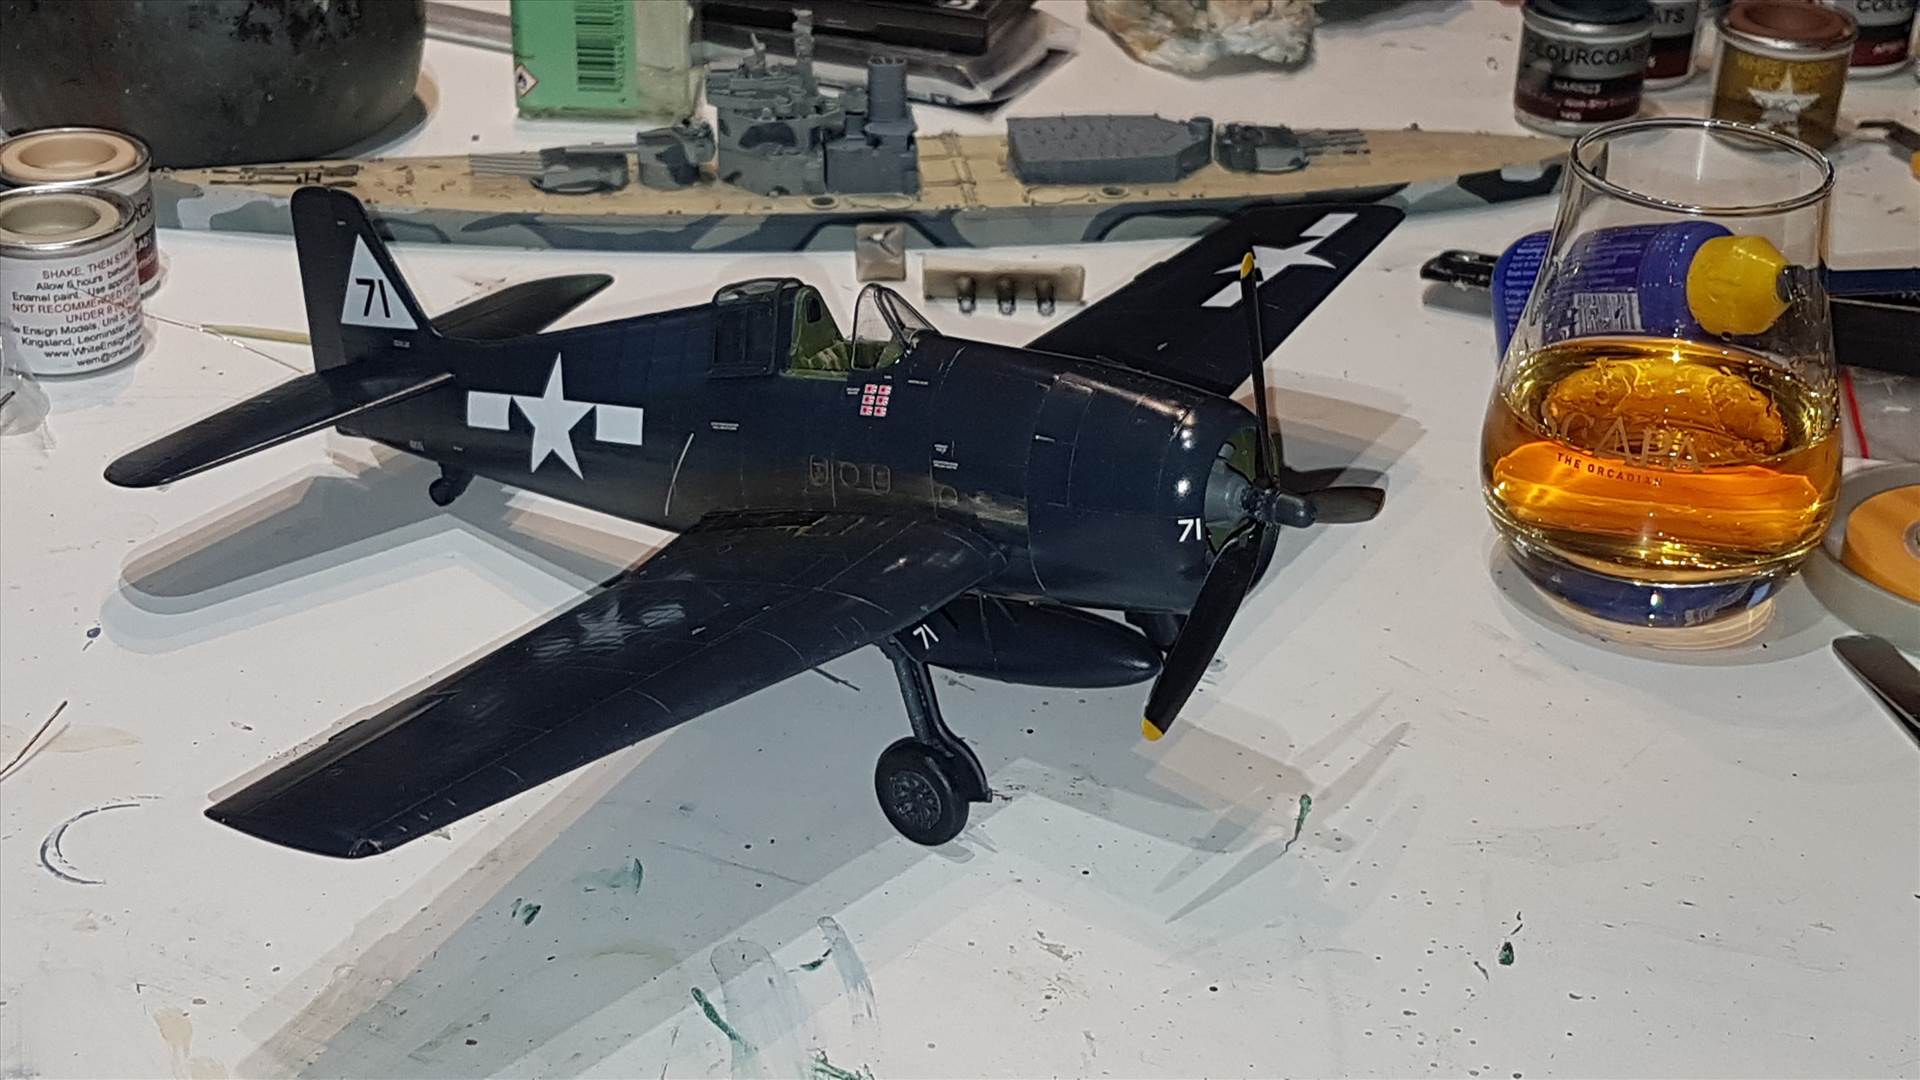
Here's where we are with a coat of enamel gloss clear applied this afternoon.
Post 9
I drilled out the kit exhaust stacks. They look ok and it involved minimal extra effort and no extra money ![]()
Ultracast no longer supply to trade which saddens me.
The Eduard propeller is not very good - the hub is mishapen and the blades are like cricket bats. I still had an Ultracast one here so I pinched it and it's going on this model now.
Likewise the kit wheels are ok, but the tyres are split down the middle which just annoys me. As above, an Ultracast set were obtained and the hubs of both wheels and propeller sprayed ANA623.
A set of Master gun barrels was sprayed in a base colour of Alclad Duralumin.
At this point, I'd like to have a general moan that somebody (else) has not yet made decent ignition harnesses available on the aftermarket.
Post 10
For reasons beyond my control (I couldn't be bothered) the engine didn't get done tonight, but I did force myself to paint the wheels and glue them on. Hey, that's something, right?
Post 11
Ignition leads are done (finally). That Humbrol gloss clear seems prone to fingerprints which need polishing out all the time. Need to make my own I think... (I don't even have greasy / oily skin!)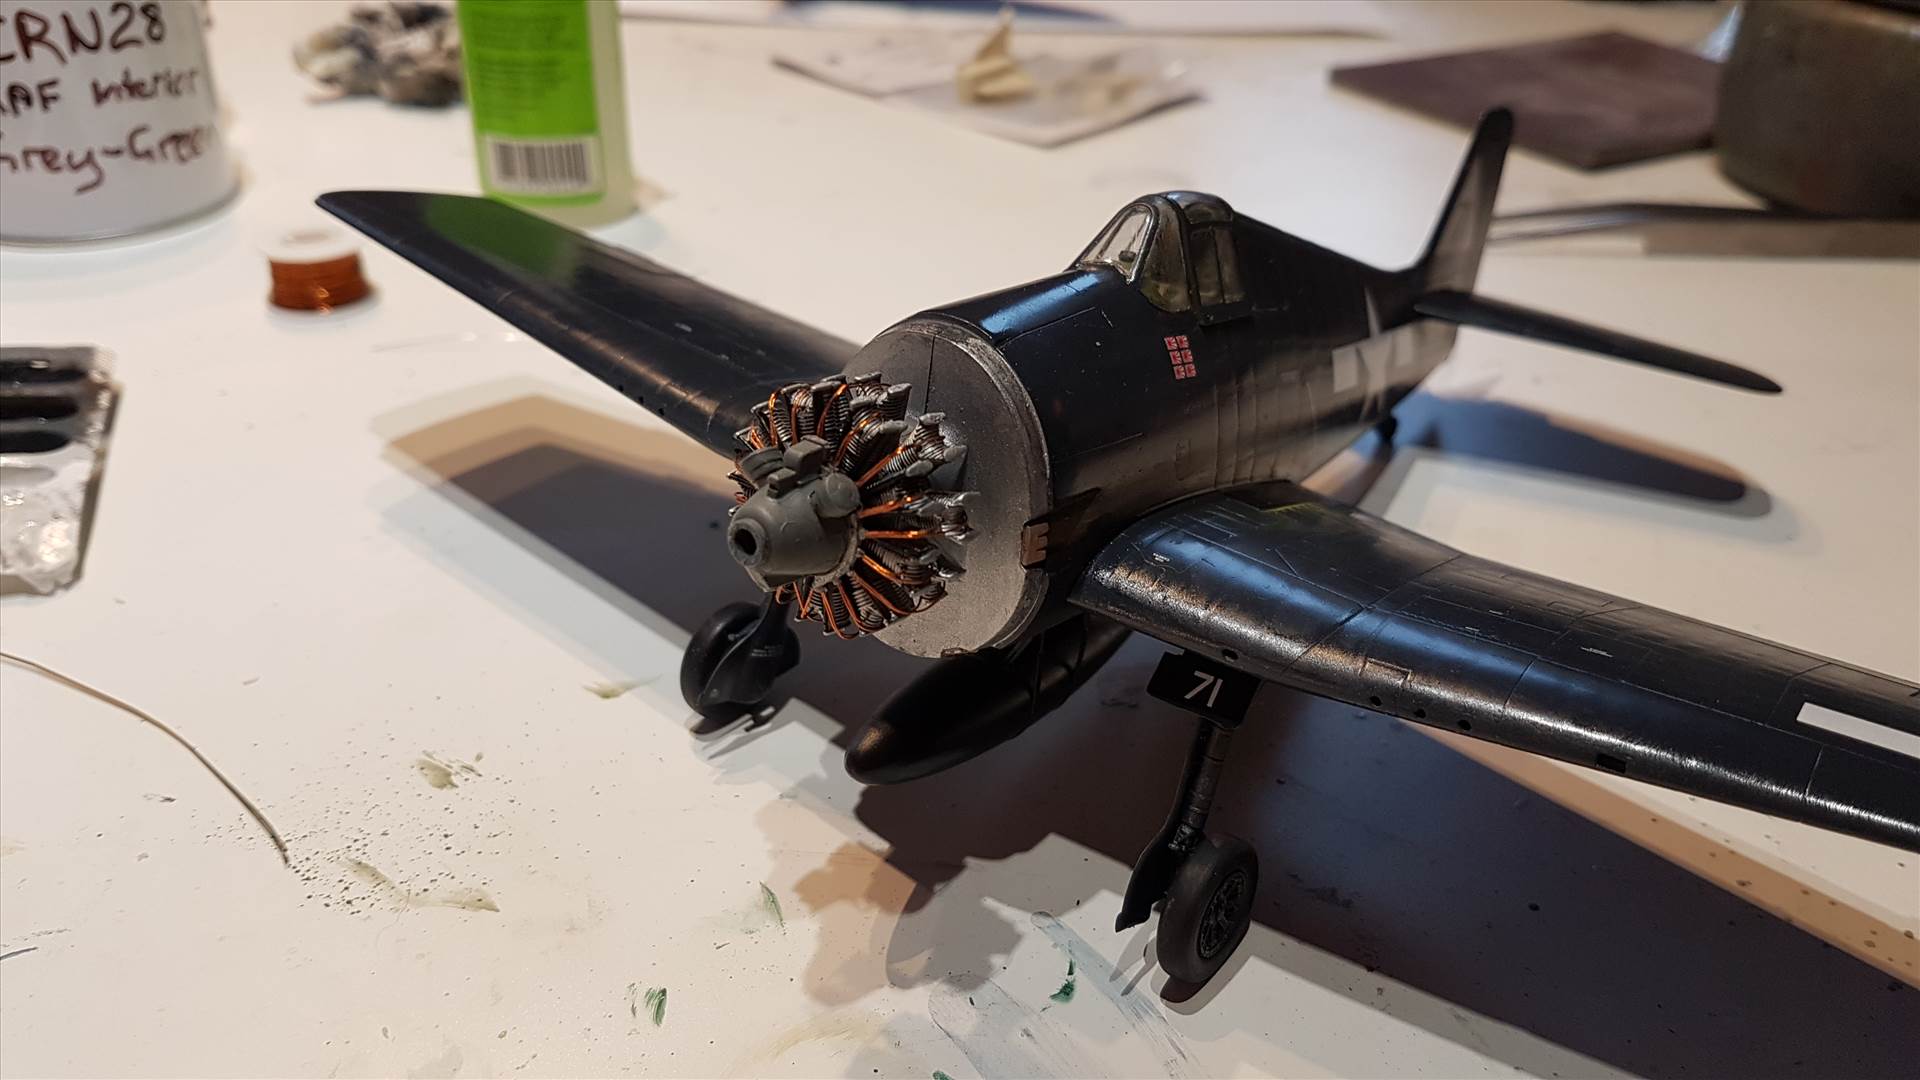
The cowling is now glued on, and I've done some more work on the exhaust staining.
Post 12
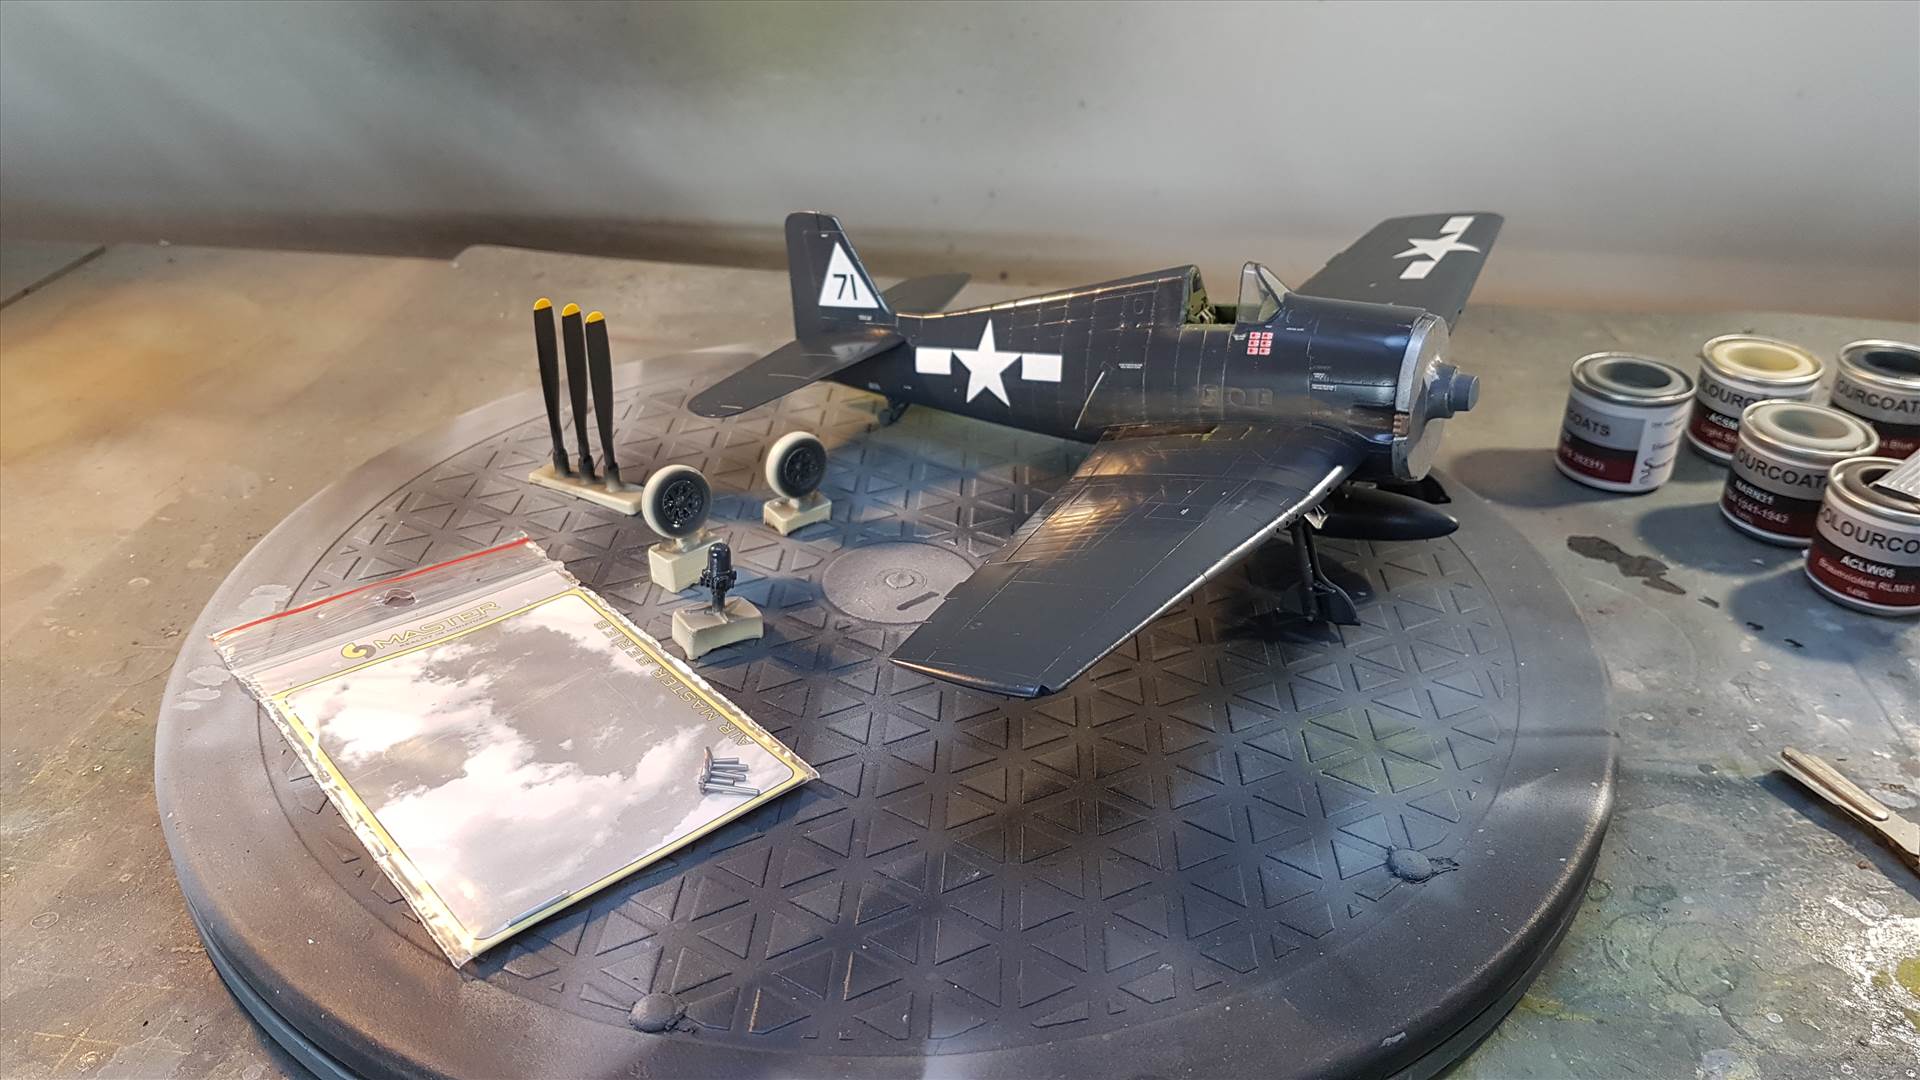
An accessory arrived:
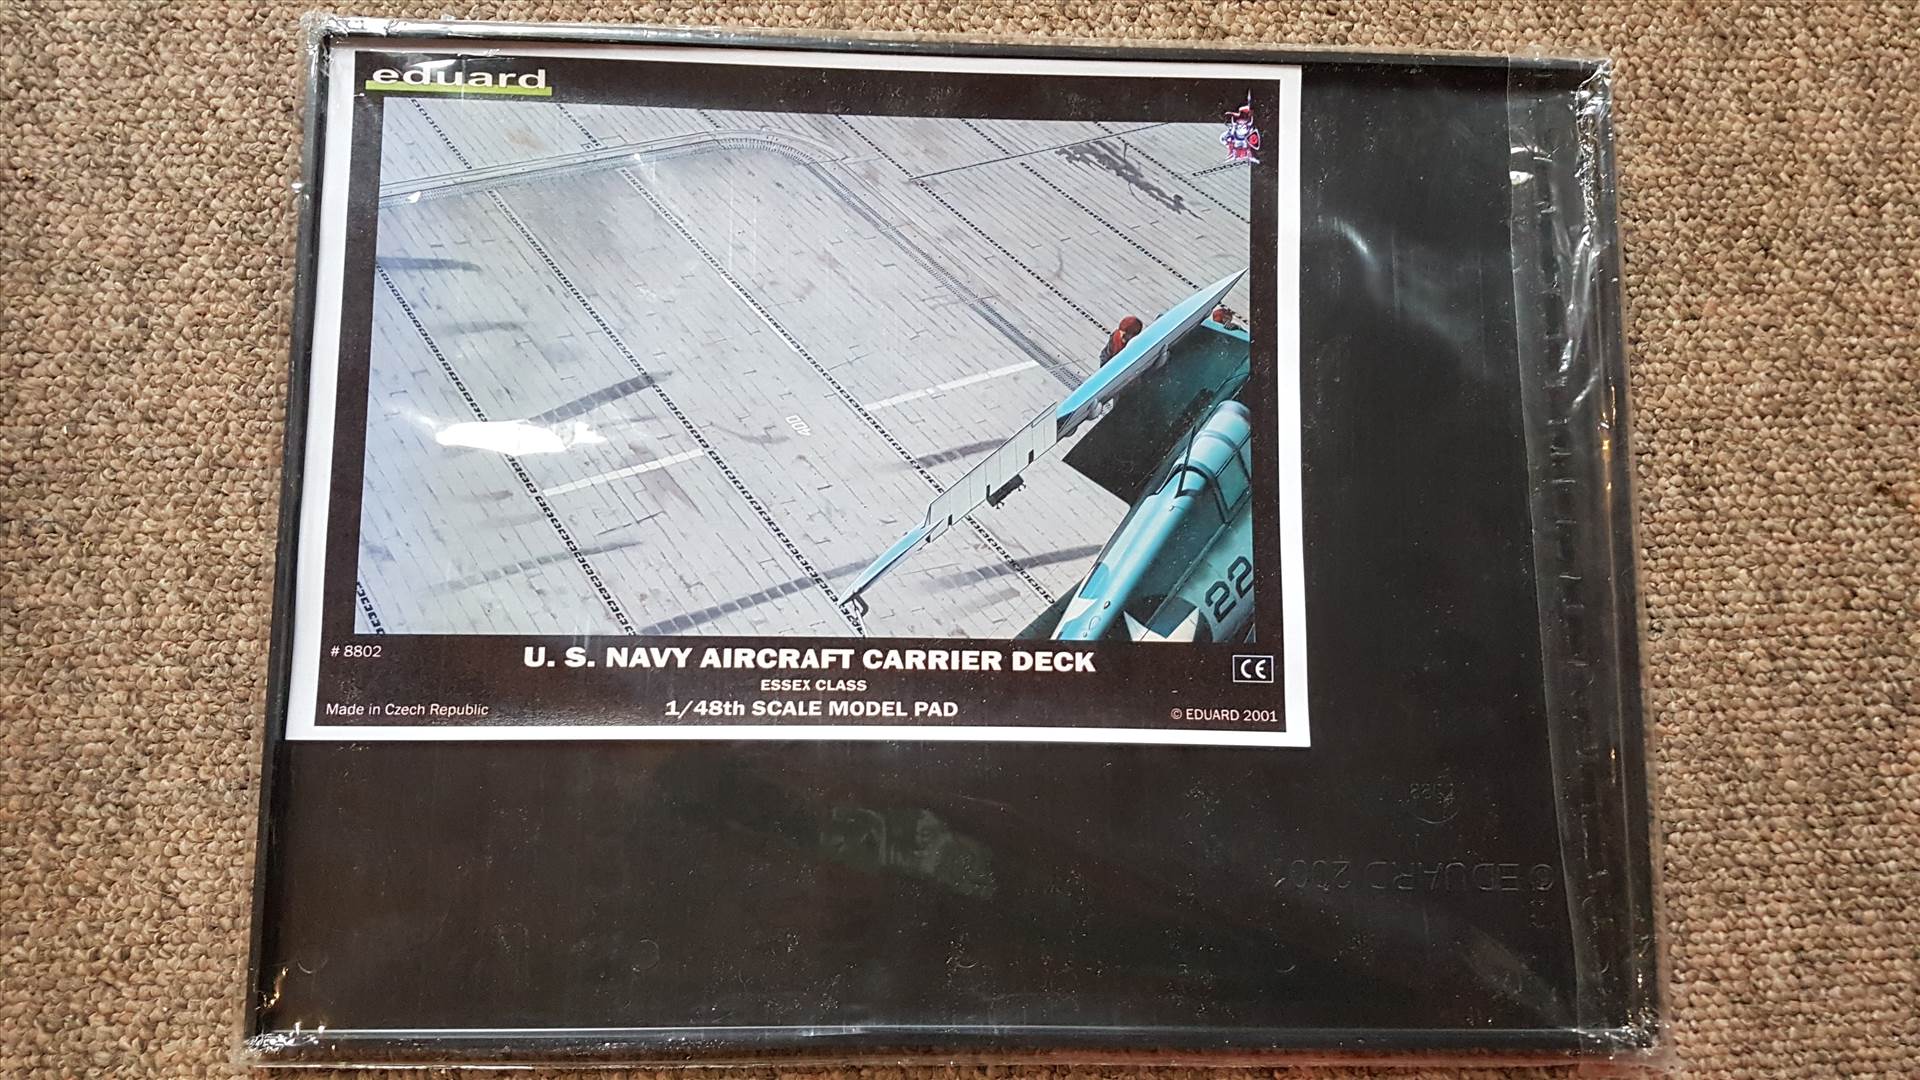
I actually had one of these before but it's long gone and I've no idea where to. There's actually a decent photograph of an old Hasegawa F6F-3 sat on it on my Photobucket account, but Photobucket won't let me access them now without error messages. I trust their innovative new business model is going well for them - I'm sure they're raking in the money now that 129% of their users dropped them like a hot potato.
Lots of transparent pieces were tinted and glued on yesterday. This mostly went well however the wingtip navigation light lenses are a poor fit and will need to be sanded and polished (and surrounding paintwork well protected with tape to do so...).
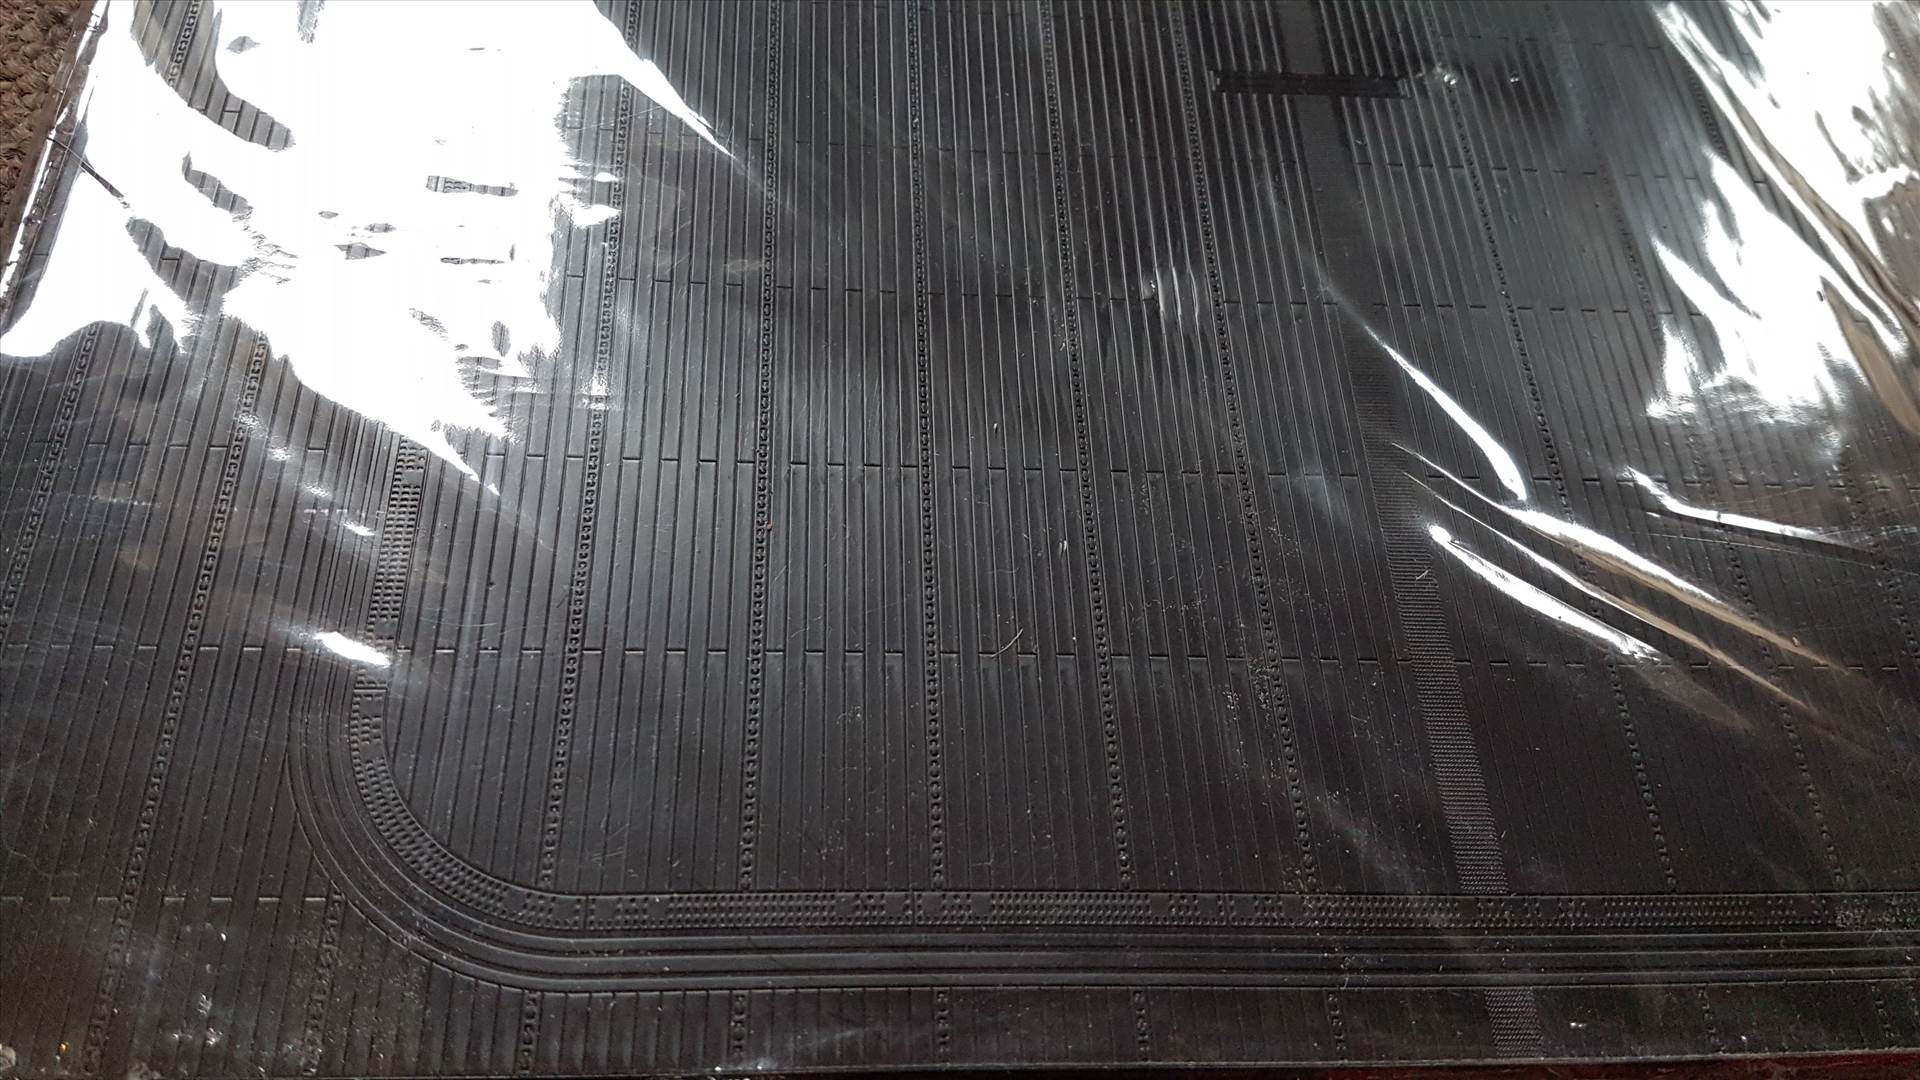
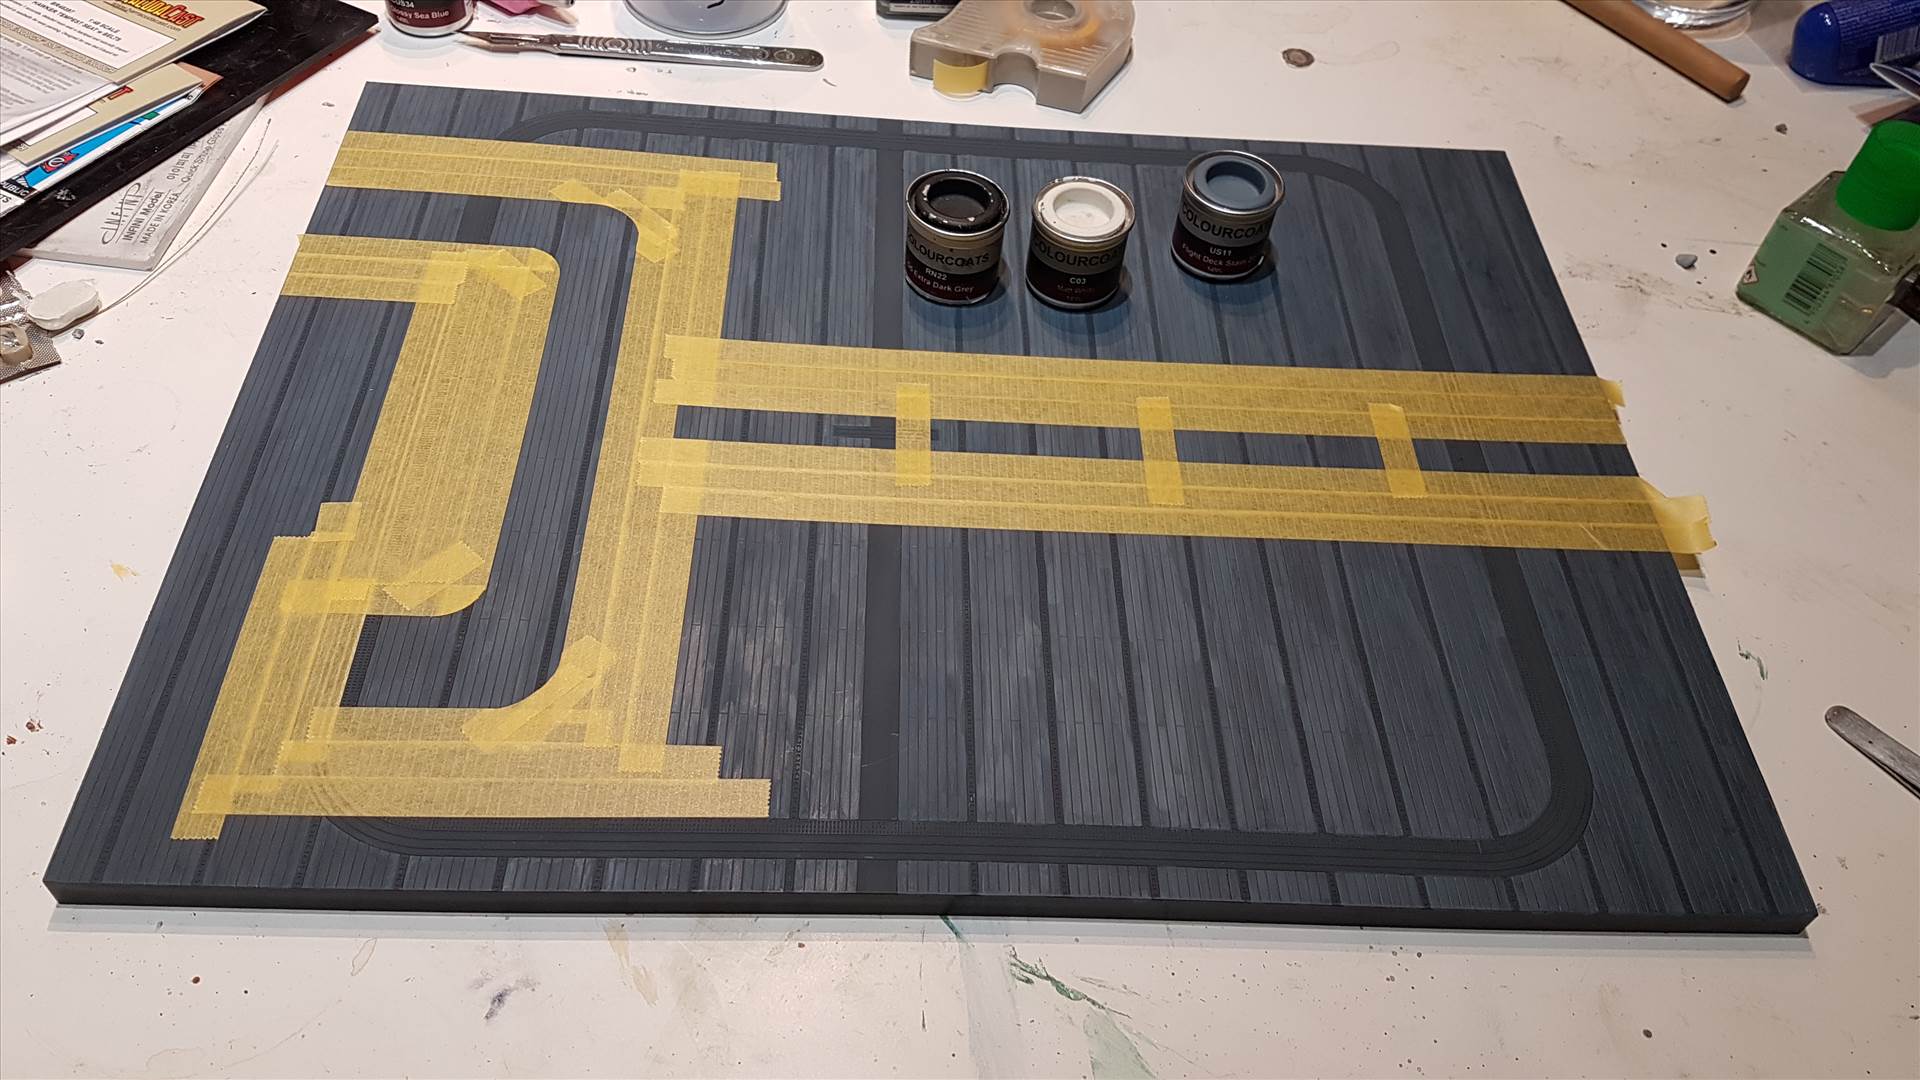
I also started painting the base. I chose to begin by painting the metal parts with US10 20-B Deck Blue. Next I shall mask this and airbrush the rest with US11 Flight Deck Stain 21, before then severely abusing both with weathering back to something resembling a WW2 US Navy carrier flight deck.

Many (aero) modellers think these were natural wood colour - in fact all US Navy carriers had their decks stained blue for the entire duration that the Americans were in the war - documentation suggests this practise was ordered into being in mid 1941.
Post 13
I really don't make things easy for myself. I was holding the roll of Tamiya tape in my hand when apparently my brain malfunctioned and I thought "it might be quicker just brushing the planks". It's taken me THREE. FLIPPING. HOURS. to get almost half way. I regret this choice very much.
Post 14
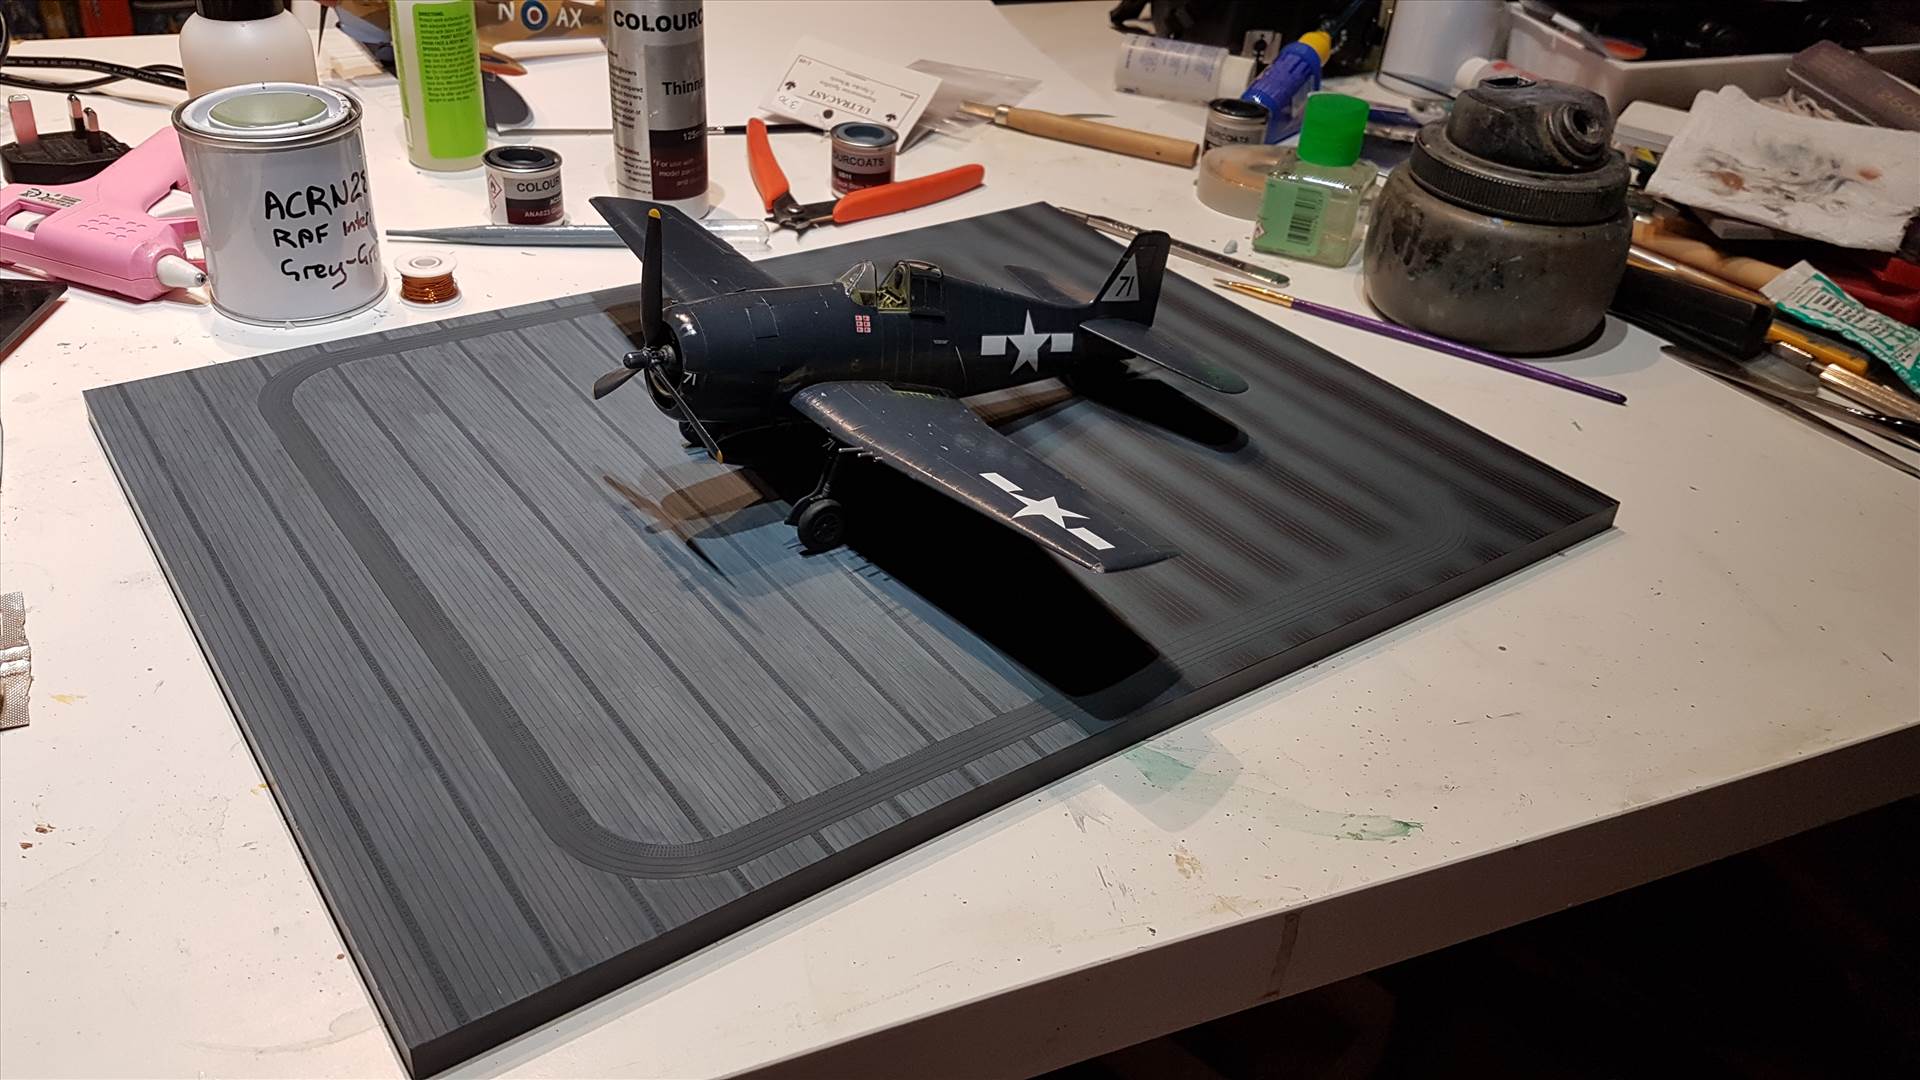
Tonight has been "invested" (yes, let's call it that) in that deck brush painting.
Righto. Now in actual fact that piece of deck is supposed to represent an Essex class carrier, but my Hellcat is from USS Enterprise which was a Yorktown class. The market is not awash with different types of American carrier deck sections though so given that most aeromodellers don't know that all US Navy decks were blue during wartime, the chances of some berk giving me the "I think you'll find..." treatment due to this being of the wrong class fairly remote. The Yorktown sisters had one lift astern and one close to the island. I decided to dress this up a bit like the stern elevator and added the top of Enterprise's hull number (CV-6) to the aft end, along with the white centreline. There was no way on this Earth that was going to involve a paint brush though because masking the planking for this was just begging for seeping under the tape.
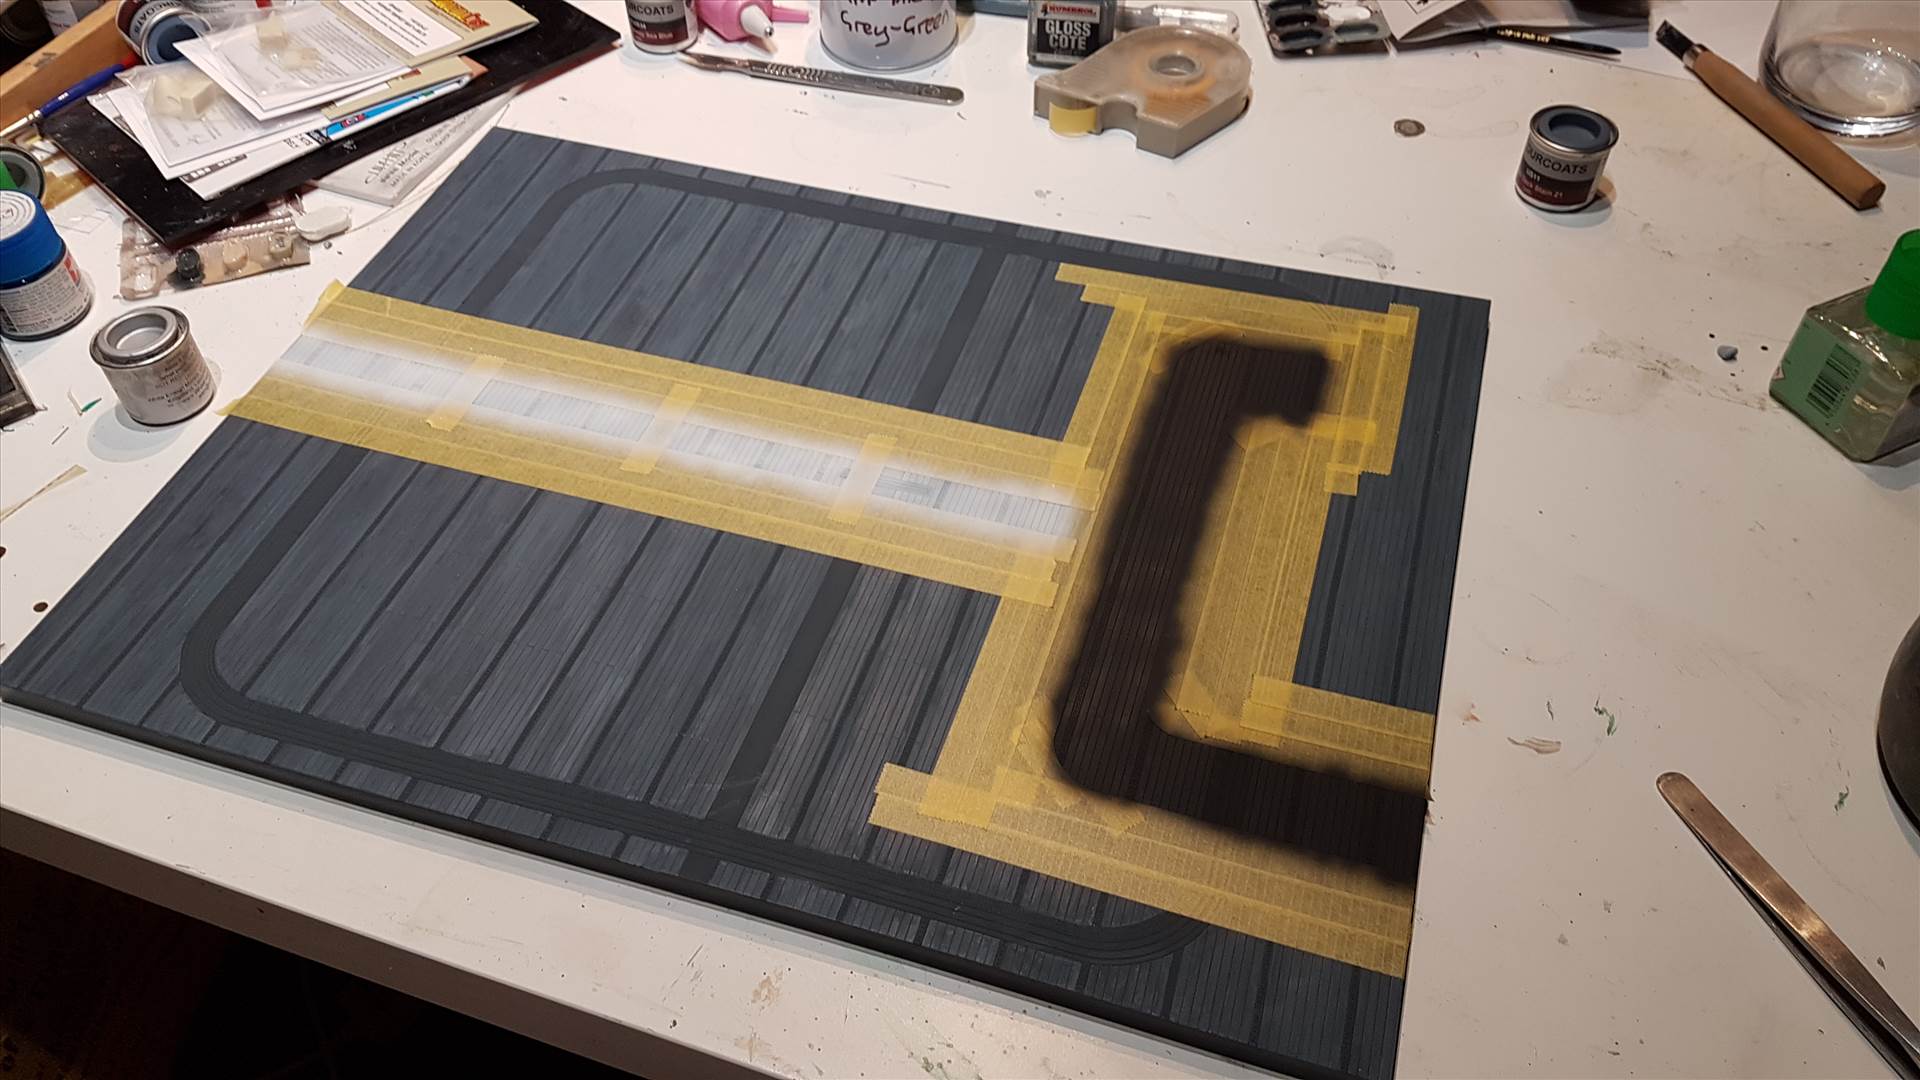
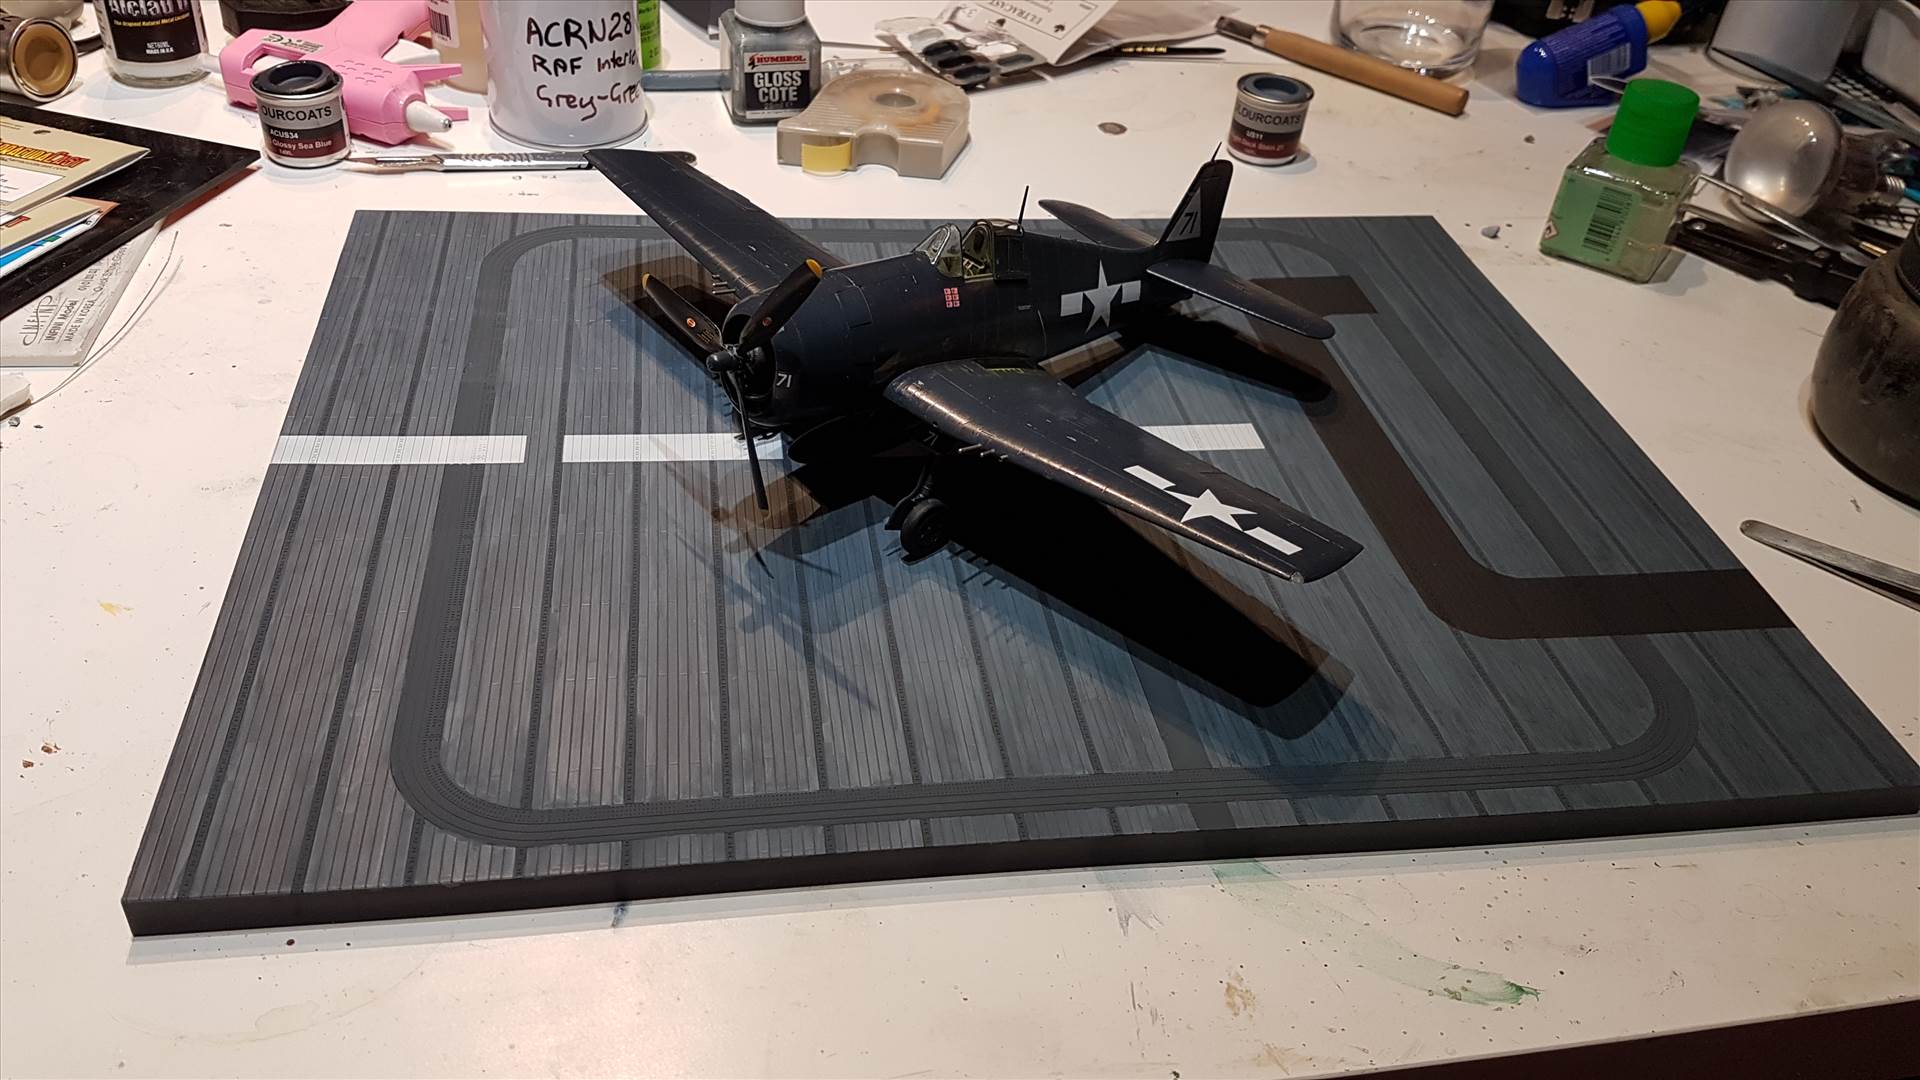
I've just stripped the tape off for a quick picture before I go to bed. The deck still needs work to make it look somewhat convincing, and the Hellcat requires a whip antenna and its rigged antenna between the masts. Also the propeller requires a final clearcoat following application of yet more stencil decals.
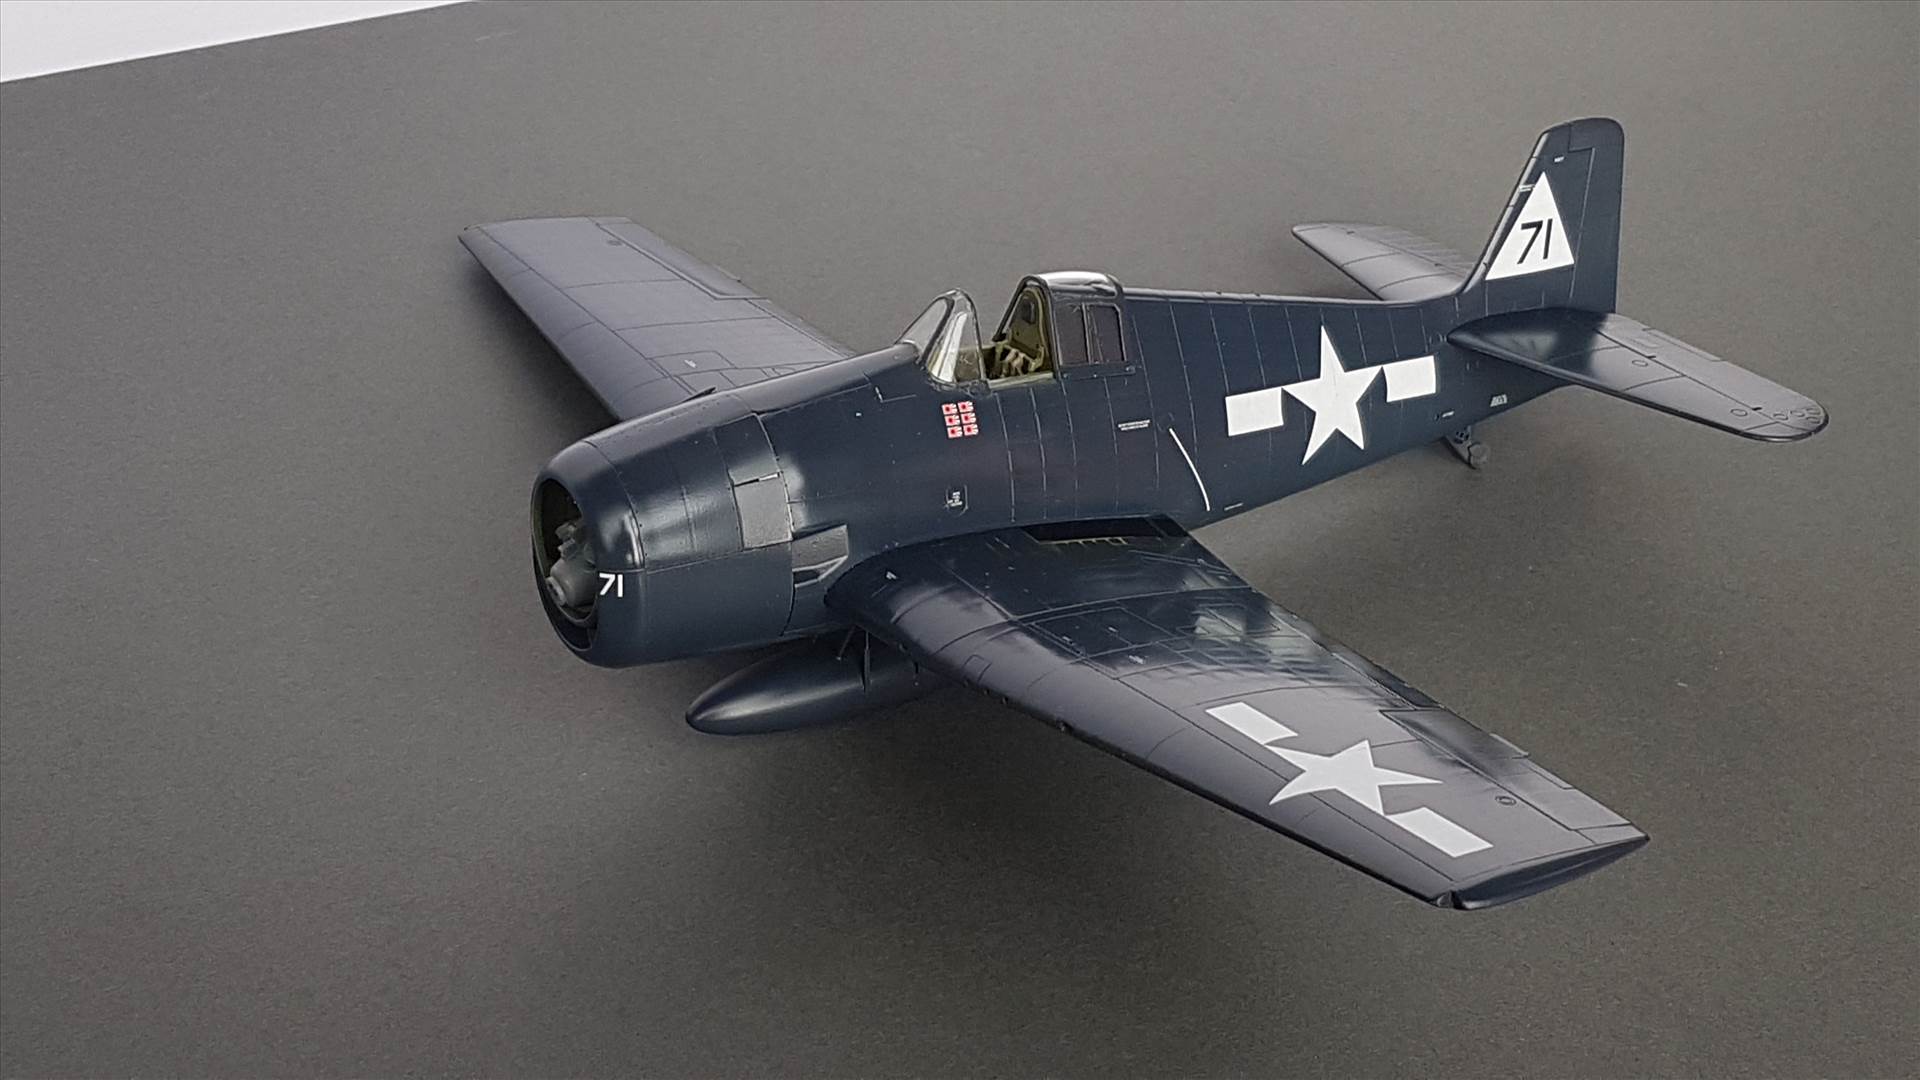
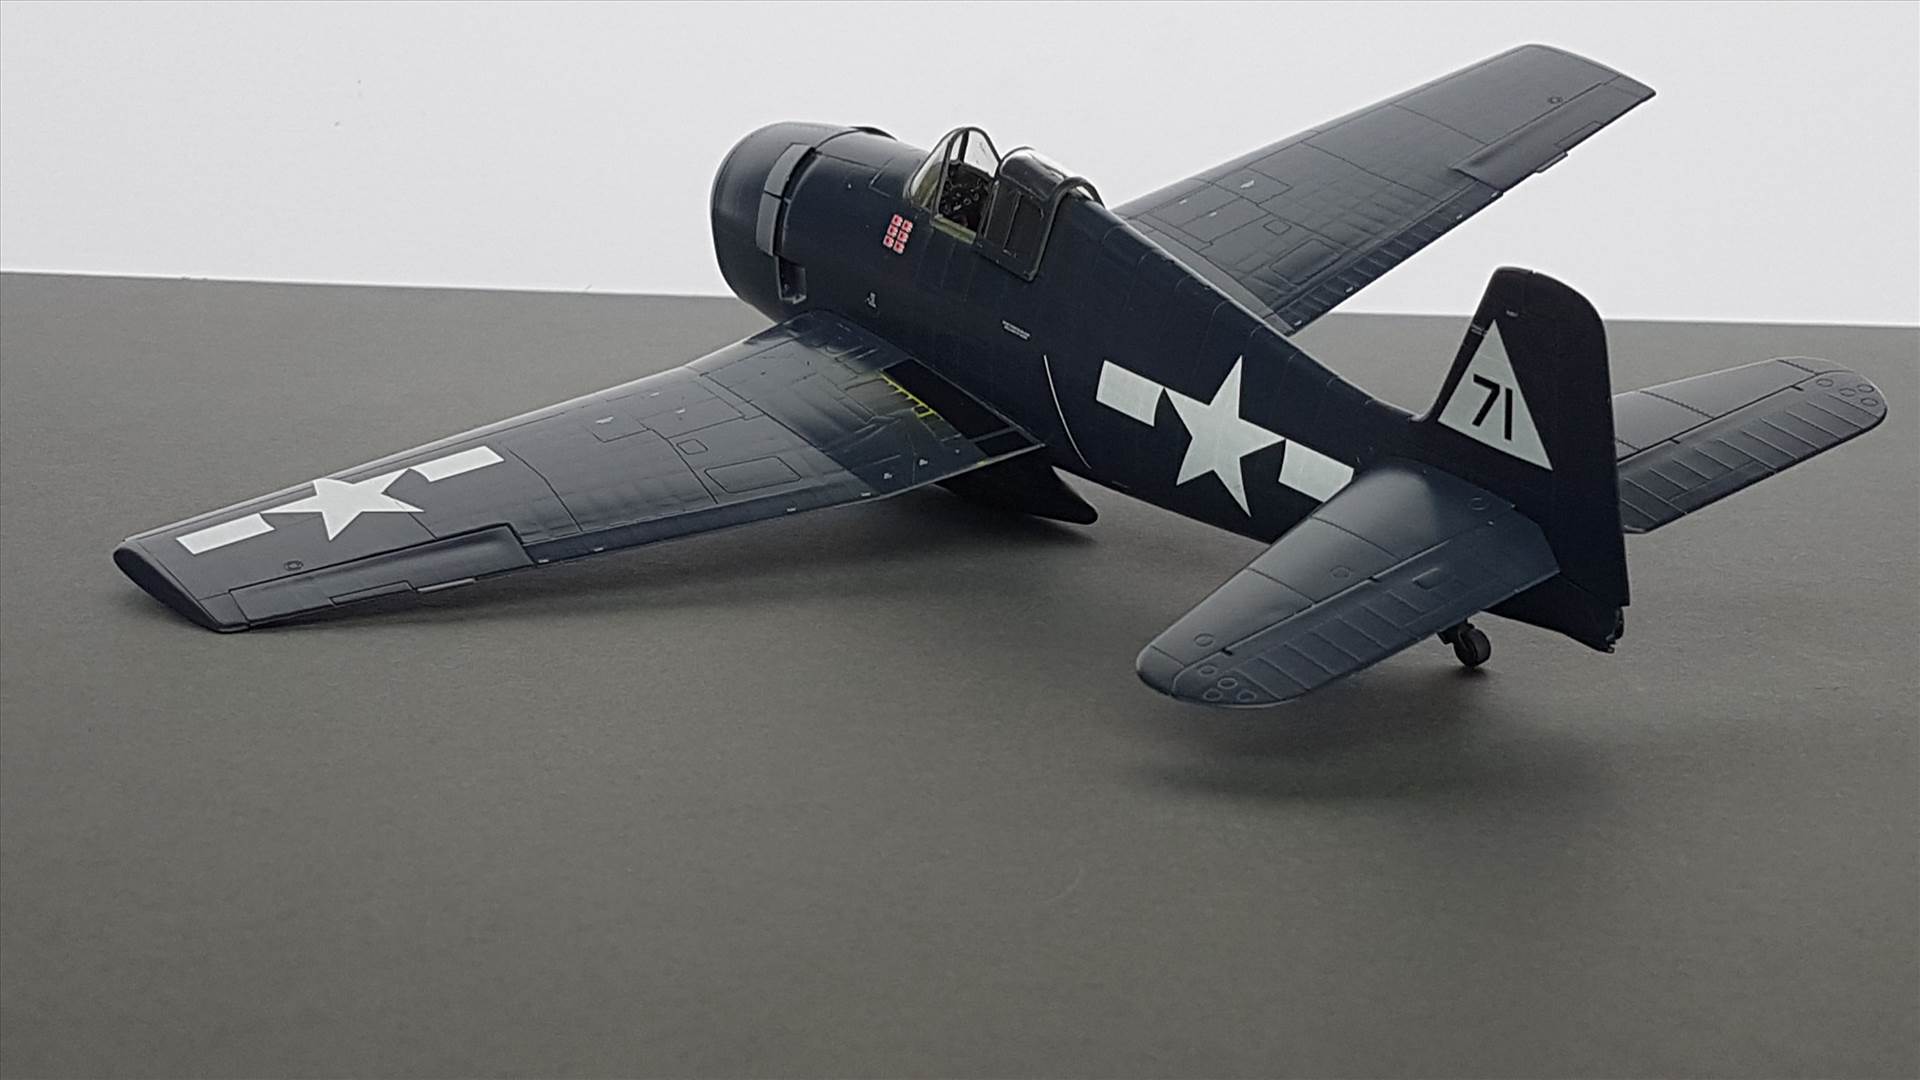
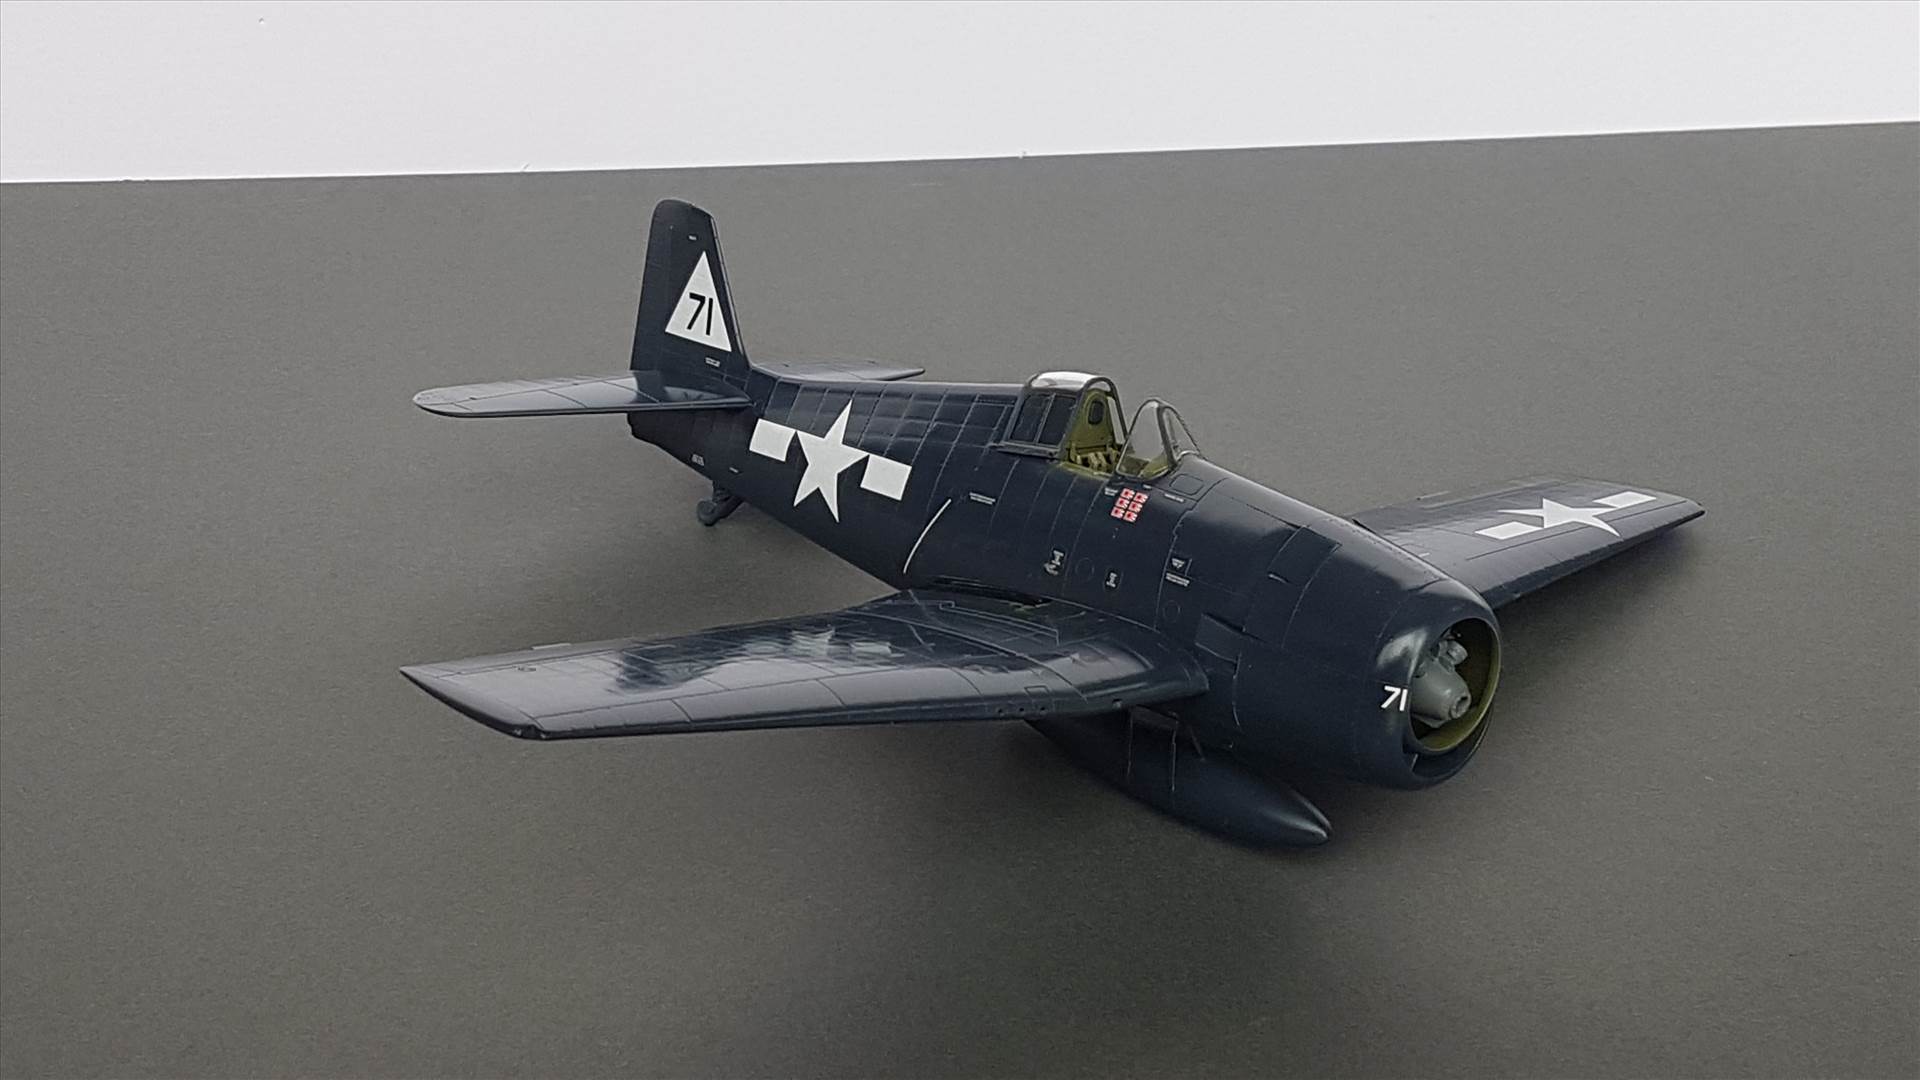
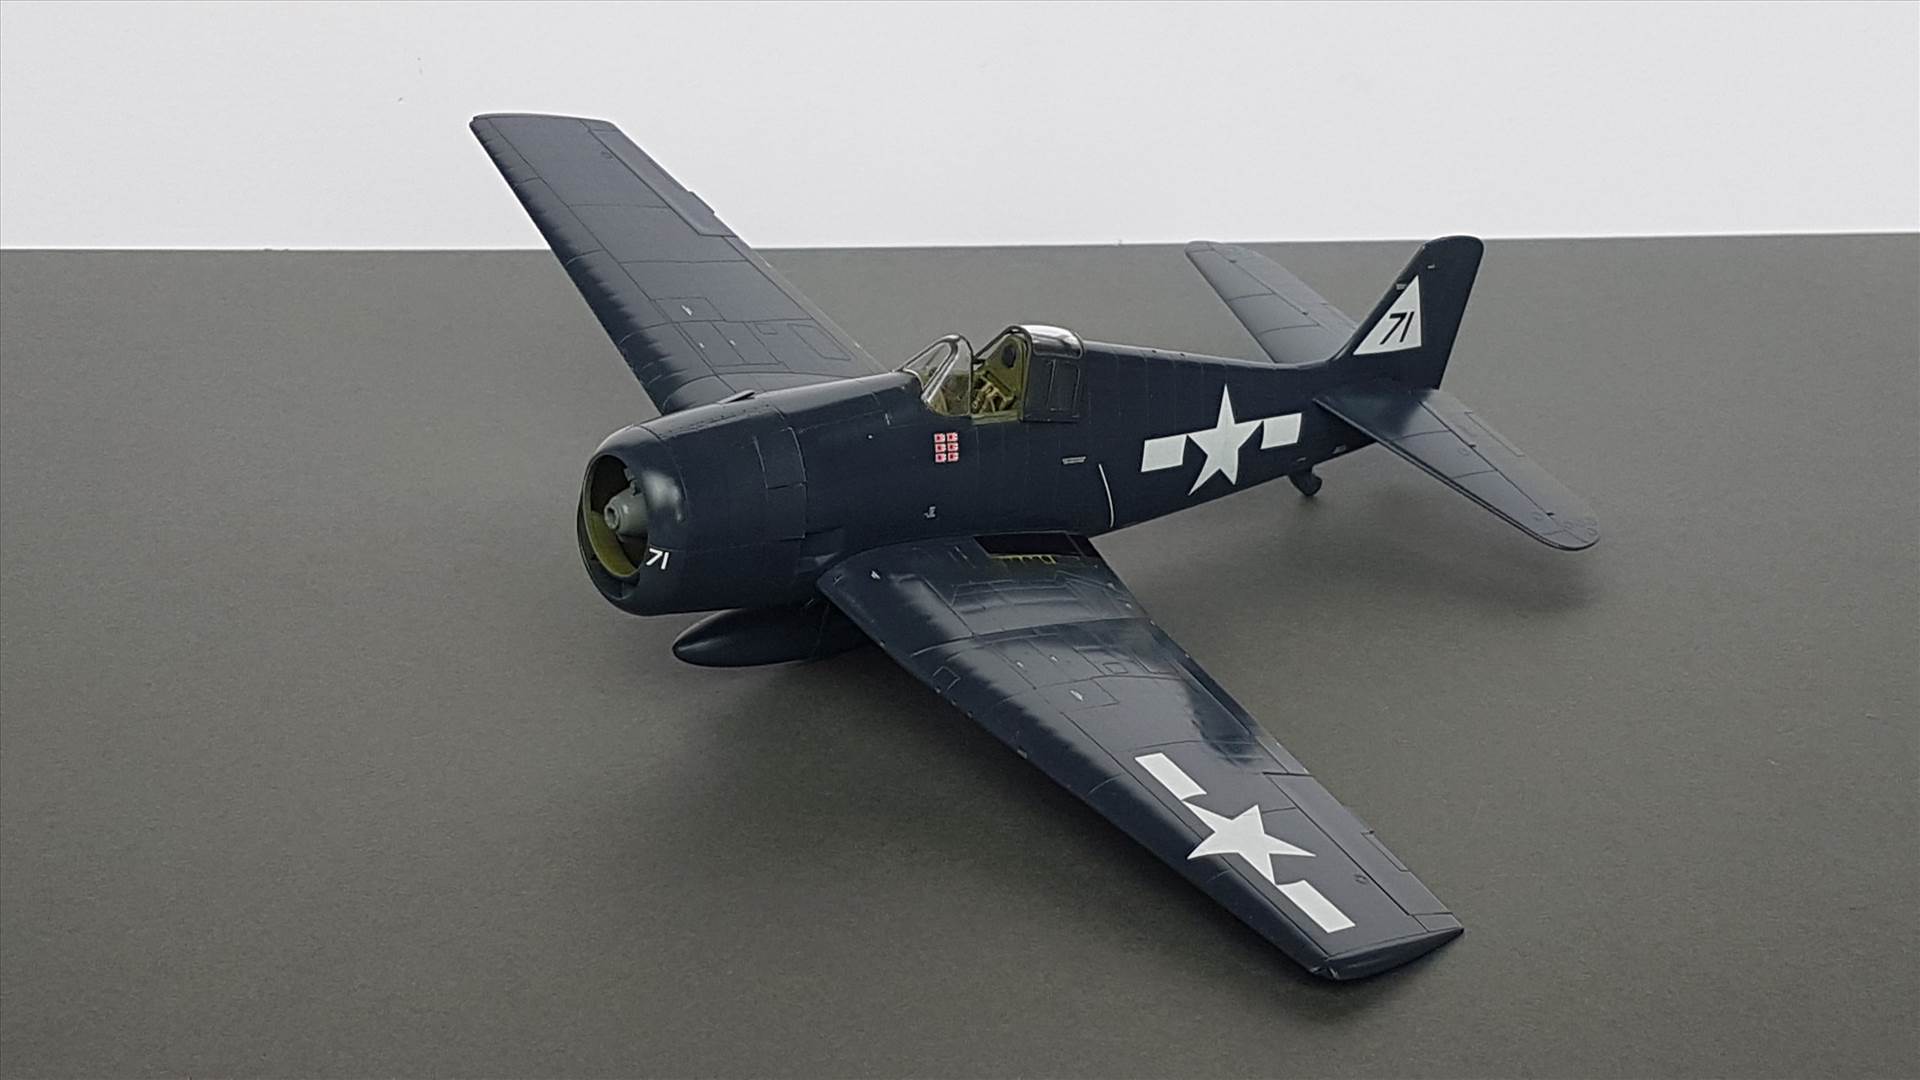
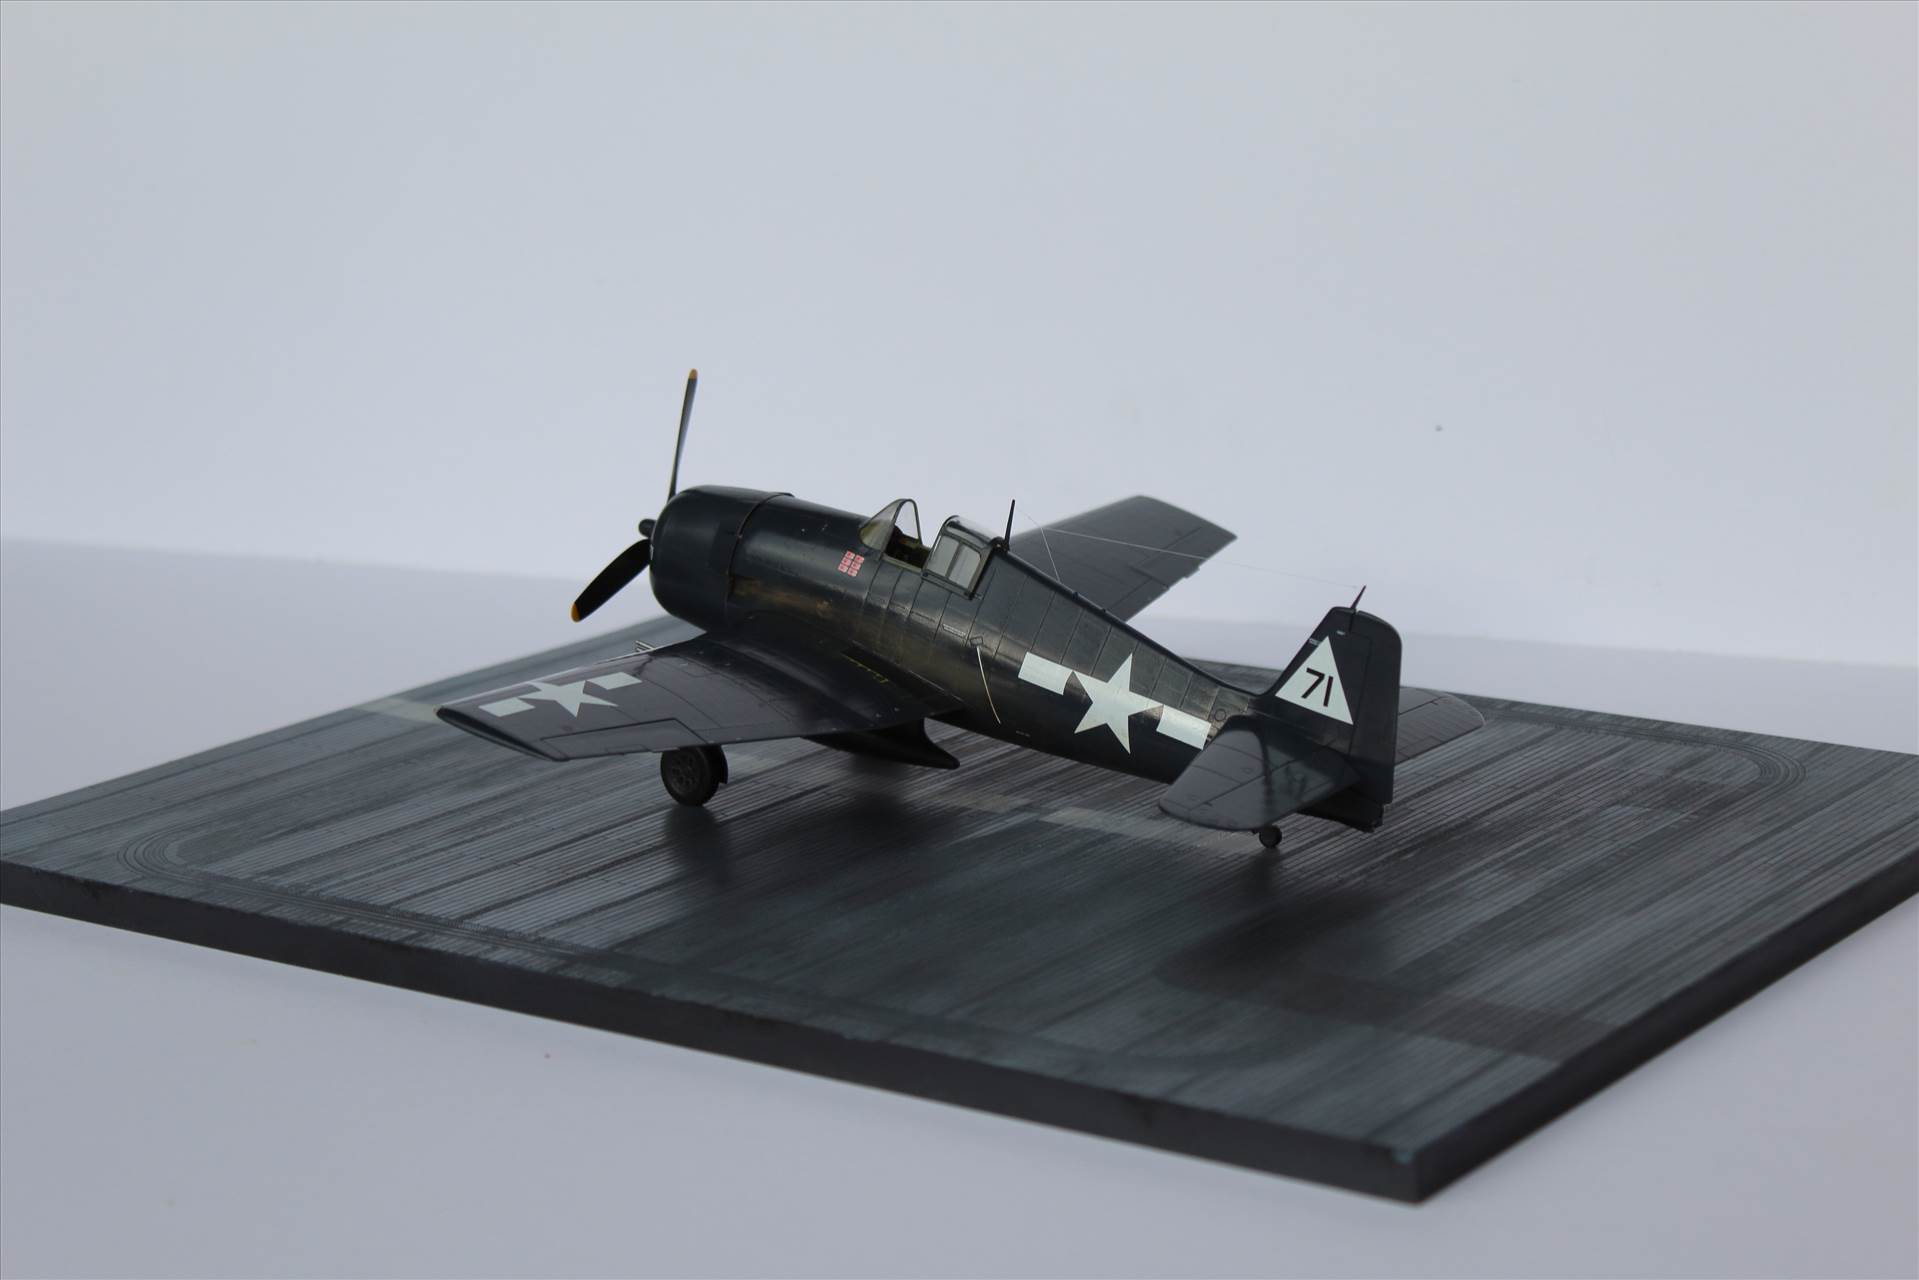
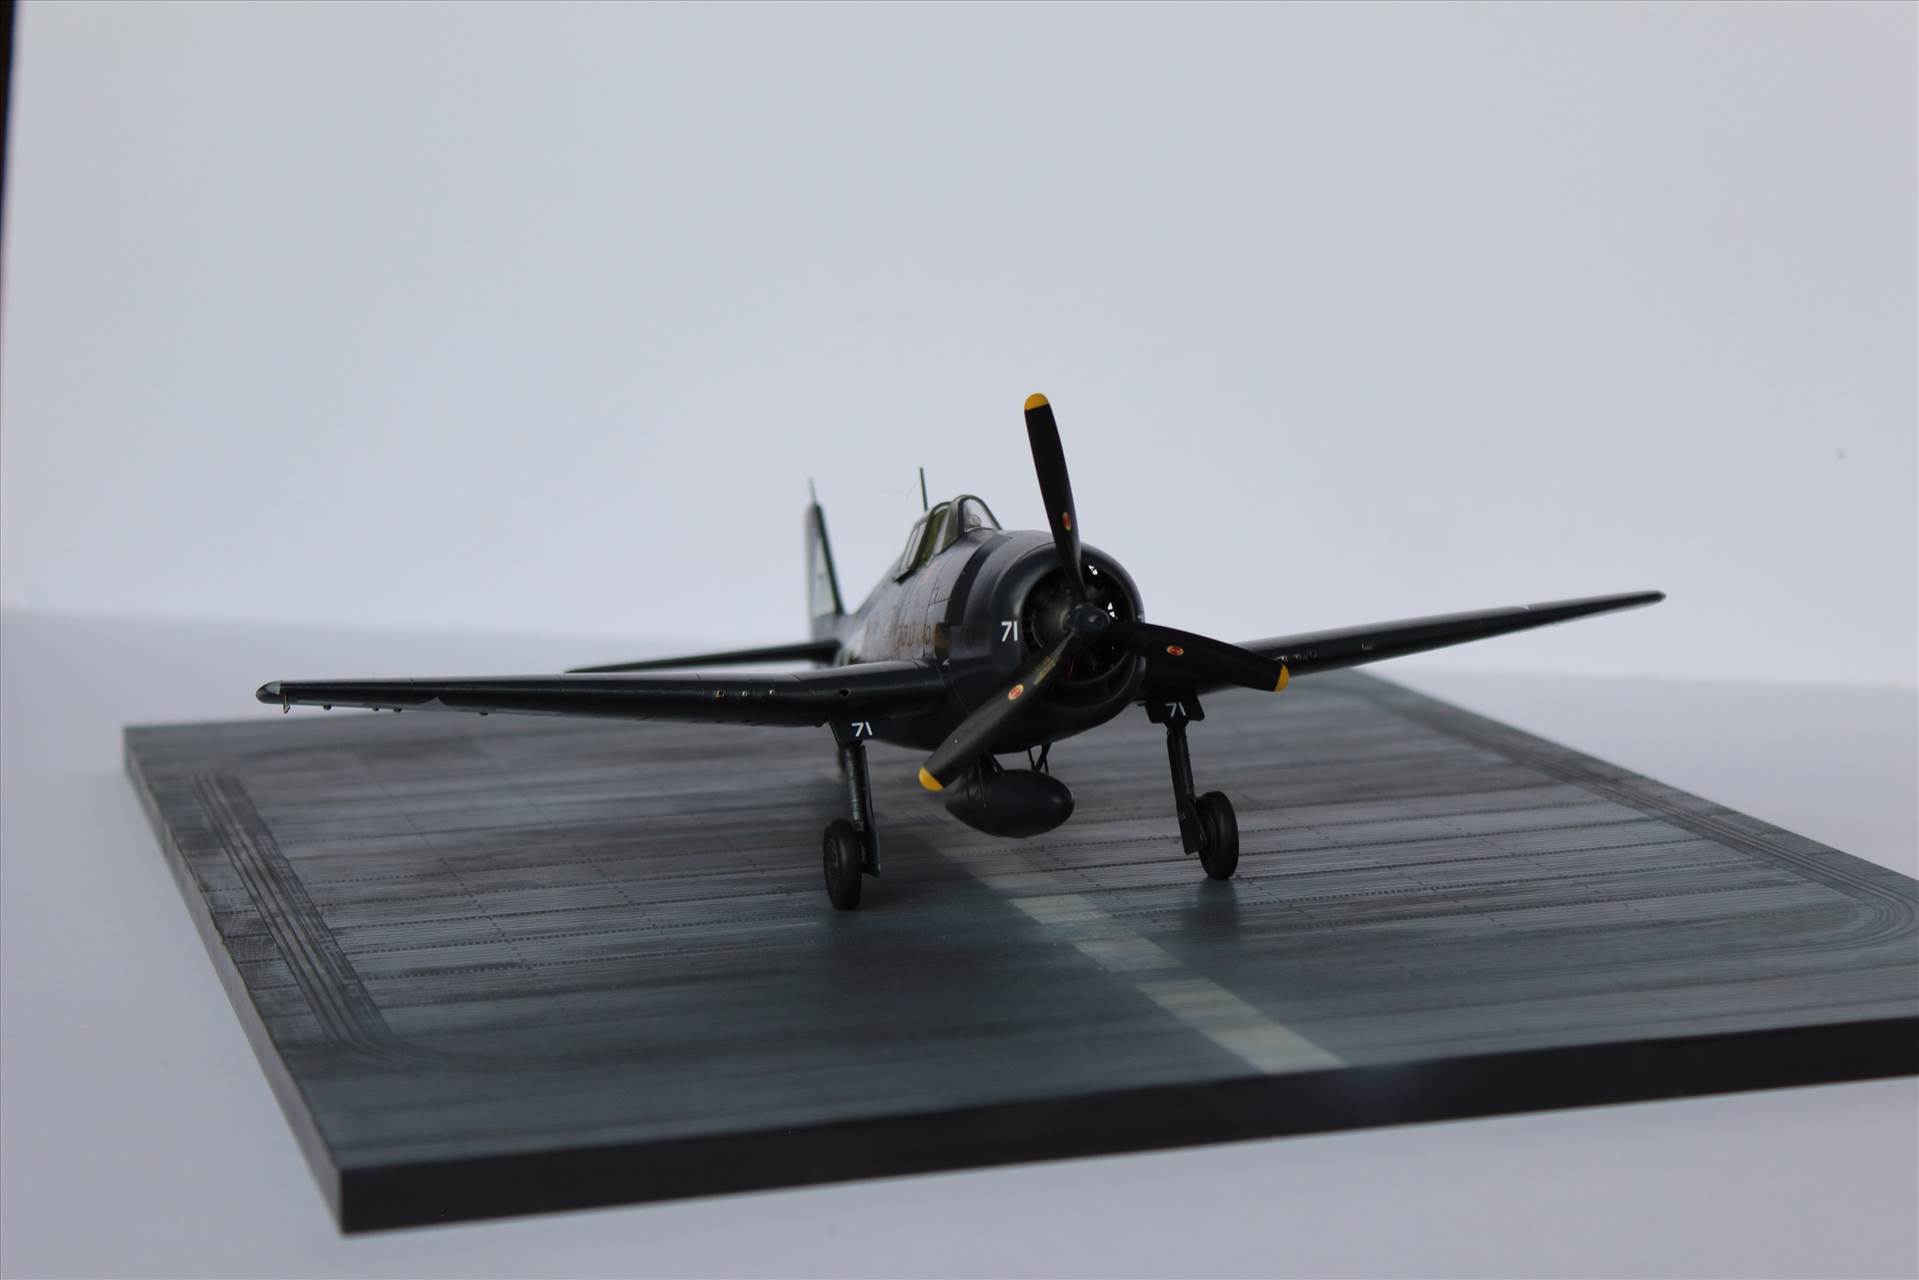
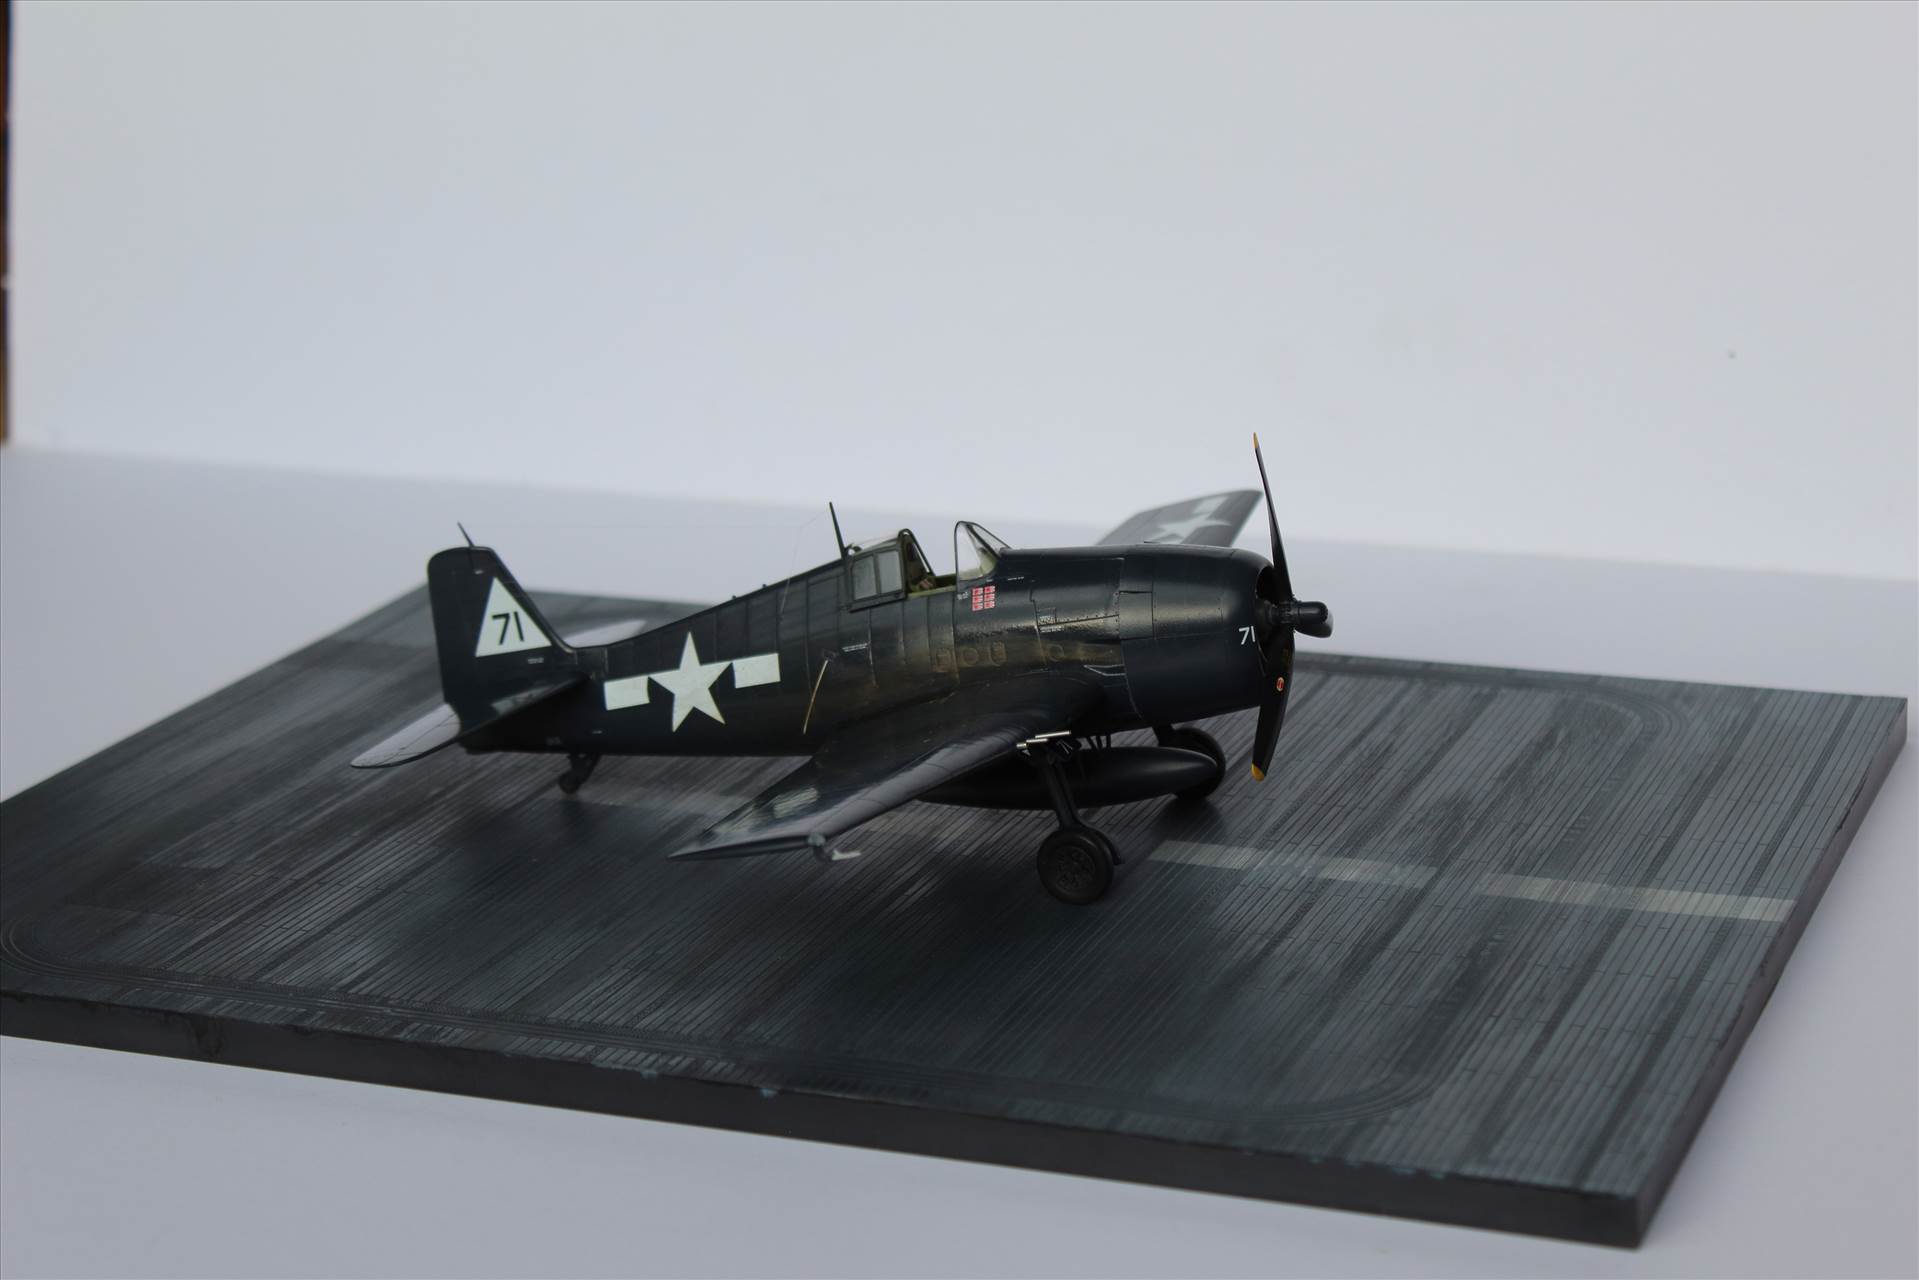
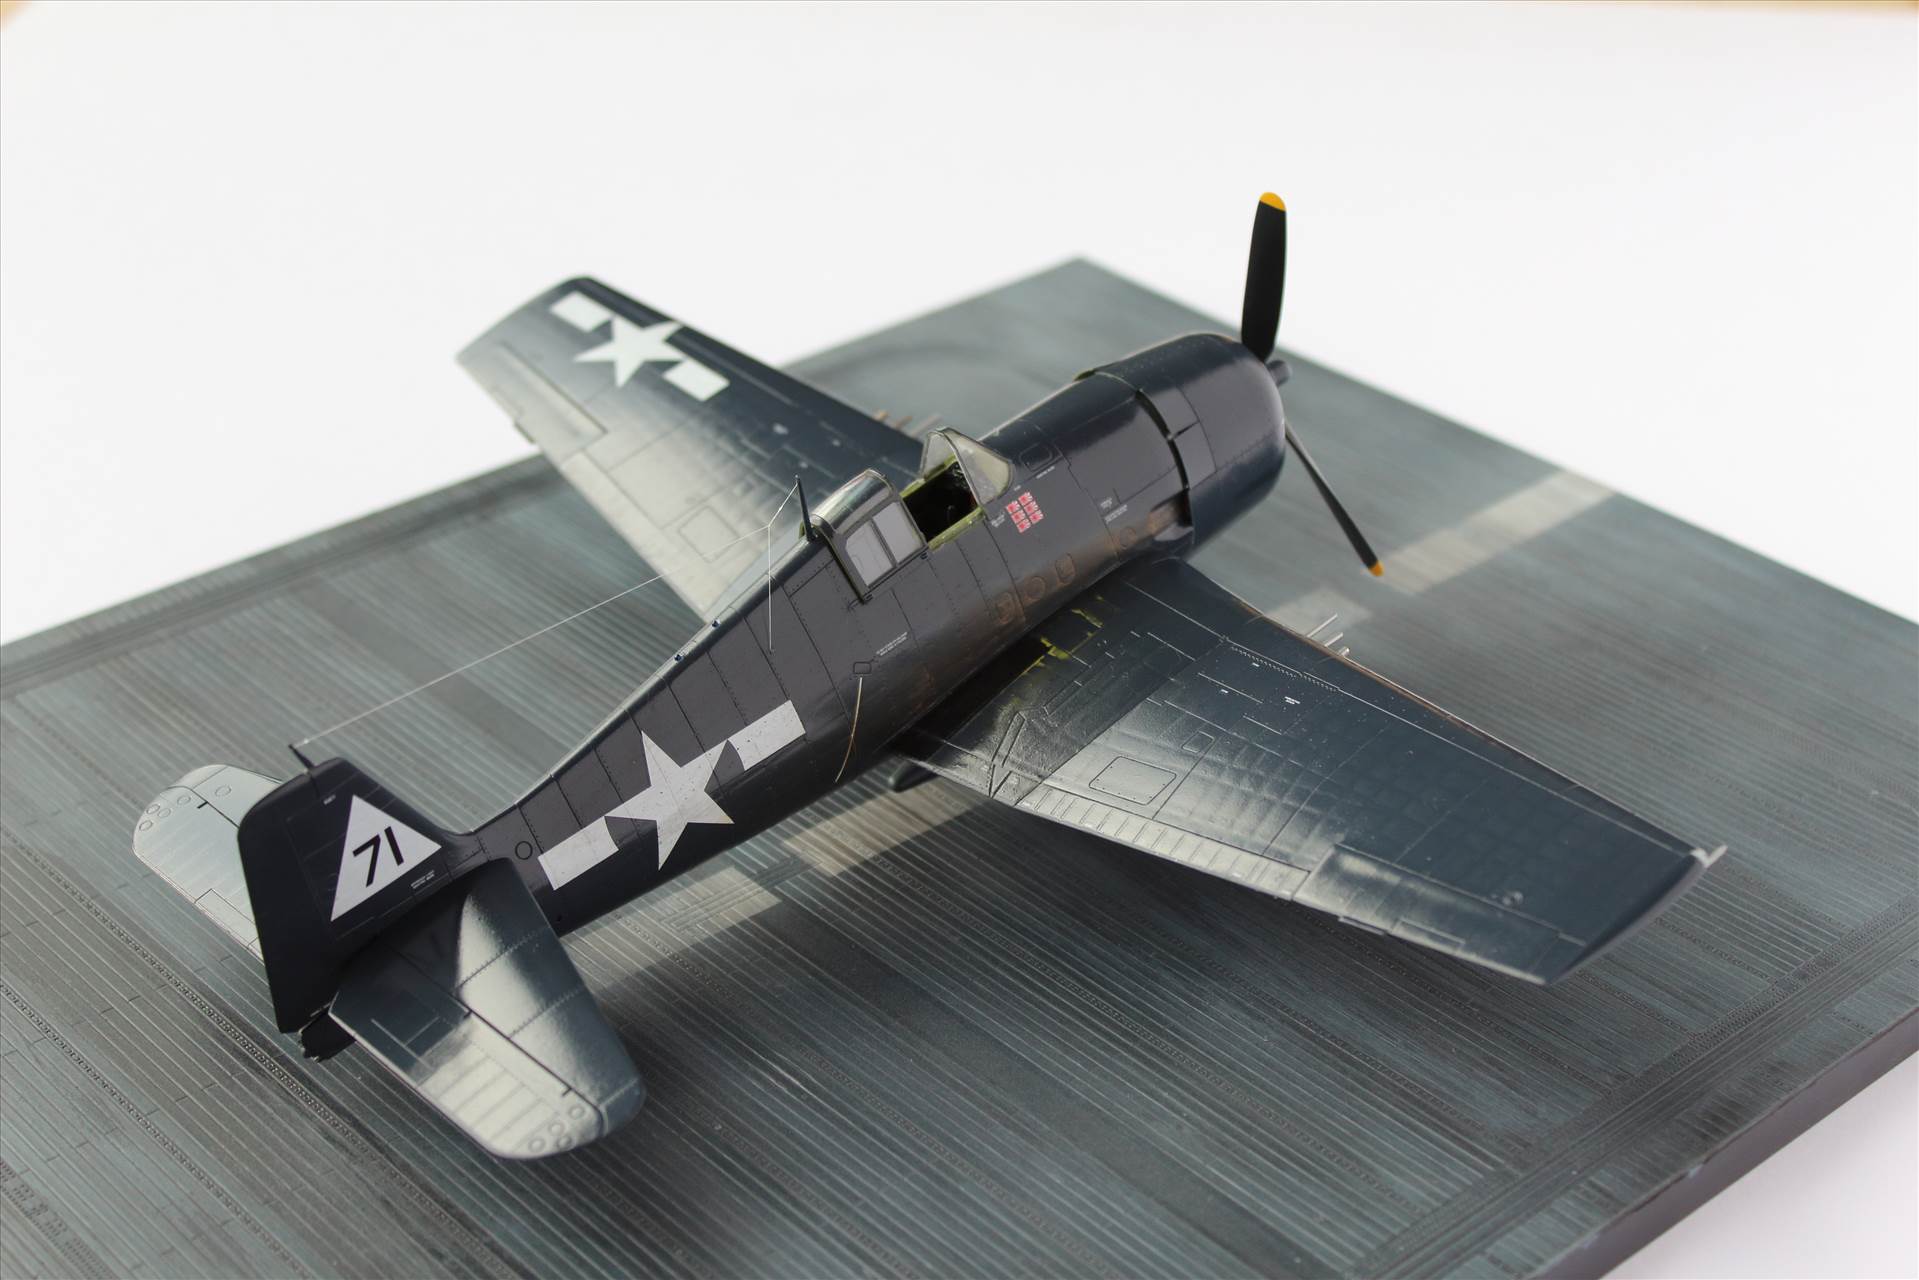
Post 15 - Complete!
The kit is close to being Out-Of-the-Box, but did receive Airscale cockpit instrument decals to improve the panel, and substantial improvements to the cockpit purely from adding an Ultracast resin seat with seatbelts, new wheels and Ultracast's much improved Hamilton Standard propeller. In addition, Master brass barrels were added. All paints are Colourcoats enamels, and the antenna is Infini Model 40 denier (0.068mm) lycra rigging line. The base is Eduard's injection moulded Essex class aircraft carrier deck section, although strictly speaking the aircraft was from USS Enterprise CV-6, a Yorktown class.


If anyone made it this far and is remotely curious to see how ACUS34 - ANA623 Glossy Sea Blue compares to our parallel paints ACUS07 - ANA606 Semi-Gloss Sea Blue and ACUS33 - ANA607 Non-Specular Sea Blue, often all claiming to be matched simultaneously and/or referenced to FSx5042 which matches none of them, here's the GSB Hellcat and my earlier "by the book" tricolor F6F-3 together:
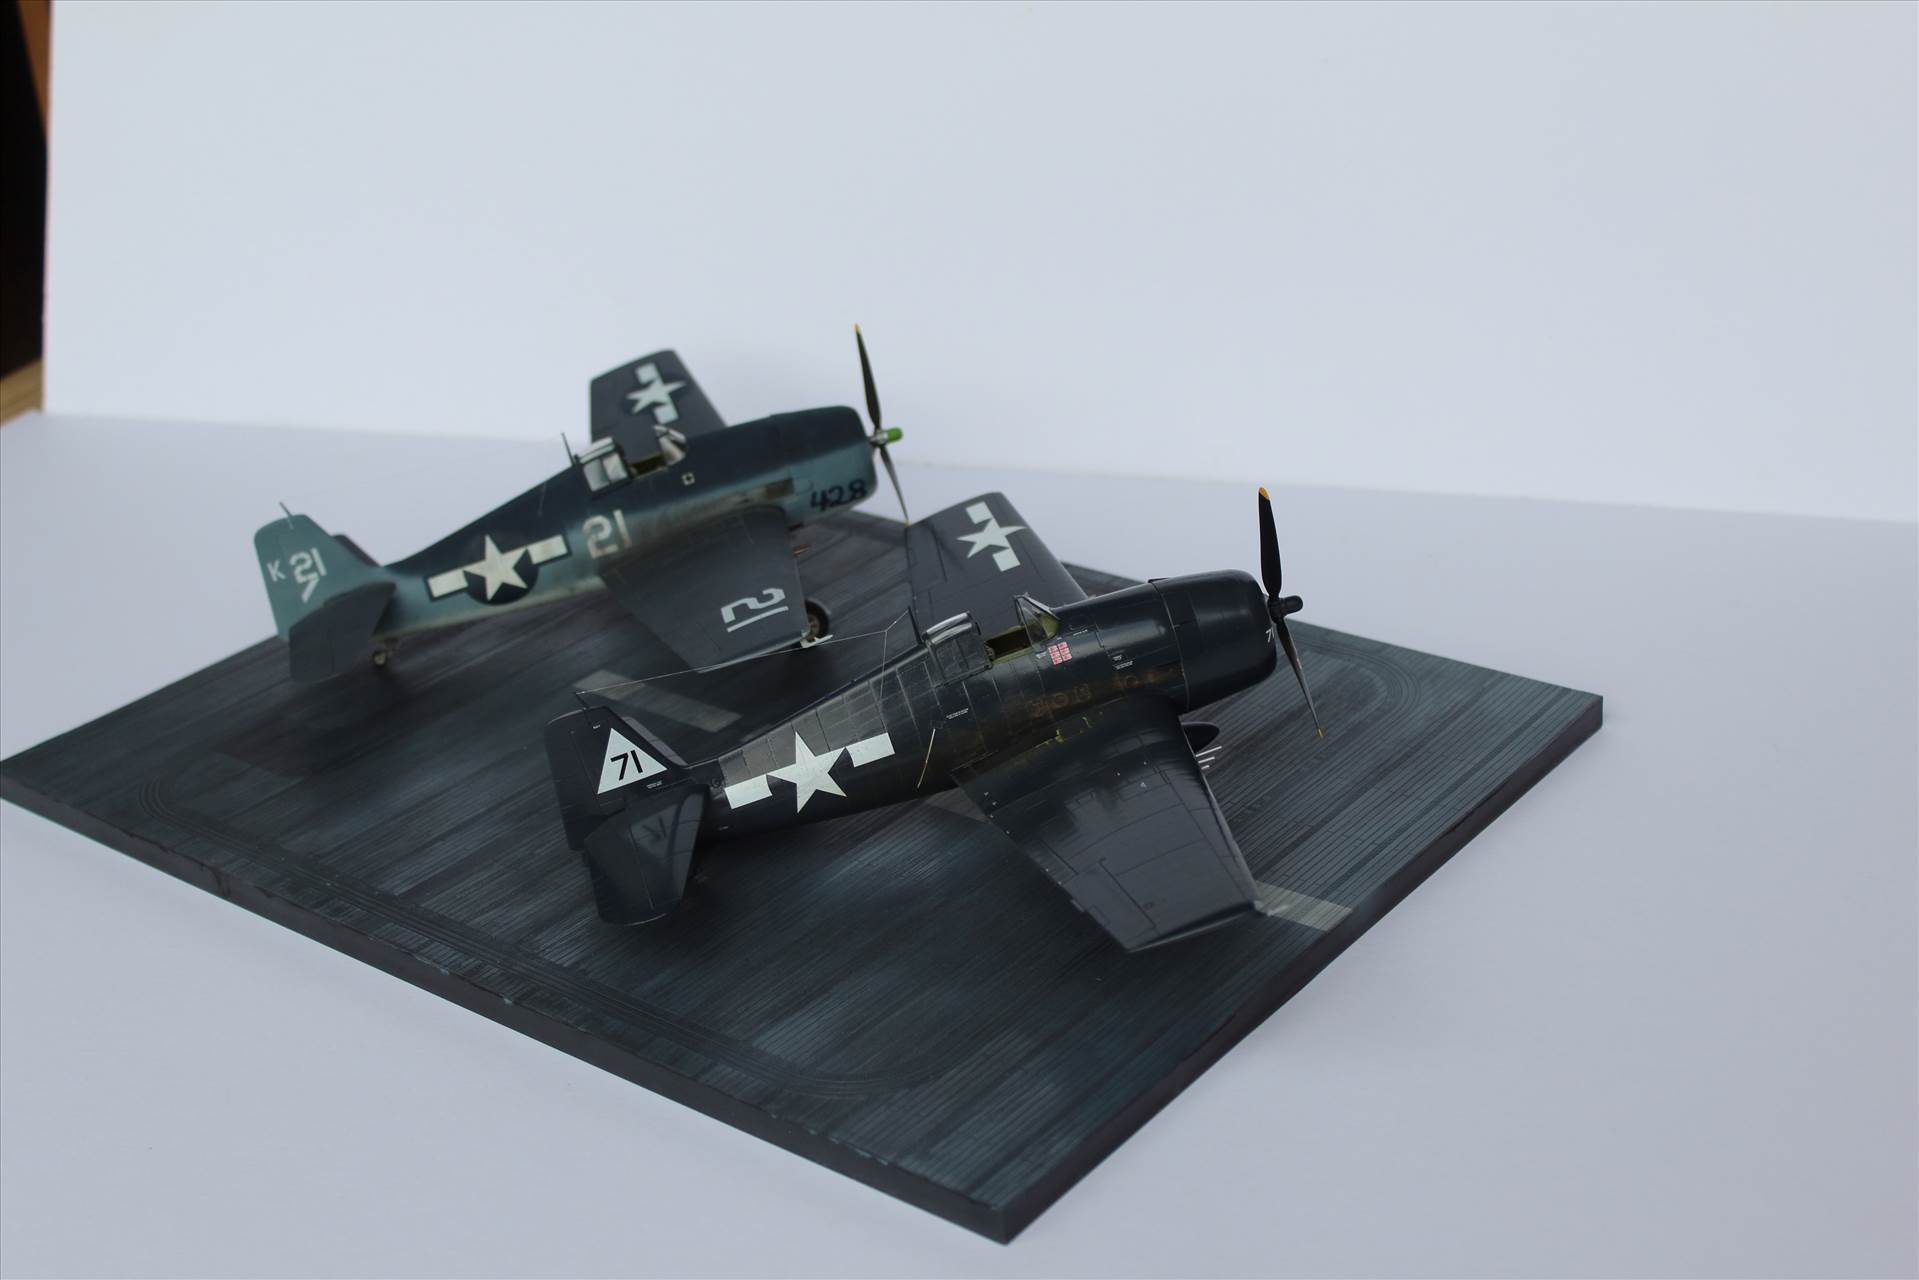
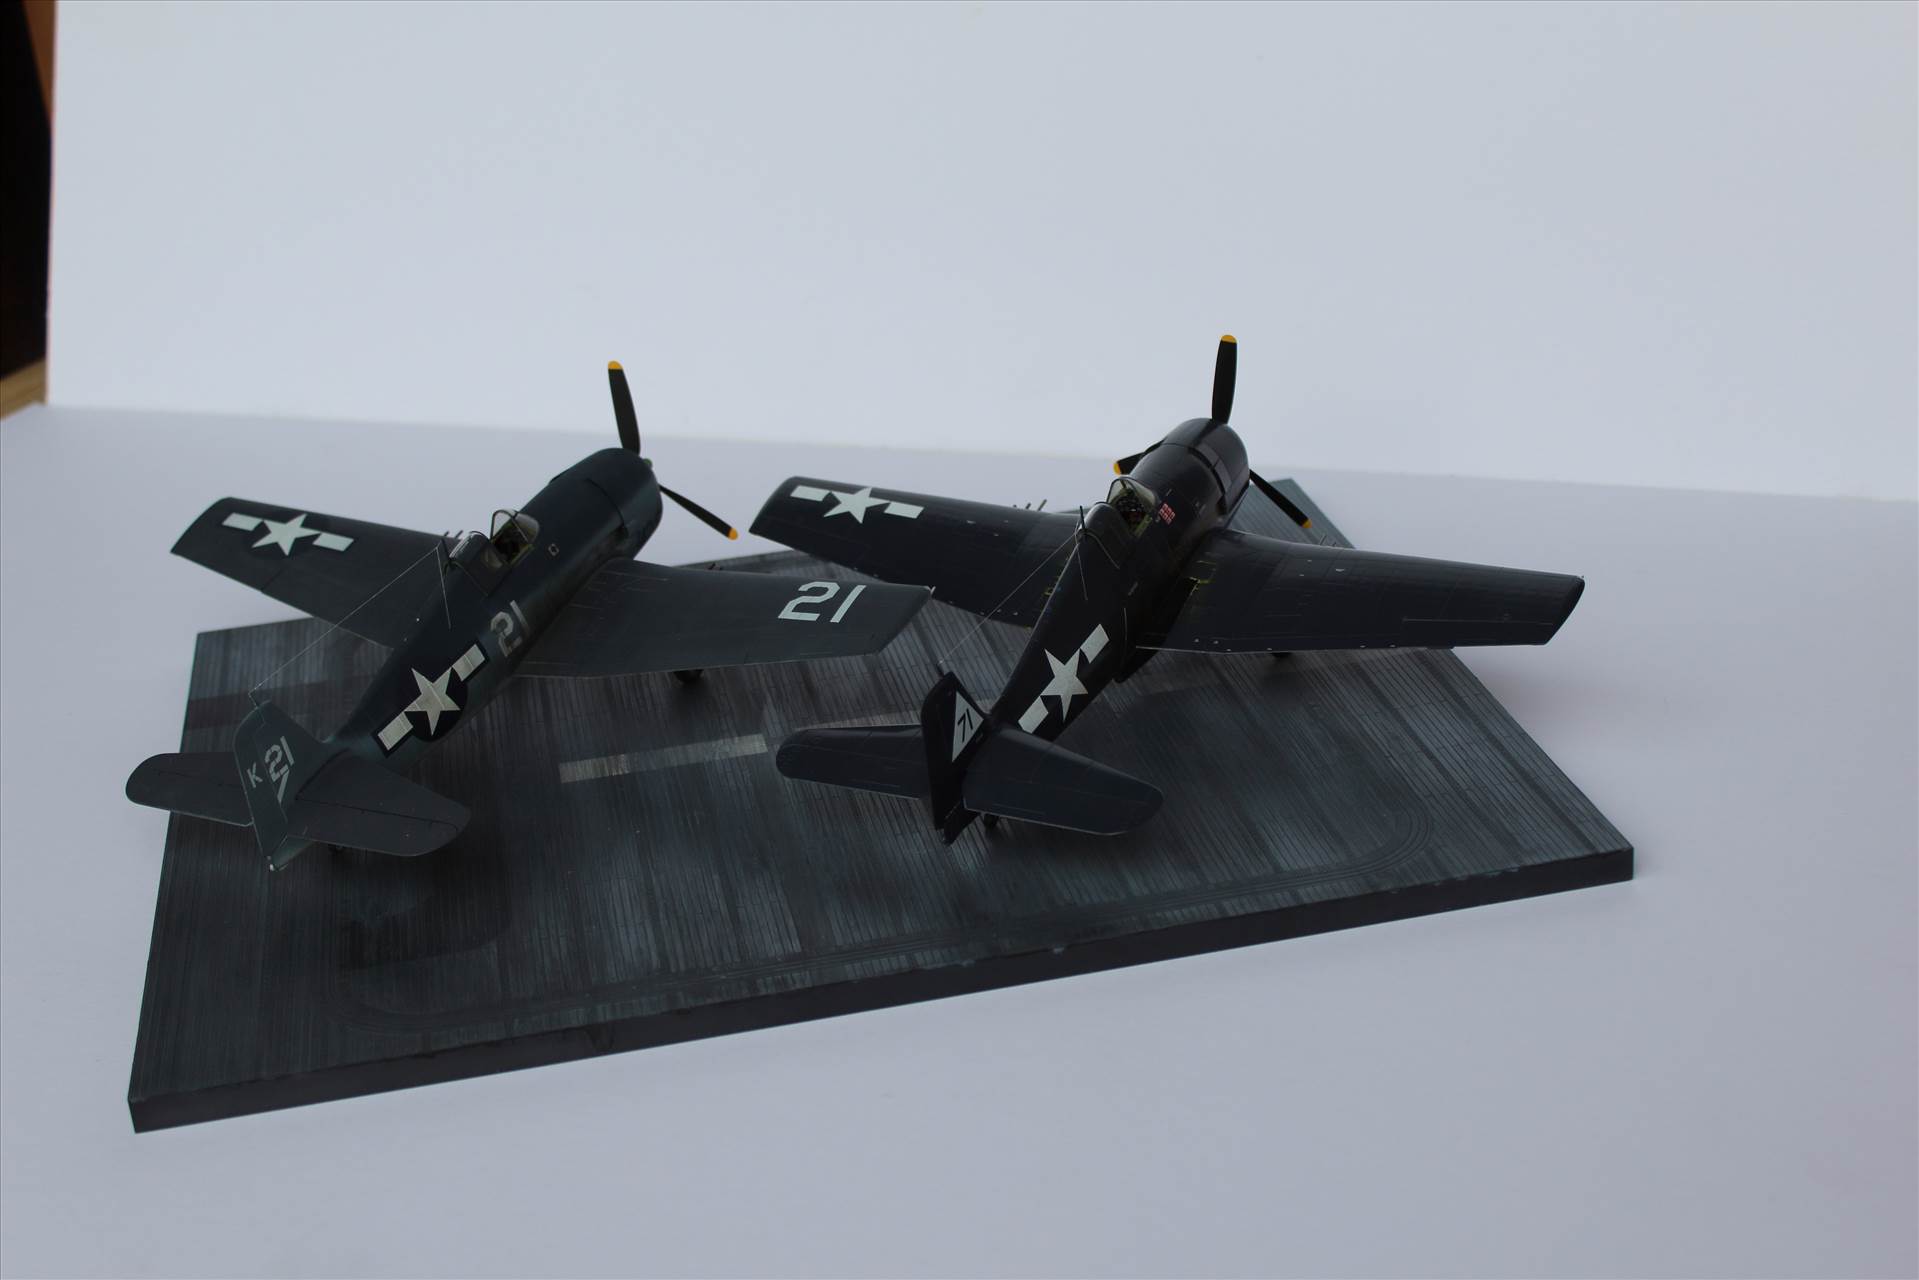

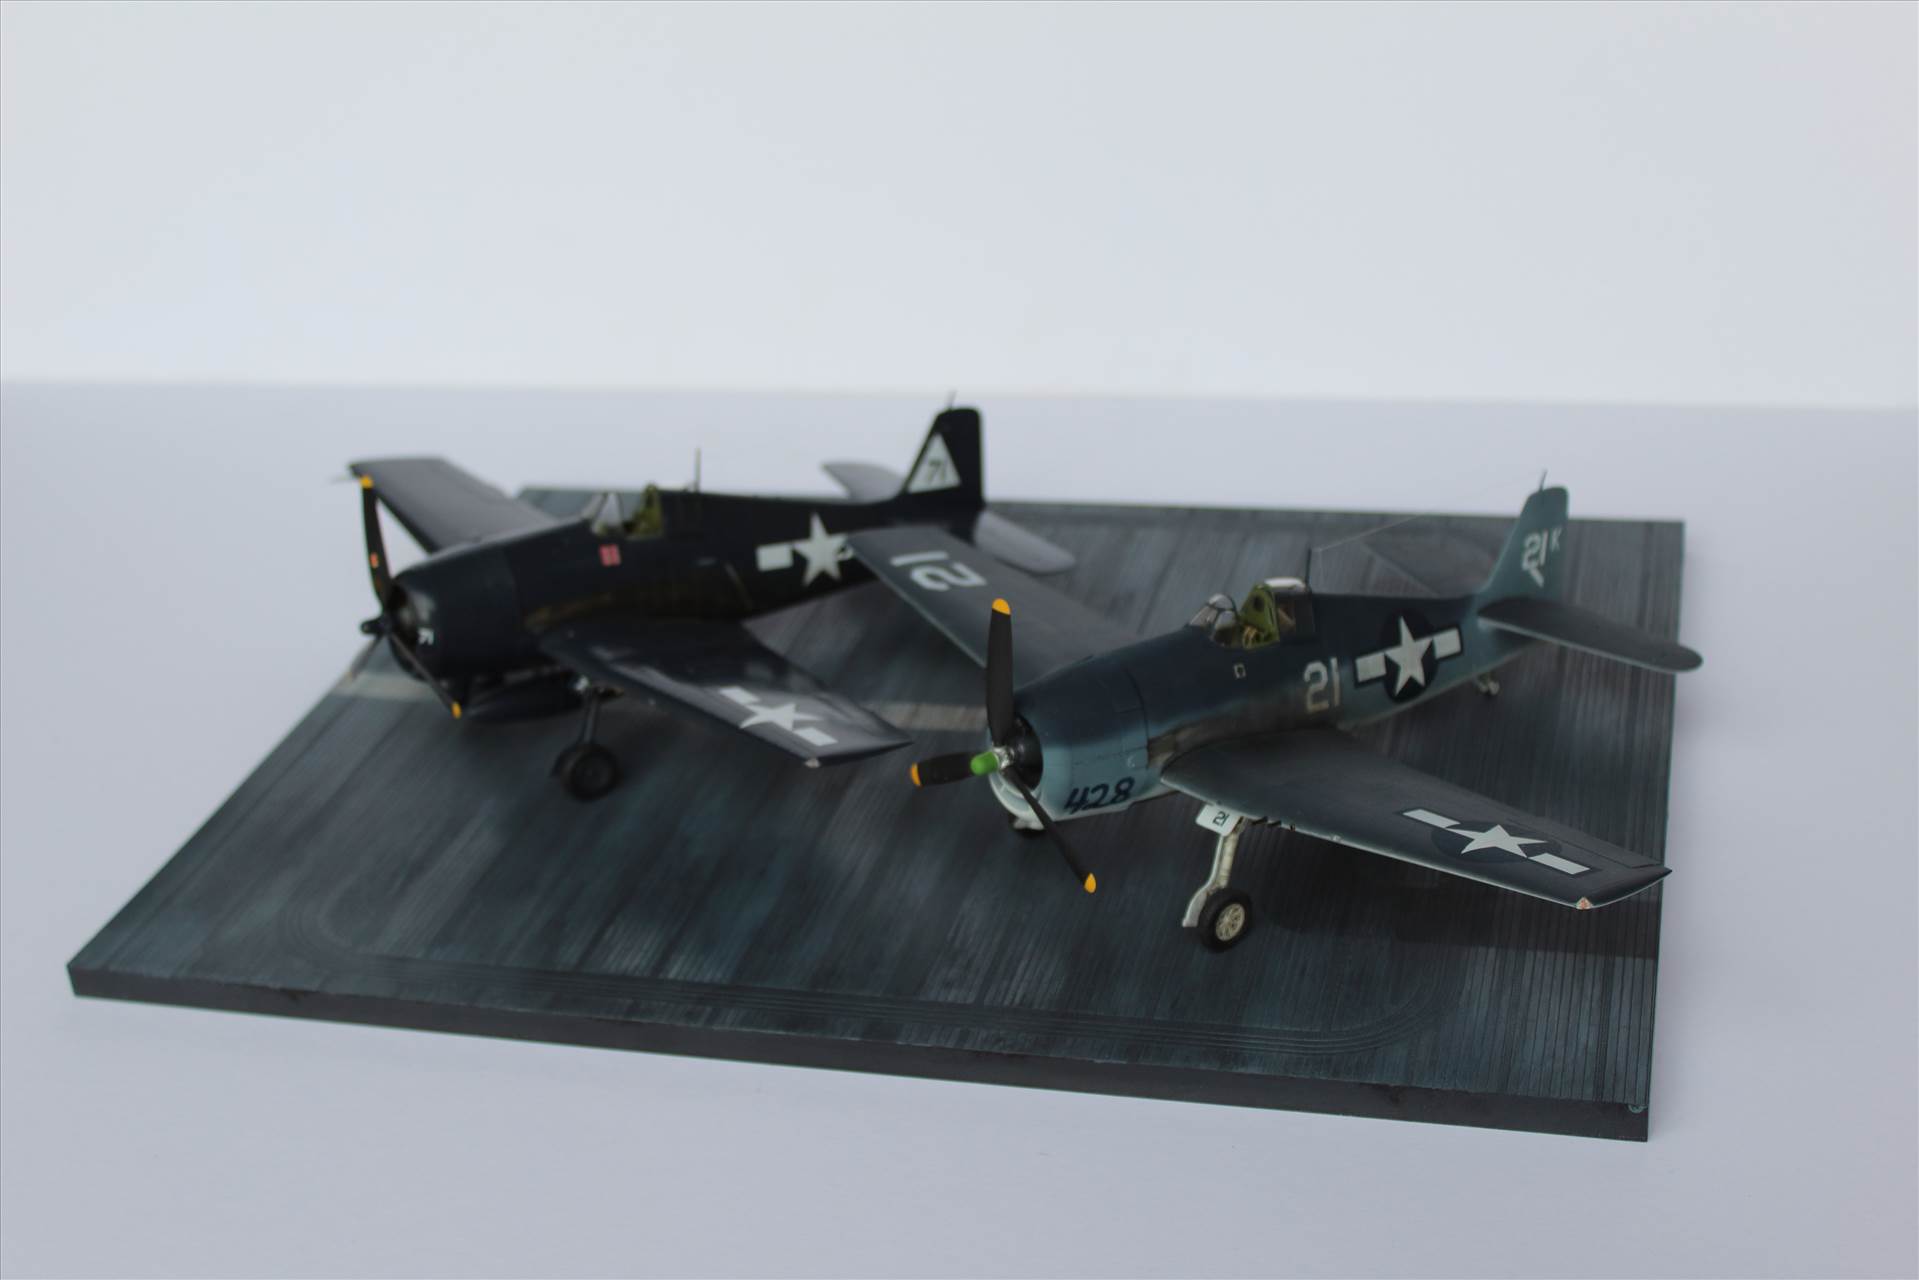
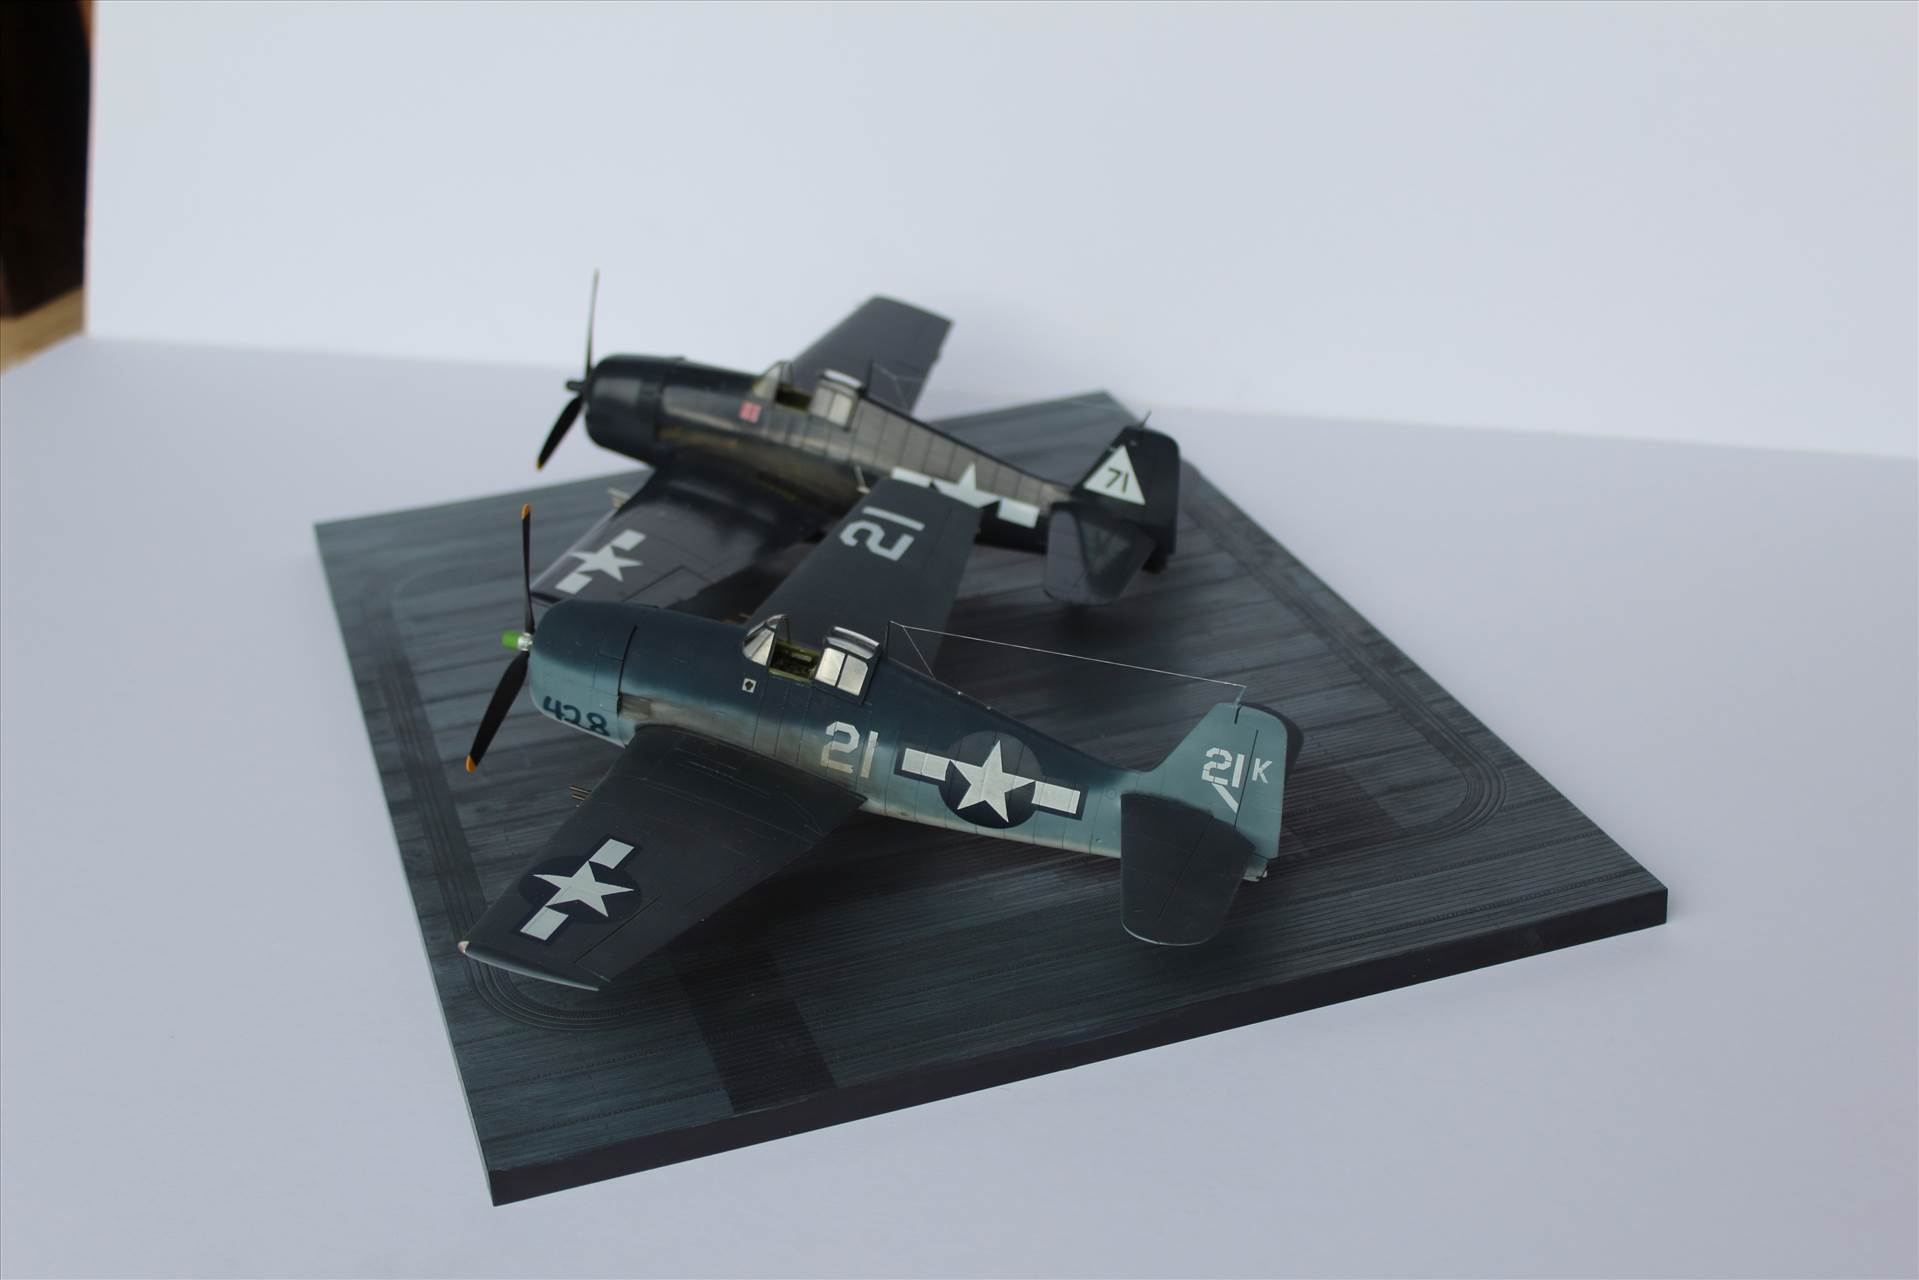
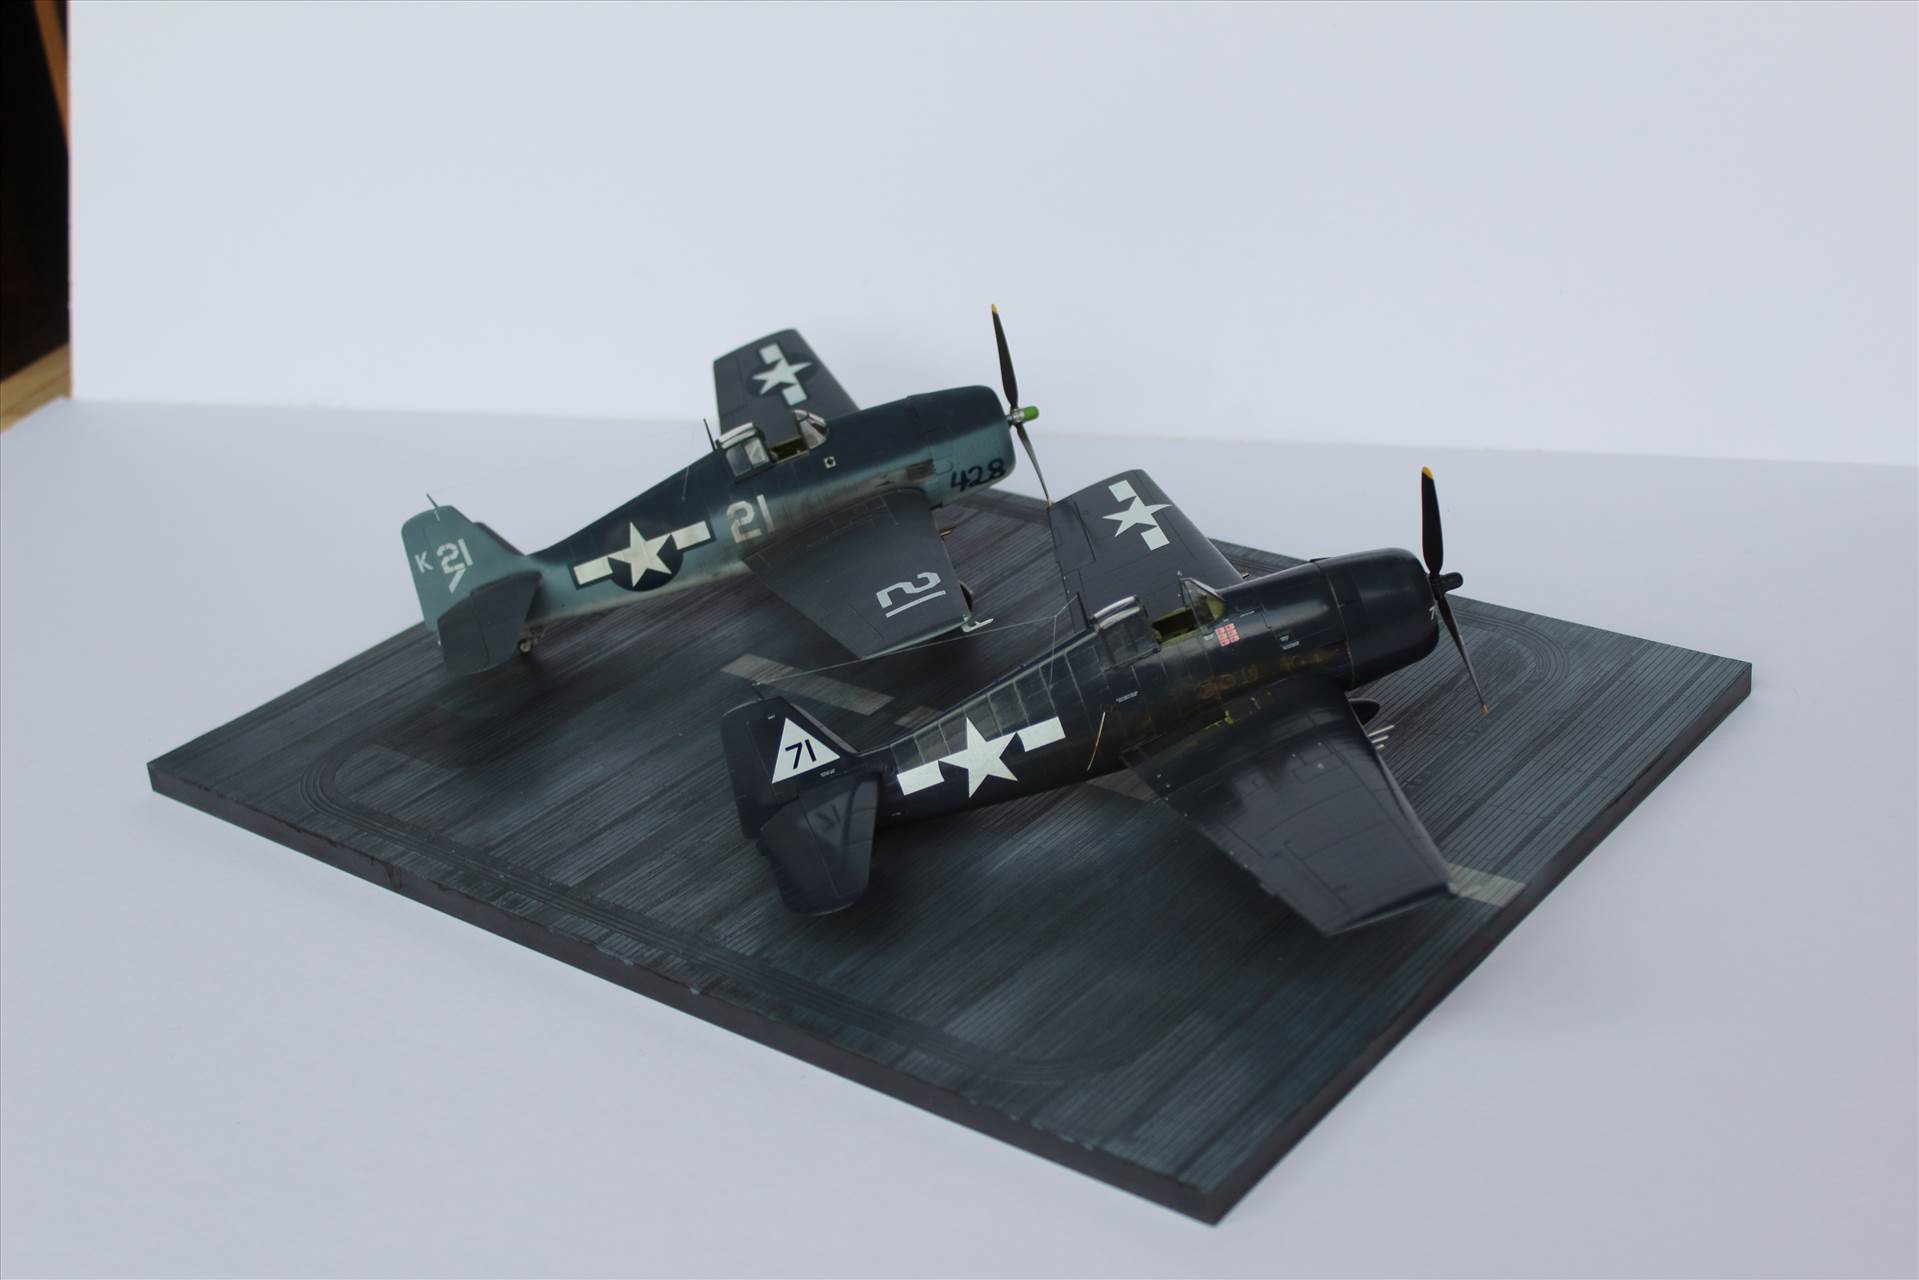
Thanks for looking in! ![]()